


With the maturity of Intune over the past number of years, more and more companies are making the switch to modern management of devices through the platform. So it comes as no surprise then that we start to see many of the same challenges that faced onsite IT being shifted to the cloud, such as what happens when two companies merge?
This was the issue I faced recently, how to migrate several thousand clients from one tenant to another, providing an Autopilot experience for the users during the migration.
Challenges Obtaining The Hardware Hash
The challenge of course here is how to obtain the hardware hashes from the source tenant so the devices can be seeded in the destination tenant, at present there isn’t a straight forward method to do this in bulk.
Peter van der Woude has blogged about a method before (https://www.petervanderwoude.nl/post/get-windows-autopilot-device-information-of-microsoft-intune-managed-devices/), where an Azure storage blob can be used to store the exported details and then harvested later on. As Peter points out in his solution, it does require the use of port 445 which in this case caused some issues, so I initially thought about simply mailing the hardware hashes back to a mailbox, however, that brought its own challenges when it came to security and extracting the content from several thousand emails.
The JSON Configuration File Approach
Thinking out a potential solution for this issue I considered the approach that I use for bare metal deployments of Windows devices being used for Intune Autopilot deployments. The approach is to simply drop in the AutopilotConfigurationFile JSON file into the C:\Windows\Provisioning\Autopilot folder before resealing the device as part of your MDT or ConfigMgr sequence, for an off the shelf device solution.
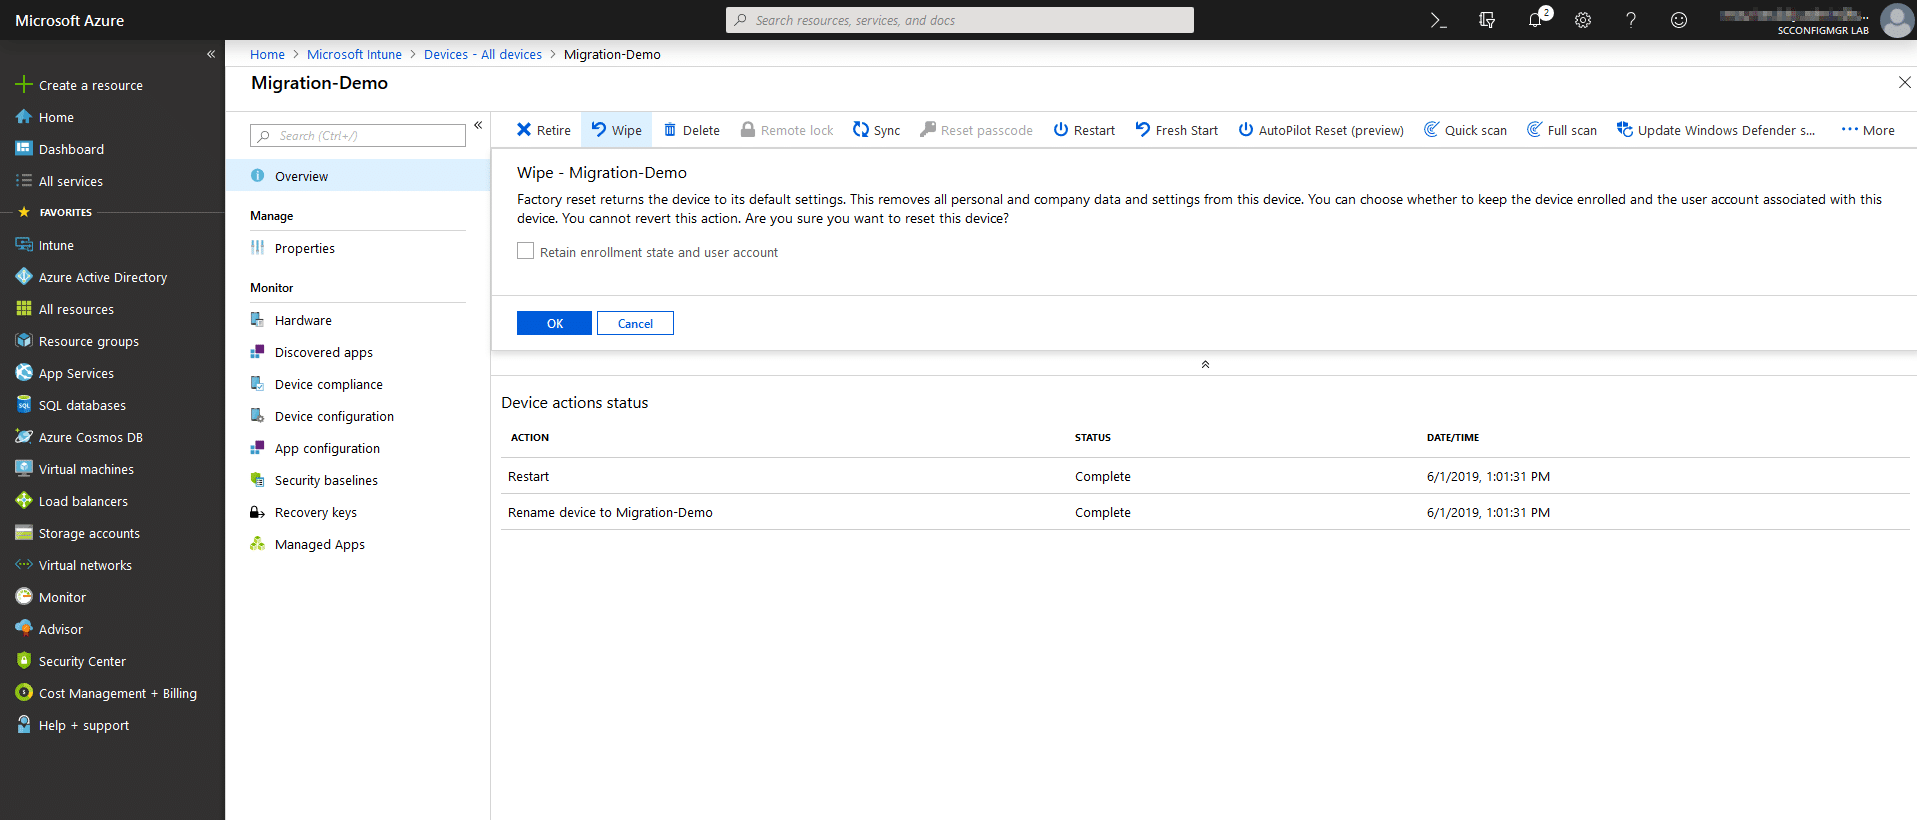
Running with this method I simply downloaded the required JSON exported configuration and dropped the file into the provisioning folder of a client attached to the source tenant, ensuring that the device had been removed from the autopilot device list. I then hit the Wipe button to see what happened.
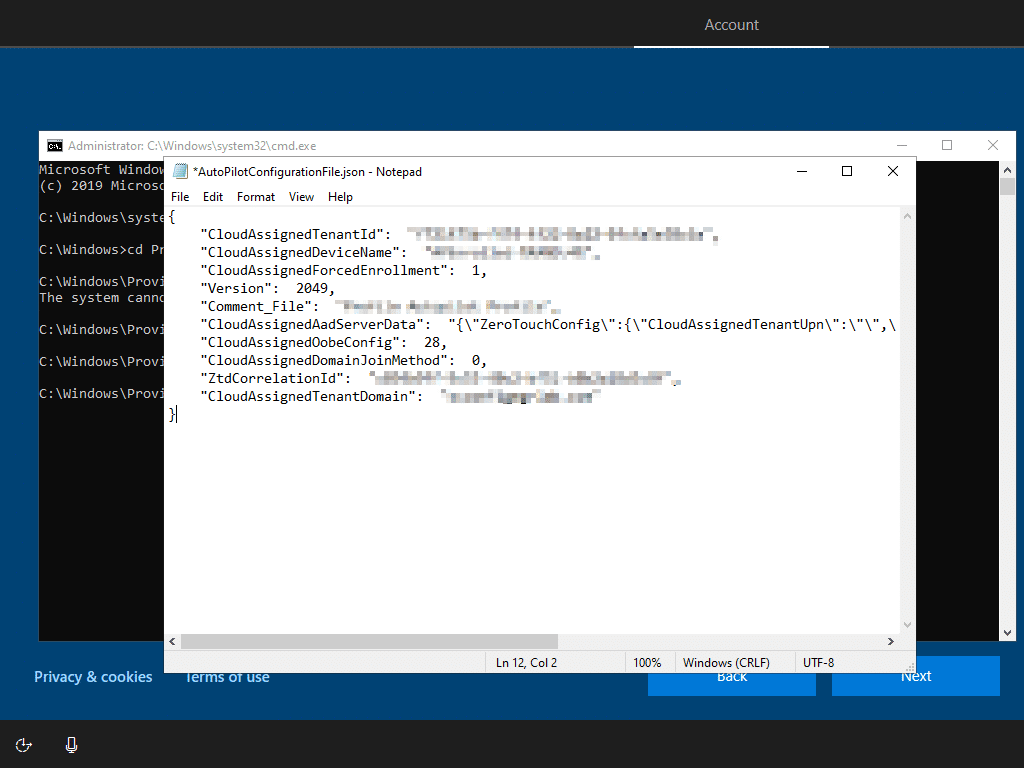
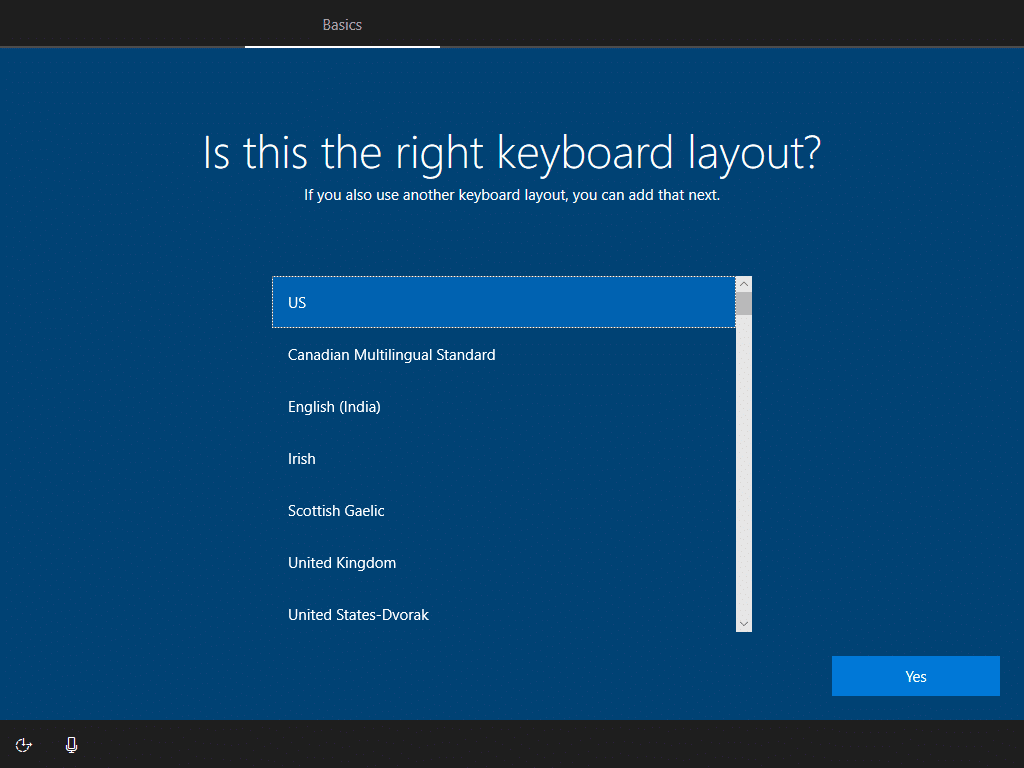
Post reset and upon the keyboard language screen, I brought up the command prompt (Shift + F10) and to much surprise, the JSON file was still intact. This is due to the fact the provisioning folder is maintained during the reset process. This of course meant that the device was now primed to join the new target tenant in a reset device scenario.
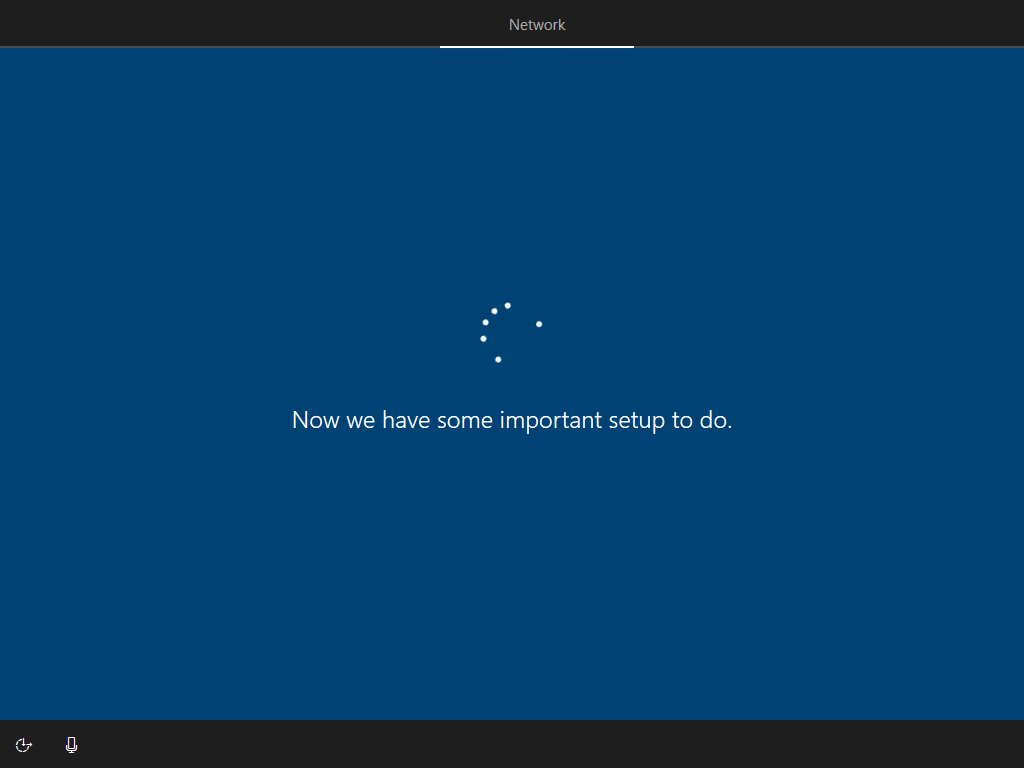
Clicking through the keyboard and language screens resulted in the new tenant branding screen and it was then time to make this deliverable.

Creating A Migration Solution
The first thing we need is a PowerShell script to automate checking or creation of the Autopilot folder and populating it with the target tenant file. Below is a quick and easy script with logging to the C:\Windows\Temp folder so you can verify the process;
<#
.SYNOPSIS
    Prepares systems for tenant to tenant autopilot migration

.NOTES
    FileName:    Invoke-AutopilotJSONDrop.ps1
    Author:      Maurice Daly
    Contact:     @modaly_it
    Created:     2019-05-29
    Updated:     2019-05-29

    Version history:
	1.0.0 - (2019-05-29) Script created
#>

function Write-LogEntry {
	param (
		[parameter(Mandatory = $true, HelpMessage = "Value added to the log file.")]
		[ValidateNotNullOrEmpty()]
		[string]$Value,
		[parameter(Mandatory = $true, HelpMessage = "Severity for the log entry. 1 for Informational, 2 for Warning and 3 for Error.")]
		[ValidateNotNullOrEmpty()]
		[ValidateSet("1", "2", "3")]
		[string]$Severity,
		[parameter(Mandatory = $false, HelpMessage = "Name of the log file that the entry will written to.")]
		[ValidateNotNullOrEmpty()]
		[string]$FileName = "Invoke-AutopilotJSONDrop.log"
	)

	# Determine log file location
	$LogFilePath = Join-Path -Path (Join-Path -Path $env:windir -ChildPath "Temp") -ChildPath $FileName

	# Construct time stamp for log entry
	$Time = -join @((Get-Date -Format "HH:mm:ss.fff"), "+", (Get-WmiObject -Class Win32_TimeZone | Select-Object -ExpandProperty Bias))

	# Construct date for log entry
	$Date = (Get-Date -Format "MM-dd-yyyy")

	# Construct context for log entry
	$Context = $([System.Security.Principal.WindowsIdentity]::GetCurrent().Name)

	# Construct final log entry
	$LogText = "<![LOG[$($Value)]LOG]!><time=""$($Time)"" date=""$($Date)"" component=""Invoke-AutopilotJSONDrop.log"" context=""$($Context)"" type=""$($Severity)"" thread=""$($PID)"" file="""">"

	# Add value to log file
	try {
		Out-File -InputObject $LogText -Append -NoClobber -Encoding Default -FilePath $LogFilePath -ErrorAction Stop
	} catch [System.Exception] {
		Write-Warning -Message "Unable to append log entry to Invoke-AutopilotJSONDrop log file. Error message: $($_.Exception.Message)"
	}
}

# Autopilot JSON file name
$AutopilotJSON = "AutopilotConfigurationFile.json"
$JSONDropDirectory = (Join-Path -Path $env:windir -ChildPath "Provisioning\Autopilot")

try {
	# Check for Autopilot file and run
	Write-LogEntry -Value "Checking for Autopilot provisioning folder" -Severity 1
	if ((Test-Path -Path (Join-Path -Path .\ -ChildPath $AutopilotJSON)) -eq $true) {
		Write-LogEntry -Value "Checking for AutopilotConfigurationFile.json file" -Severity 1
		if (-not (Test-Path -Path (Join-Path -Path $env:windir -ChildPath "Provisioning\Autopilot"))) {
			# Create Autopilot folder
			Write-LogEntry -Value "Creating Autopilot provisioning folder" -Severity 1
			New-Item -Path $JSONDropDirectory -Type Dir | Out-Null
		}
		Write-LogEntry -Value "Copying JSON file to the Autopilot provisioning folder" -Severity 1
		Copy-Item -Path $AutopilotJSON -Destination $JSONDropDirectory
		exit 0
	}
} catch [System.Exception] {
	Write-Warning -Message "An error occured while deploying the Autopilot JSON: $($_.Exception.Message)"; exit 1
}
Save the script as Invoke-AutopilotJSONDrop.ps1 and now its time to extract the target tenant Autopilot configuration as a JSON file.
Note: This post assumes that you have already created a target Autopilot configuration in your target tenant.
- Install the Windows Autopilot PowerShell module;
- Install-module WindowsAutopilotIntune
- Connect to your target tenant using the following command;Connect-AutopilotIntune
- Extract the Autopilot profile configuration using the following;
- Get-AutopilotProfile | ConvertTo-AutopilotconfigurationJSON | Out-File -FilePath “%FOLDER PATH&\AutopilotConfigurationFile.json” -Encoding ASCII
- If you have multiple profiles, you can use “Get-AutopilotProfile -ID %ID%” to ensure you only capture the required configuration
At this point you now have a PowerShell delivery script and the required configuration for the machine, so all that is left to do is package it up and deploy it.
Deploying A Tenant Migration Solution
Here we will use a Win32 application to deploy the new tenant settings. Using a Win32 app we not only can deploy the entire package, but also report on it with a detection method to show that the Autopilot JSON file is in the provisioning folder prior to the wipe command being used.
- Package the content. Create a folder and drop in both the .PS1 script and Autopilot profile .JSON files

- Download the Win32 Content Prep Tool from GitHub (https://github.com/Microsoft/Microsoft-Win32-Content-Prep-Tool)
- Run the IntuneWinAppUtil.exe and enter the source, installer file and output destination for the .Intunewin packaged file

- Log onto your Intune portal
- Click on Client Apps
- Click on the “+ Add” button
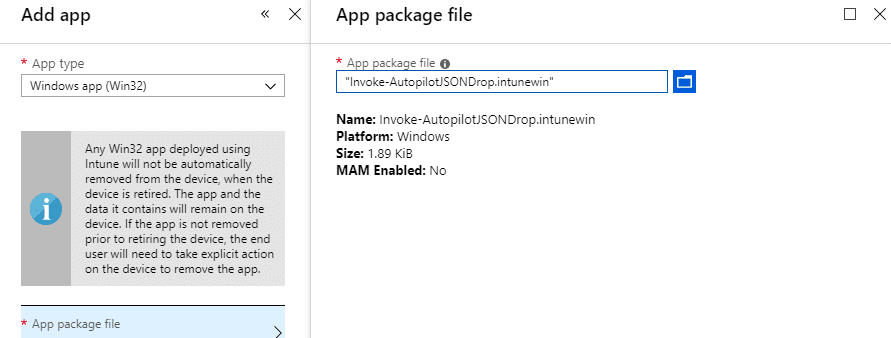
- Select the App type as “Windows app (Win32)“
- Click on the “App Package” section and then click on the folder icon, browsing to where your packaged .Intunewin file is located
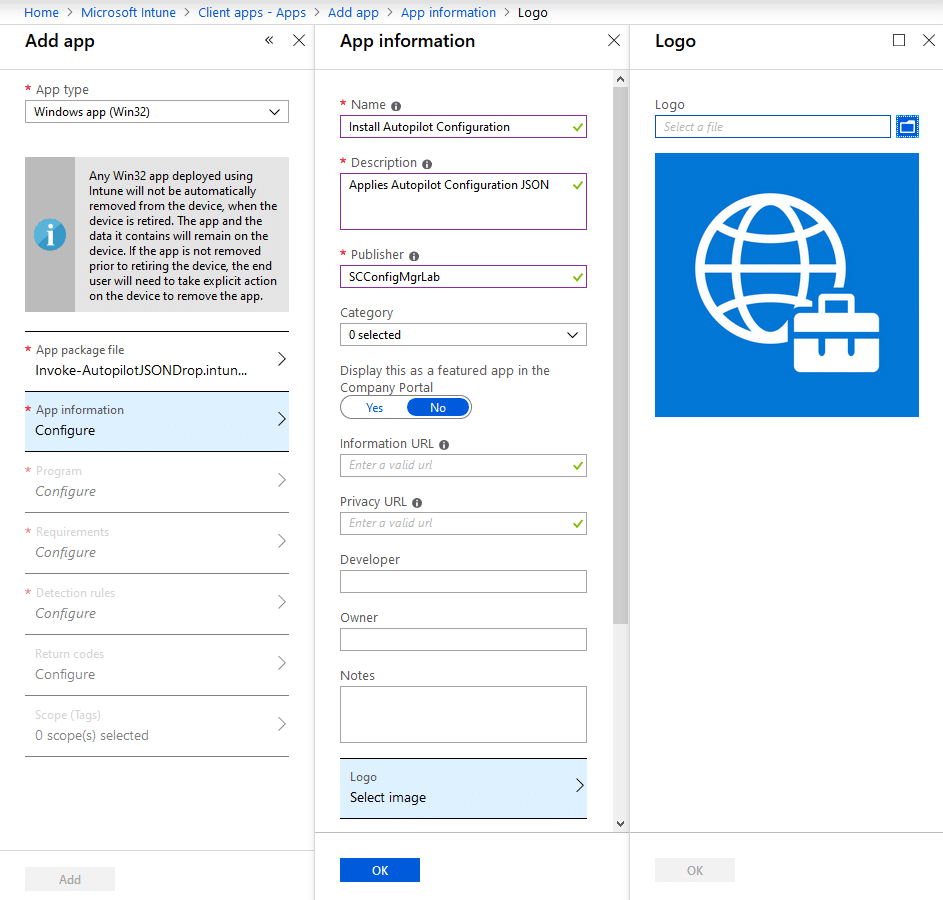
- Click on the “App information” section and give your application a name, description and icon if you so wish;
- Click on the “Program” section and enter in the following;
- Install Command – powershell.exe -executionpolicy bypass -file “.\Invoke-AutopilotJSONDrop.ps1”
- Uninstall Command – powershell.exe -command “remove-item -path C:\Windows\Provisioning\Autopilot\AutopilotConfigurationFile.json”
- Enter the following as a detection rule;

-
Finally finish by selecting the pre-requisite operating systems, save the application and then assign the application to your target device group (or make available for test purposes)
Testing the solution
At this stage you should now have an application deployed that you can run on your Windows devices in the source tenant. Making the application available here we will run through what this looks like when run interactively (as opposed to just requiring the app is installed, silently);
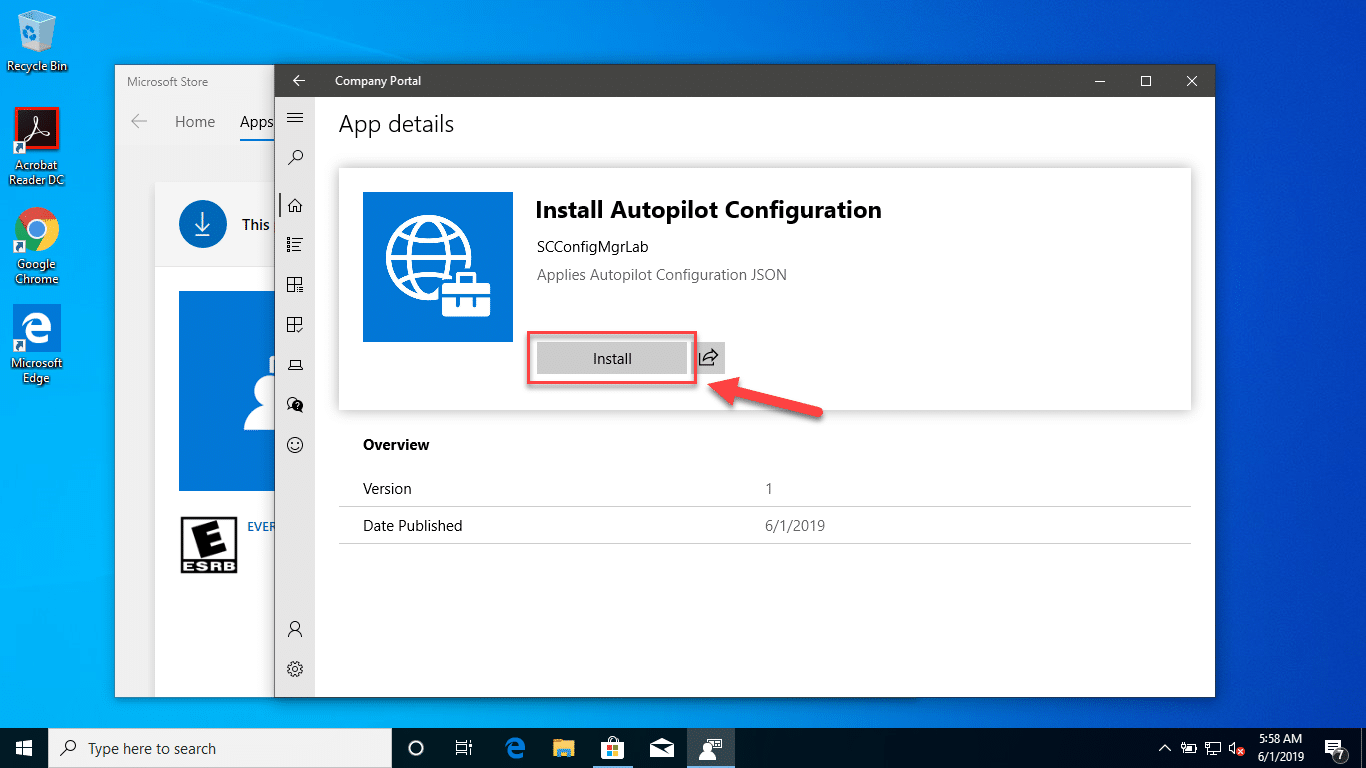
- Open the Company Portal, we see the application is available (note here you can see the source tenant is branded using SCConfigMgrLab branding) ;

- Click on the application and then click on the Install button;
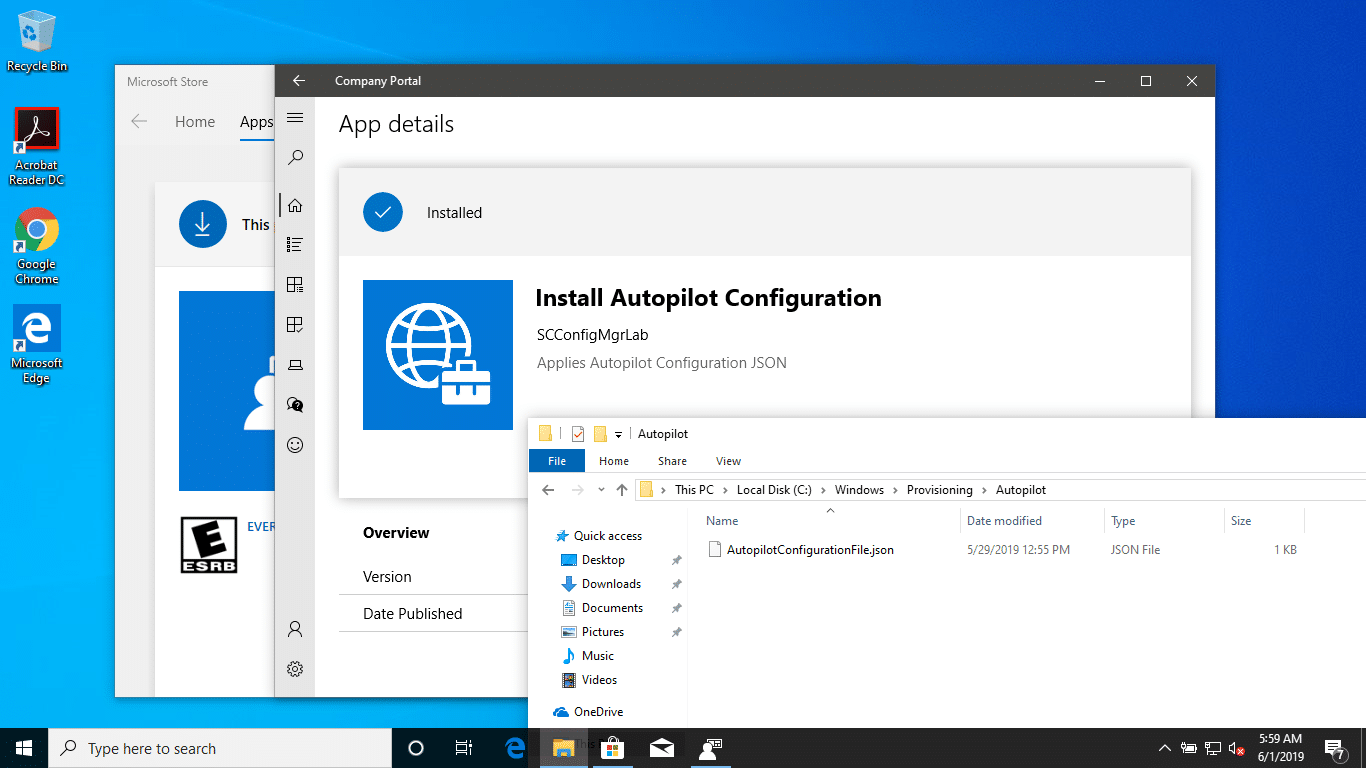
- Once installed we can verify that the JSON file has been dropped into the C:\Windows\Provisioning\Autopilot folder;
- Ensure to delete the device from the Autopilot device list (Intune Portal\Device Enrollment\Windows Enrollment\Devices)
- Initiate a device wipe either via the Intune portal or interactively on the machine;
- The device will now reset;
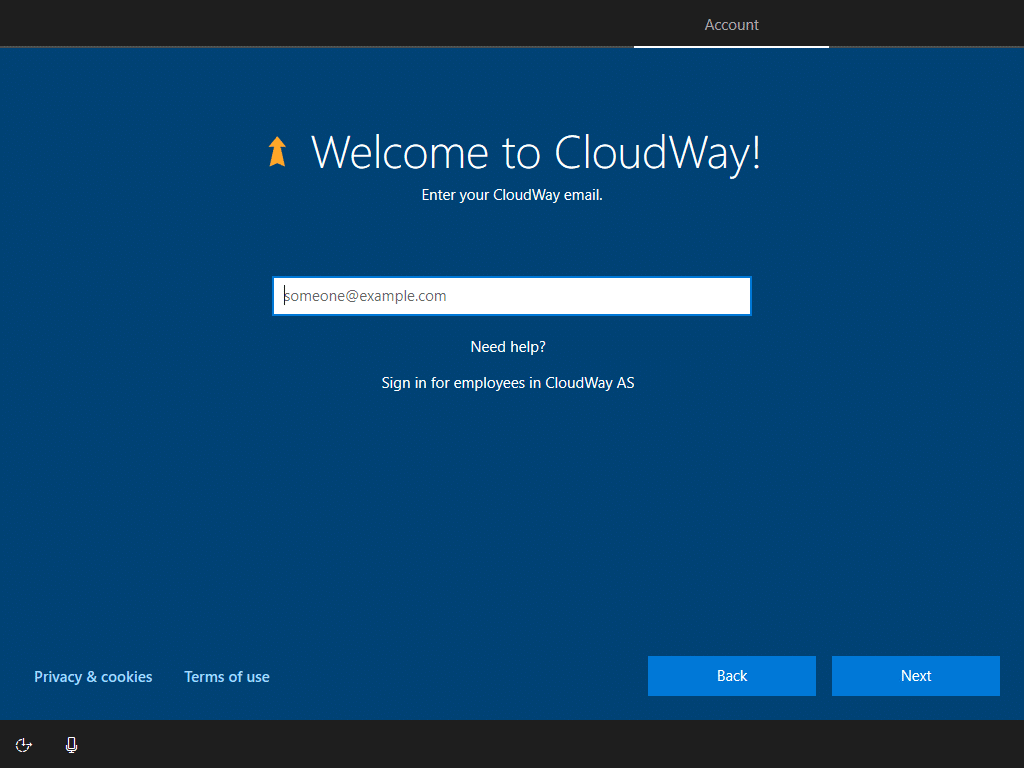
- Hey presto! Your device now comes up looking at the destination tenant (notice the change of branding);
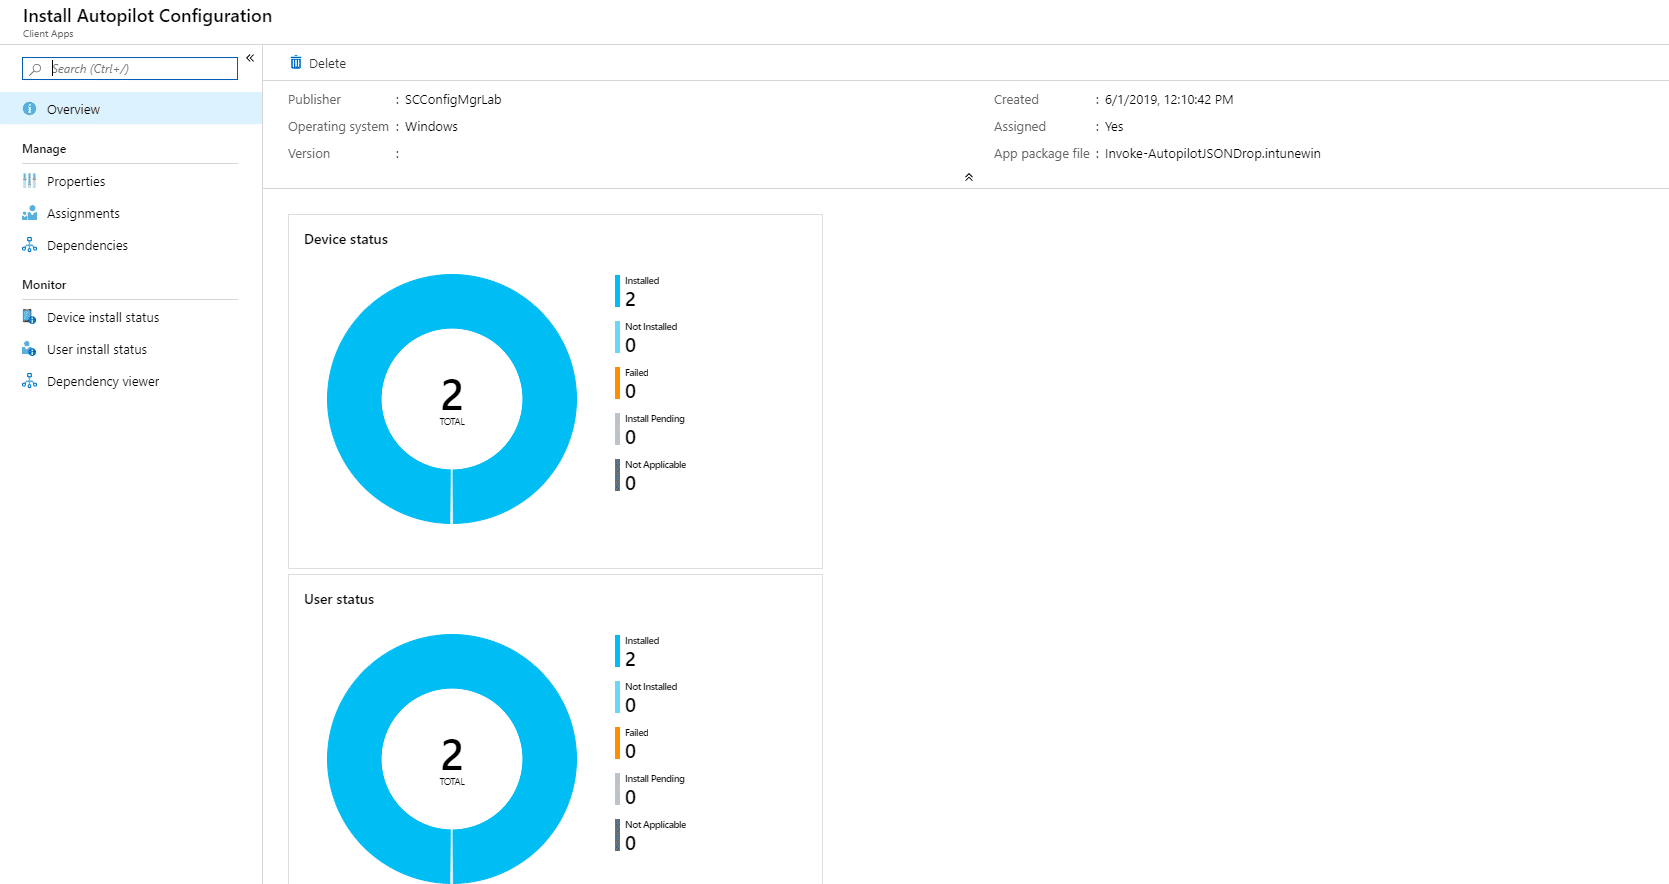
Verifying Deployment
To verify which devices have had the application installed, simply browse to the app in the Intune portal and you will see the success or failure statistics;
Autopilot Deployment Profile
To ensure that all future resets of the device result in the device being enrolled back into the new tenant, it is important that the Autopilot profile automatic import of known devices is enabled. To check setting is enabled, do the following;
- Open the Intune portal
- Click on Device Enrollment
- Click on Windows Enrollment
- Click on Deployment Profiles
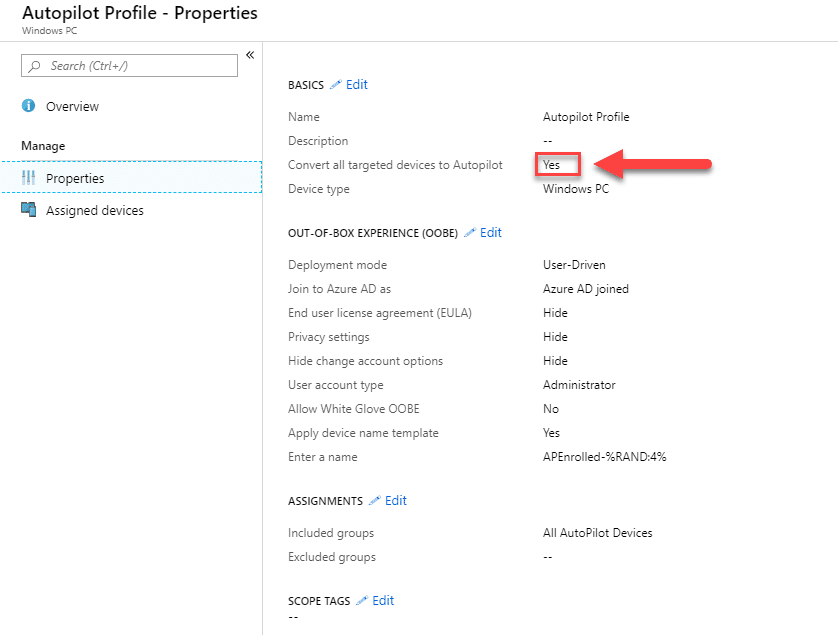
- Select the target deployment profile, then click Properties
- Check that the “Convert all targeted devices to Autopilot” is enabled, if not edit the profile
- Important: Ensure that the group to which the profile is assigned is being updated to contain the devices you are enrolling. An example would be using a Dynamic Group based on the computer naming convention.
Once this is in place, devices will be added into the Autopilot device list upon the next refresh cycle.
Conclusion
After reading this you should have a migration process for moving from an old to new tenant in Intune when enrolling through Windows Autopilot. Thanks for reading and I hope it helps those out who find themselves in this situation.
Disclaimer
The method used in this post is for those who have no local data to back up prior to the device being wiped. Should you require data backup during such a migration I would suggest that KFM is put into place for OneDrive and you also cater for anything outside of the protected folders.


Genius! Mind blowing thinking and creative solution