These update instructions should only be followed if CloudLAPS Community Edition was deployed with version 1.0.0 and has been updated to 1.1.0. Do not use these instructions for new deployments, refer to the original setup deployment instructions from the main CloudLAPS Community Edition page found under Solutions in the menu above.
Performing the steps outlined in these instructions will not affect any existing local administrator passwords stored in the existing Key Vault used by CloudLAPS.
Table of contents
Gather required information
From within the Azure portal, go to Azure Active Directory and select App registrations.
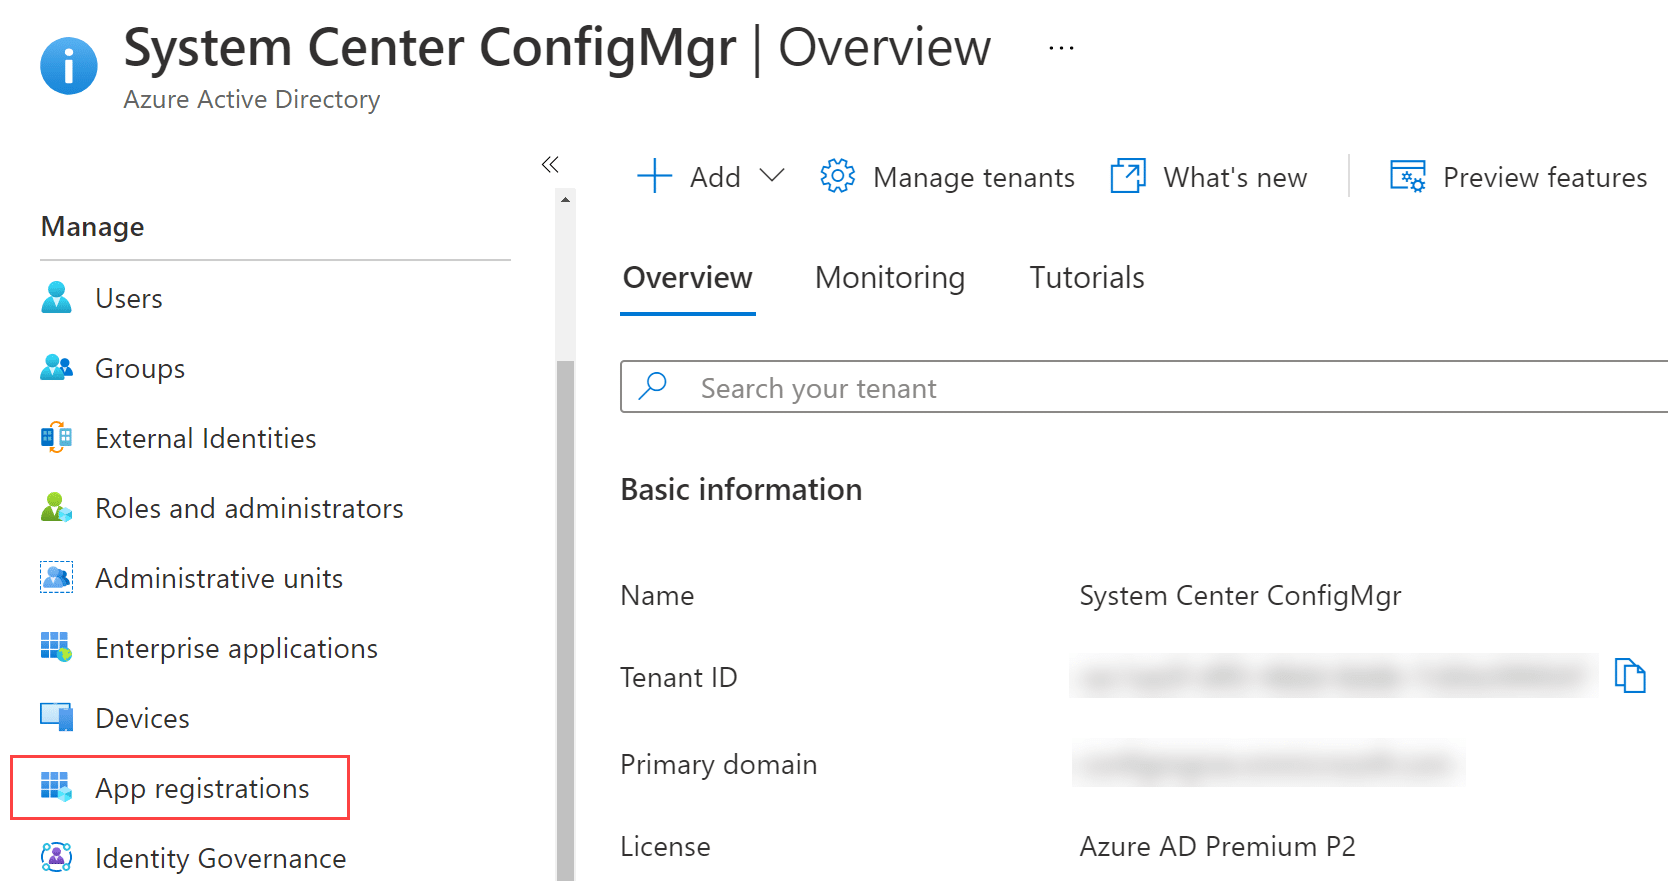
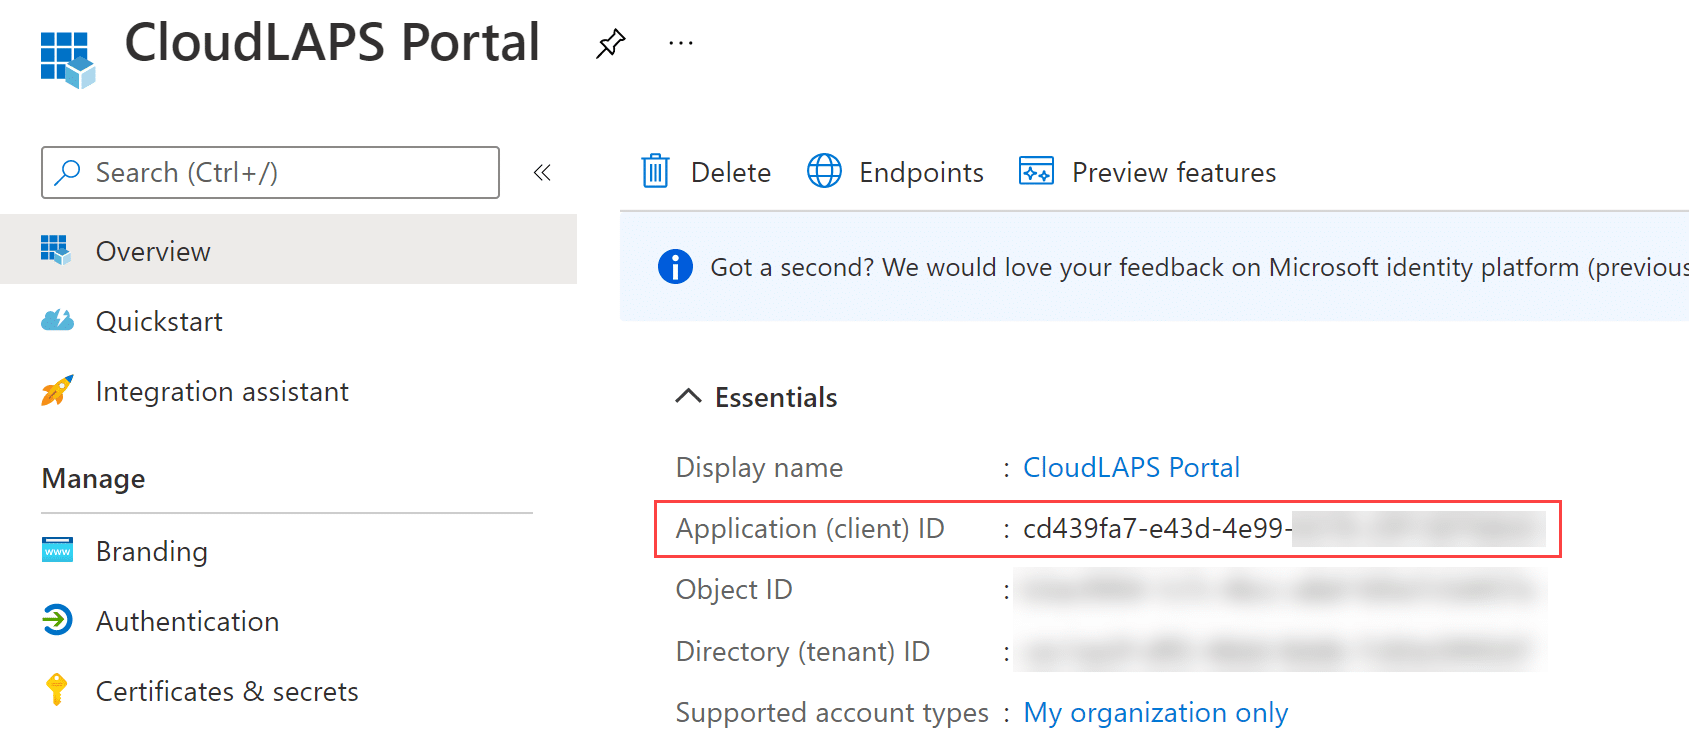
Copy the Application (client) ID from the Overview blade, it will be used as parameter input in the next section when updating the CloudLAPS resources in Azure.
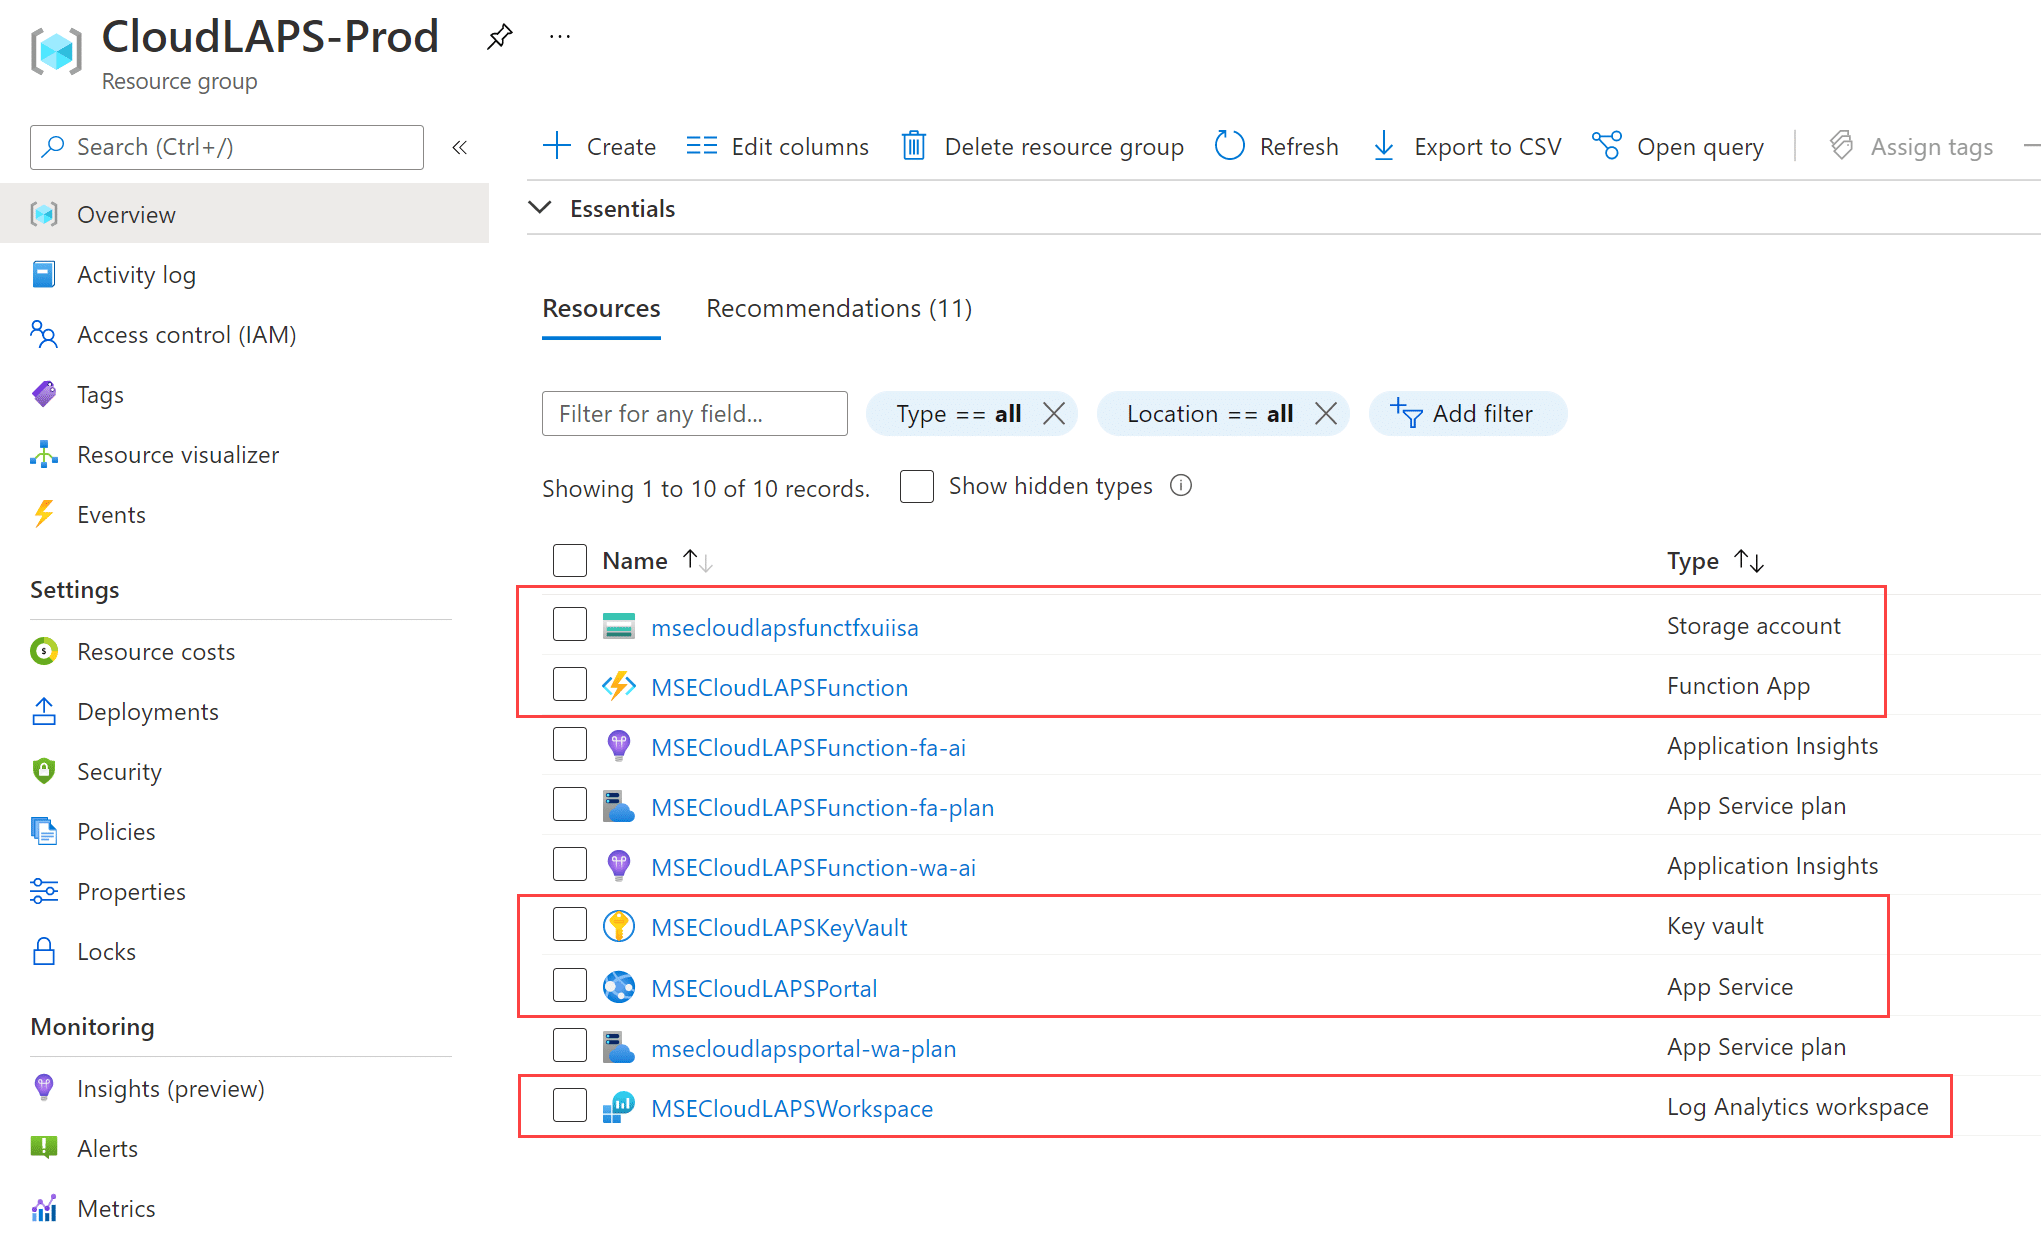
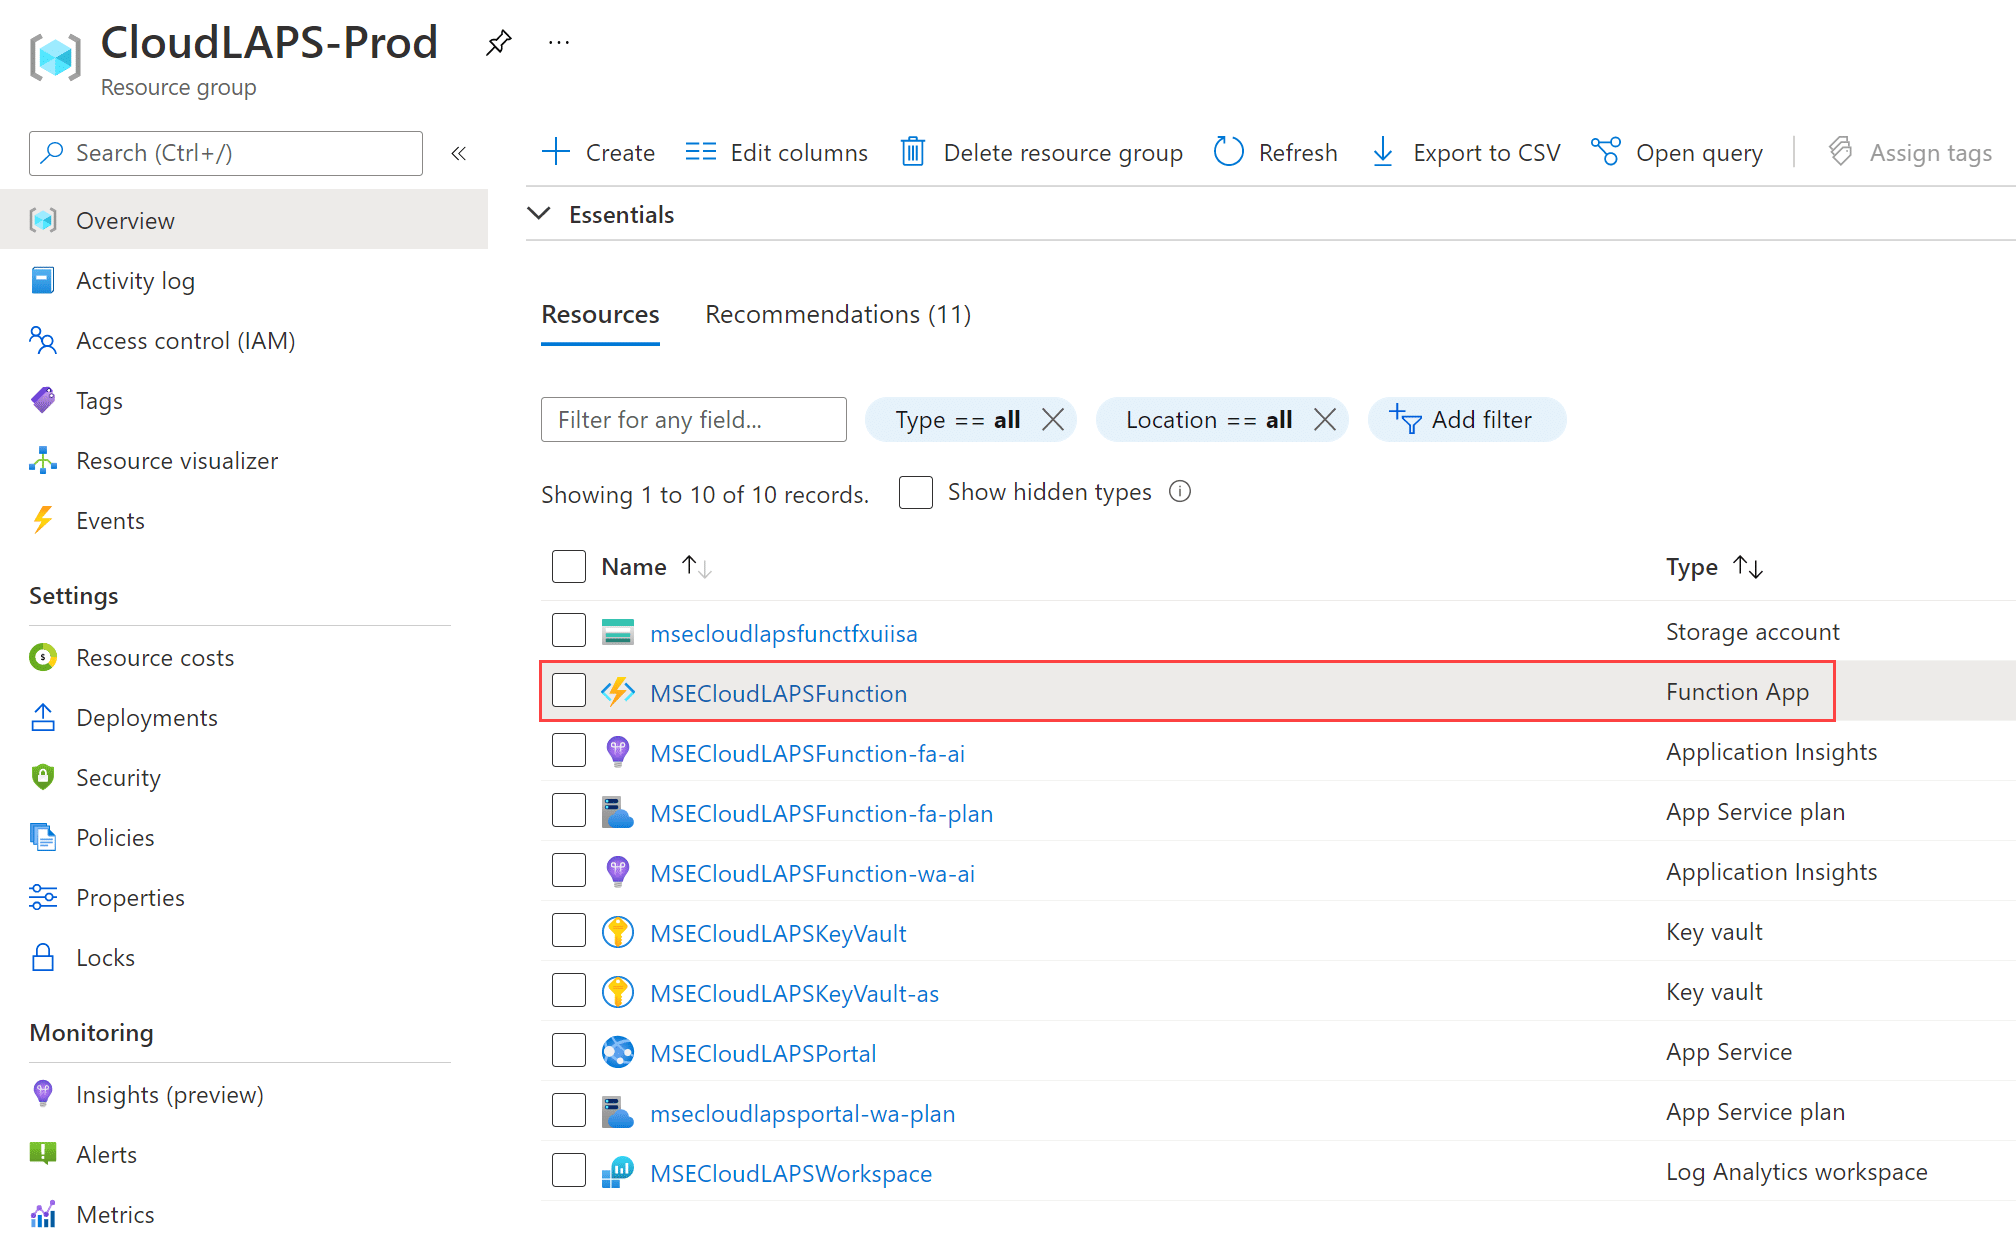
From within the Azure portal, locate Resource Groups and find the resource group used to initially deploy CloudLAPS.
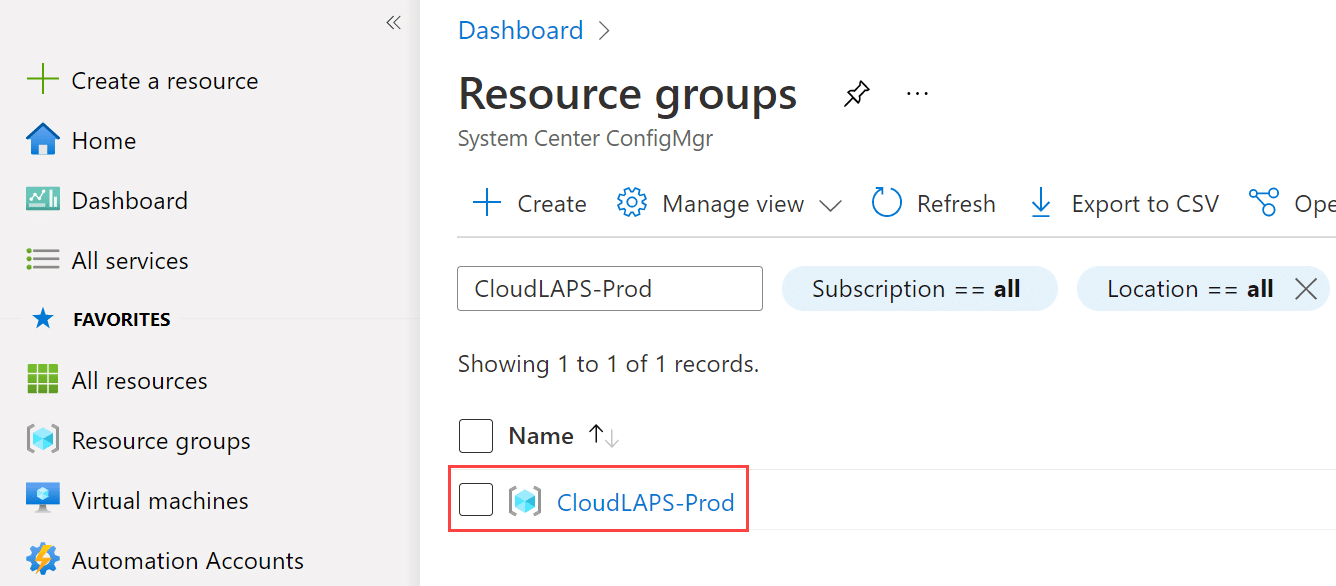
Make a note of the name of the following resource types, as they’ll be used for parameter input in the next section as well:
- Storage account
- Function App
- Key Vault
- App Service
- Log Analytics workspace
Update CloudLAPS resources in Azure
Click the button below to initiate the update deployment process of the CloudLAPS resources in Azure. You’ll be forwarded to the Azure portal, where you’re asked to fill in the required fields necessary for a successful update, using the information gathered in the steps above.
Ensure the existing resource group is defined for this update deployment process, by selecting it from the drop down menu.

Continue the update deployment process by filling in the remaining parameters:
- Region
- This will automatically be set when choosing a resource group above.
- Function App Name
- Use the name of the Function App resource type from your initial deployment.
- Portal Web App Name
- Use the name of the App Service resource type from your initial deployment.
- Log Analytics Workspace Name
- Use the name of the Log Analytics workspace resource type from your initial deployment.
- Key Vault Name
- Use the name of the Key Vault resource type from your initial deployment.
- Storage Account Name
- Use the name of the Storage Account resource type from your initial deployment.
- Application ID
- Use the Application client ID from the app registration created for the initial deployment.
- Update Frequency Days
- Default value is automatically provided. Amend this value if you’ve previously changed it in your initial deployment, more specifically within the application settings of the Function App.
- Password Length
- Default value is automatically provided. Amend this value if you’ve previously changed it in your initial deployment, more specifically within the application settings of the Function App.
- Password Allowed Characters
- Default value is automatically provided. Amend this value if you’ve previously changed it in your initial deployment, more specifically within the application settings of the Function App.
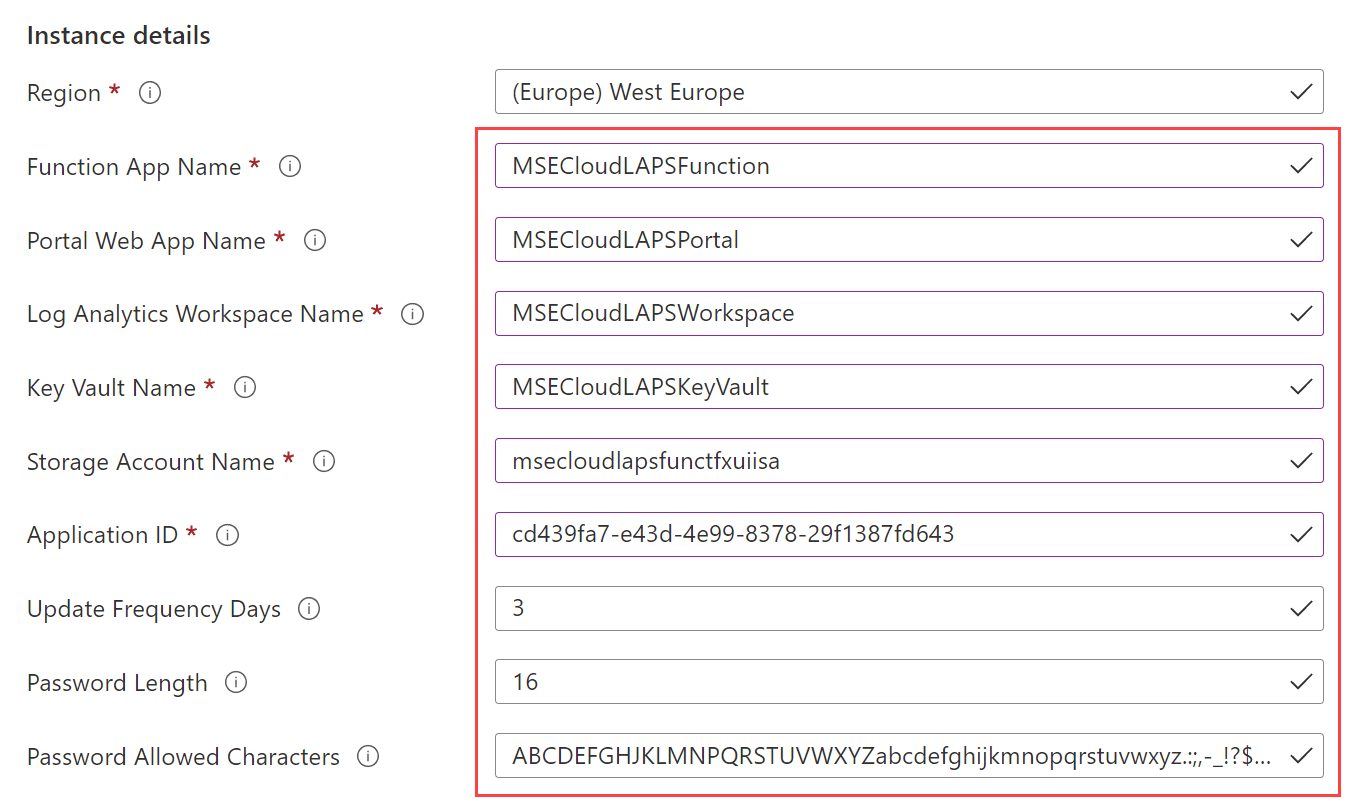
IMPORTANT: Do not use the above examples when entering values, use the ones from your initial deployment of CloudLAPS Community Edition gathered previously or the update deployment process will fail.
Click Review + Create.
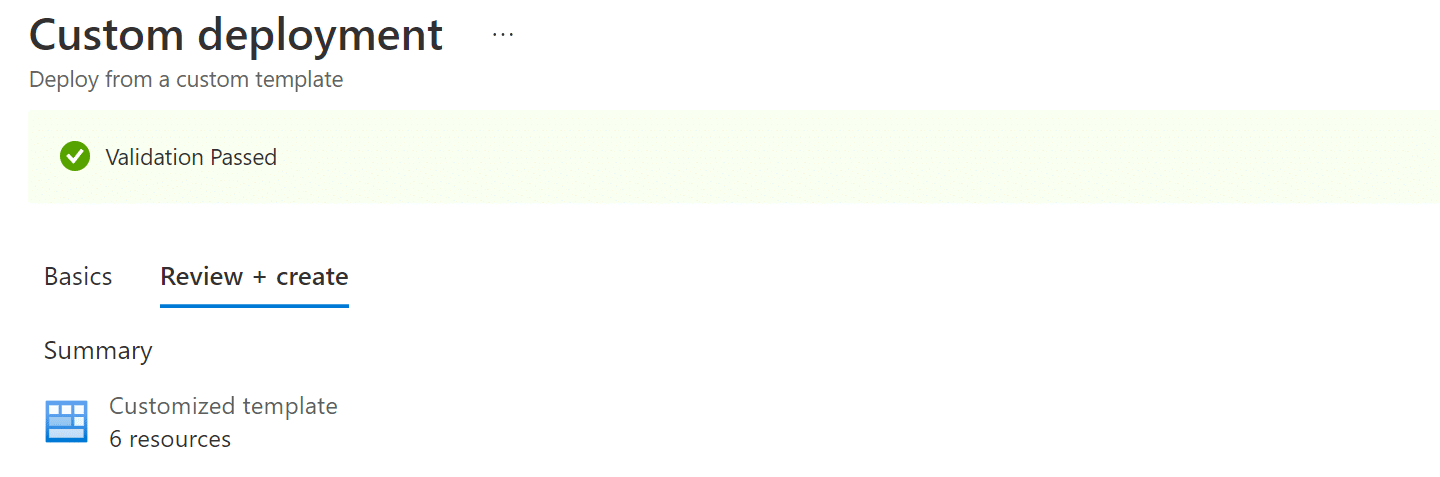
Once the validation checks has passed, click Create and allow for a couple of minutes for the update deployment process to complete. Once completed, a message similar to below will be shown, meaning the update deployment process successfully completed.
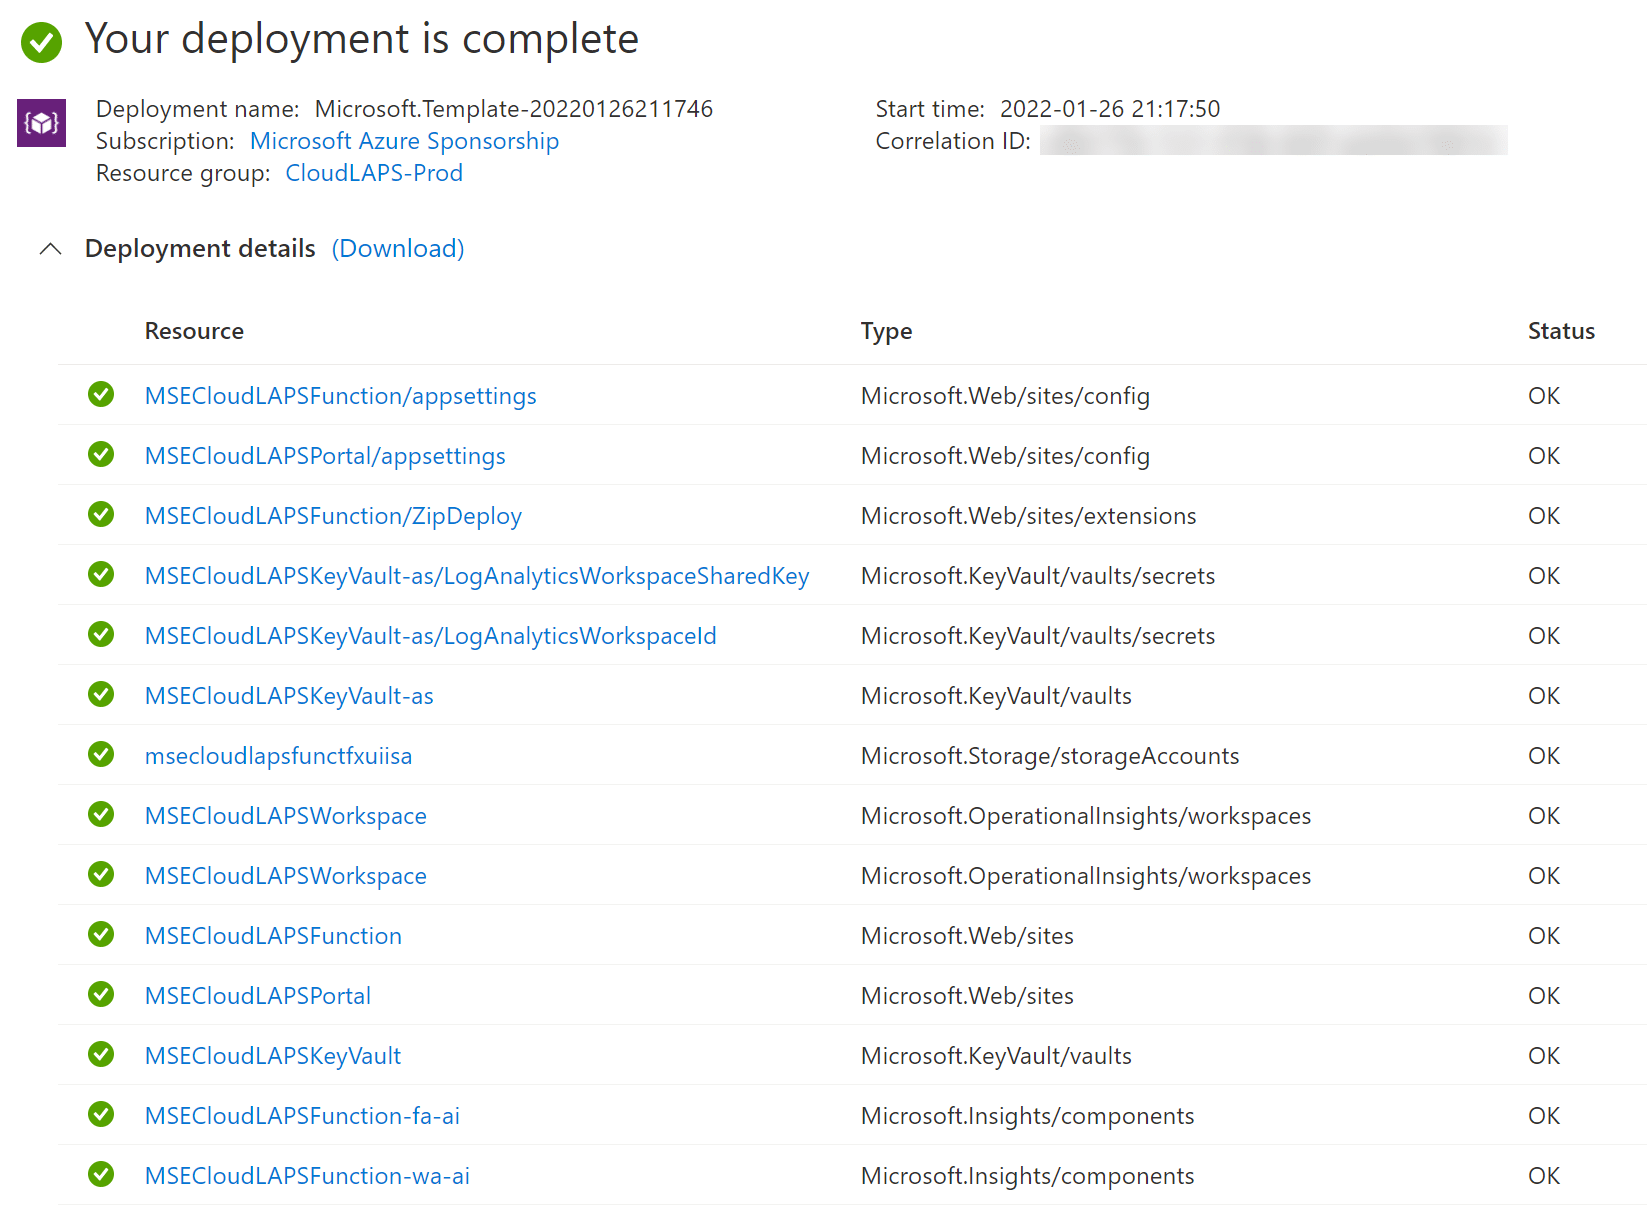
All existing CloudLAPS Community Edition resources have now been successfully updated to version 1.1.0. Continue with updating the Proactive Remediation scripts.
Update Proactive Remediation scripts
Download the two Proactive Remediation scripts named from the repository below:
- Detect.ps1
- Remediate.ps1
CloudLAPS/Proactive Remediation at main · MSEndpointMgr/CloudLAPS (github.com)
From within the resource group that contains the CloudLAPS resources, click on the Function App resource.
Go to the Functions section.
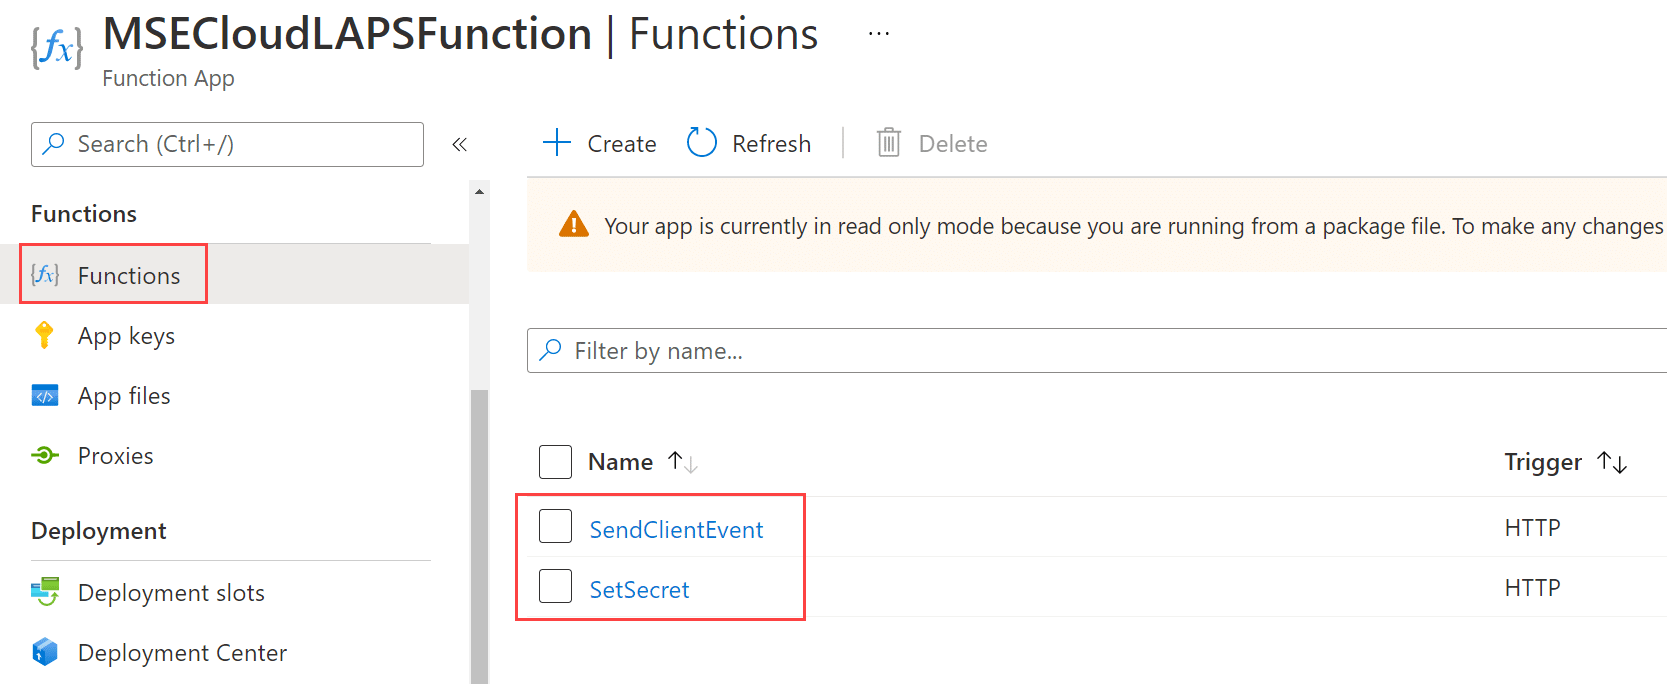
IMPORTANT: Perform the below steps for both the SetSecret and SendClientEvent functions.
Click on the function name. In the Overview blade, click on Get Function Url, ensure default (function key) is selected and click on the Copy button.
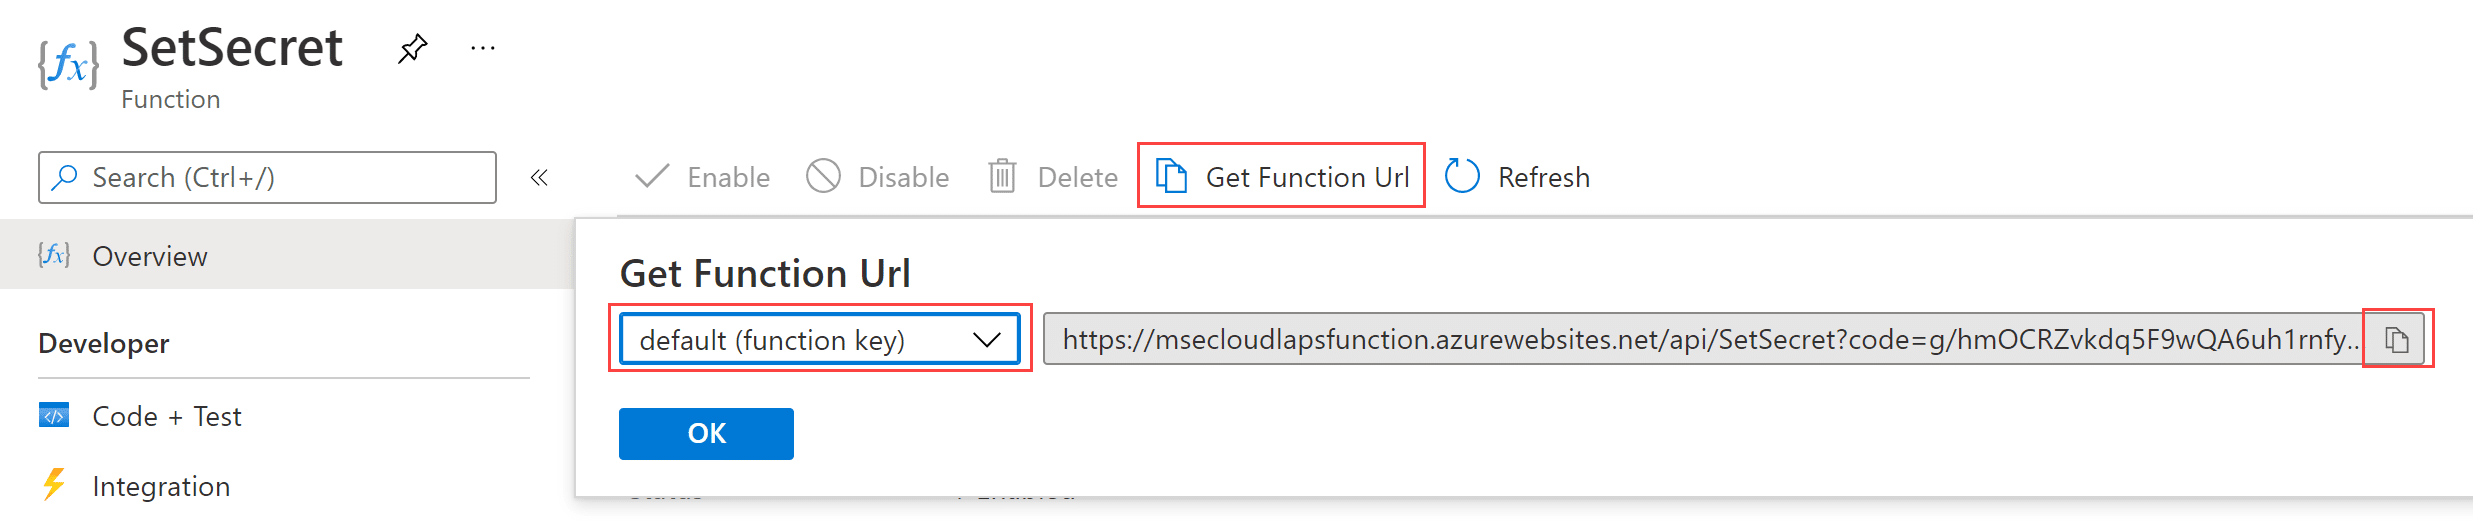
Edit the Remediation.ps1 script and locate the $SetSecretURI and $SendClientEventURI variables.
$SetSecretURI = "<Enter Azure Functions URI for SetSecret function>"
$SendClientEventURI = "<Enter Azure Functions URI for SendClientEvent function>"
Update these two variables with the copied function URL’s from above, so that they look similar to the following:
$SetSecretURI = "https://msecloudlapsfunction.azurewebsites.net/api/SetSecret?code=<function_key_redacted>"
$SendClientEventURI = "https://msecloudlapsfunction.azurewebsites.net/api/SendClientEvent?code=<function_key_redacted>"
Locate the $LocalAdministratorName variable. This variable controls the name of the local administrator account that the client-side script will update the password for. If the given account doesn’t exist, a new local administrator account with the provided name will be created automatically.
$LocalAdministratorName = "<Enter the name of the local administrator account>"
Make sure the same local administrator name is provided again, that was used in the previous version of the script.
$LocalAdministratorName = "LocalAdmin"
Locate the $SendClientEvent variable. This variable controls whether the client-side scripts will call the SendClientEvent function within the Function App and relay password rotation events to the Log Analytics workspace for reporting capabilities. Default the variable is set to $false, which disables the password rotation events sending capability. Change the value to $true if you wish to enable it.
$SendClientEvent = $false
Save the modified Remediation.ps1 script.
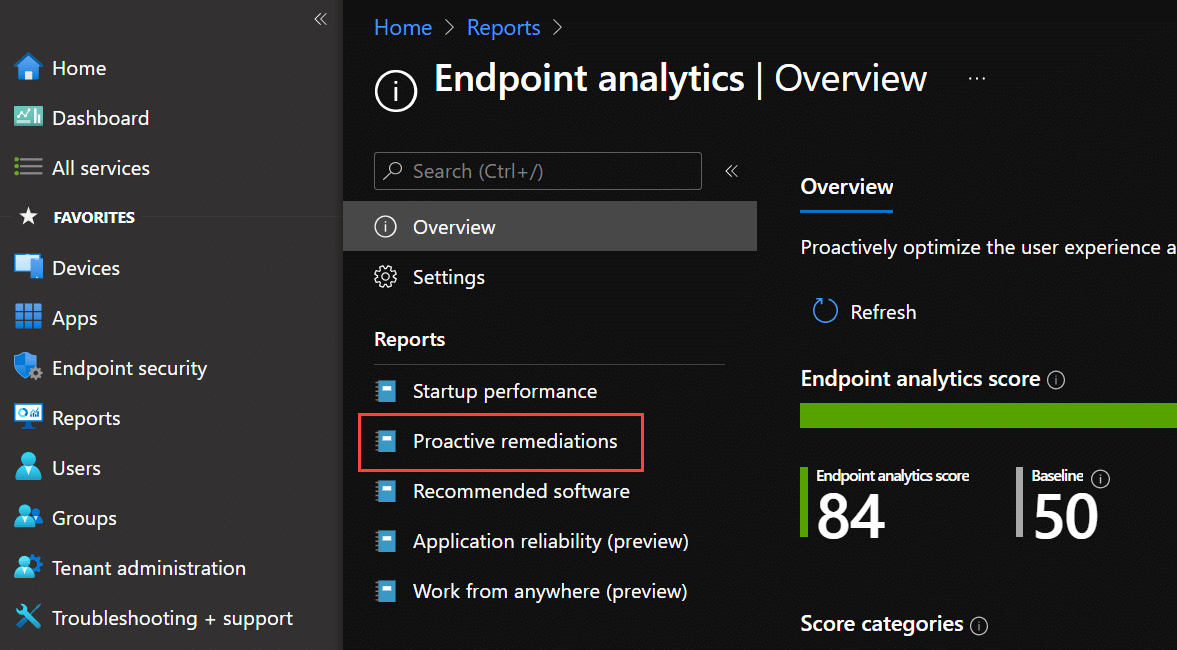
From within the Microsoft Endpoint Manager portal (endpoint.microsoft.com), click on Reports and then Endpoint Analytics.
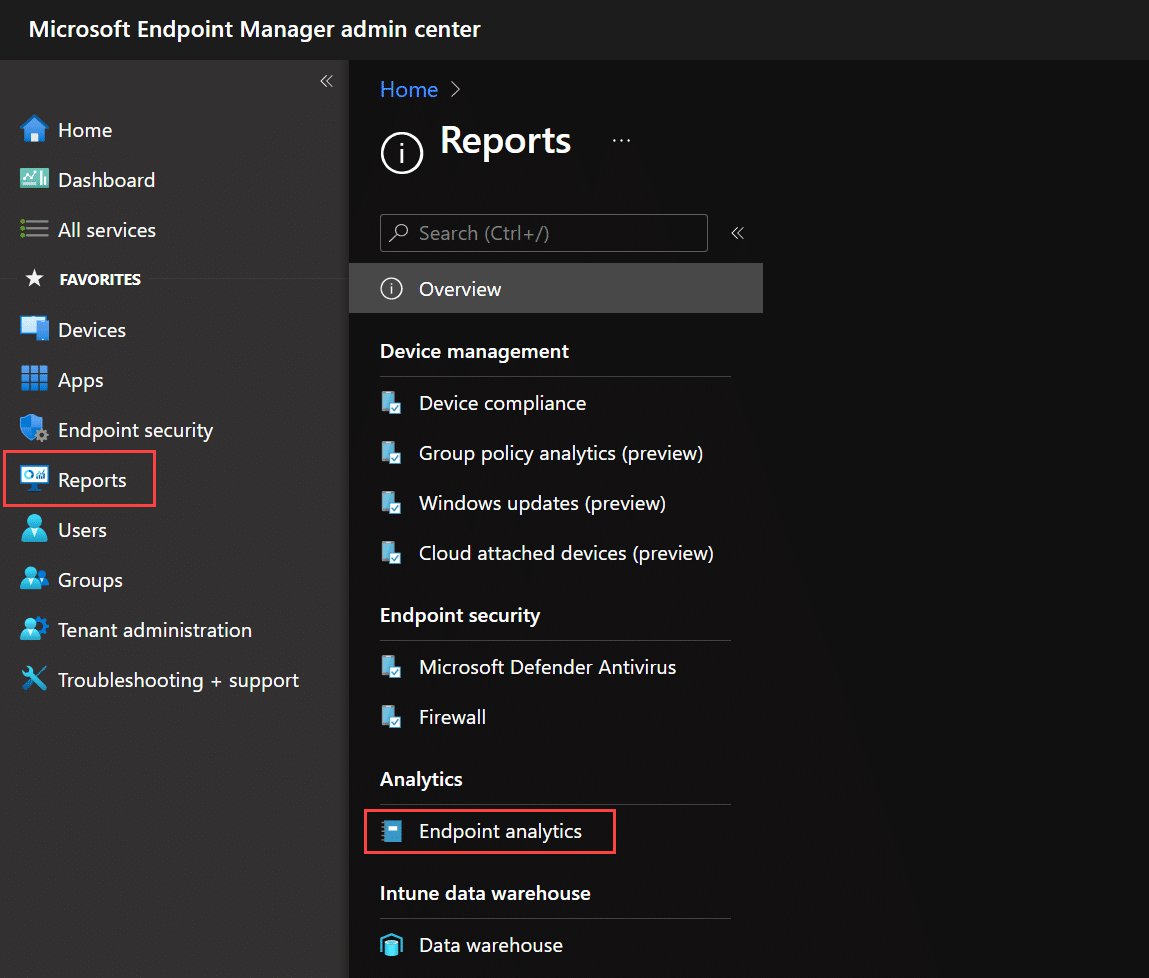
Click on Proactive Remediations.
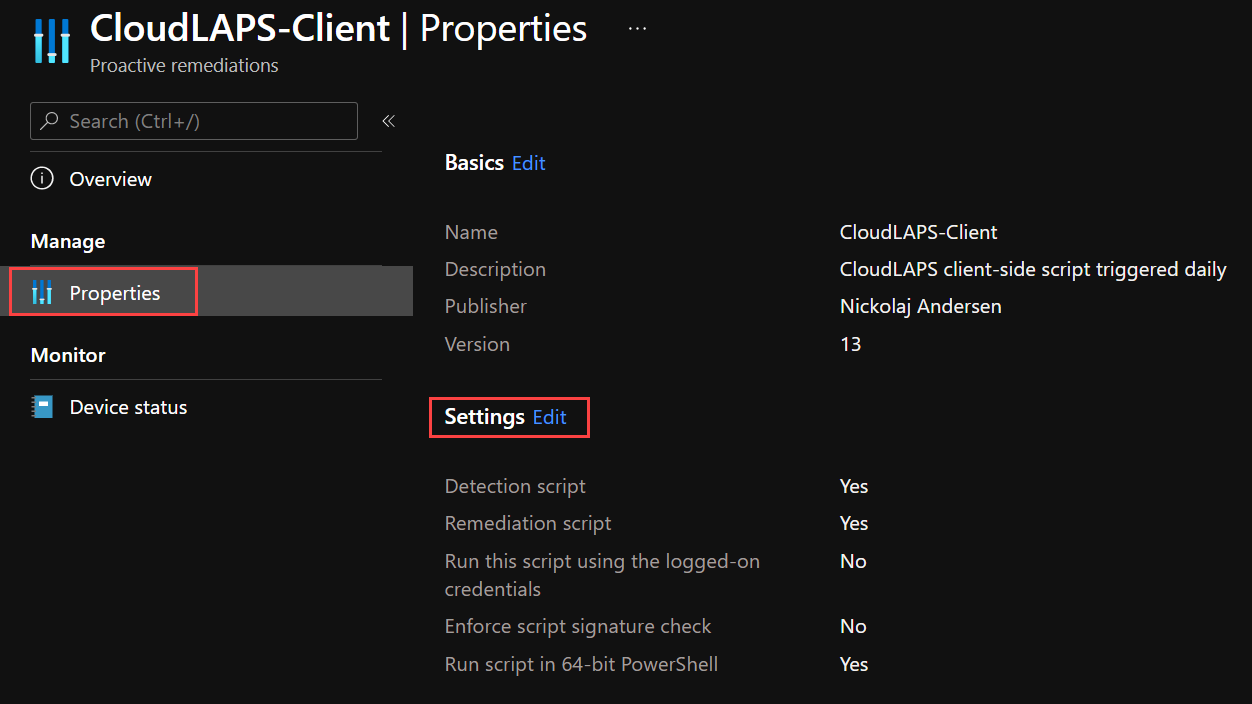
Locate the CloudLAPS script package name and click on it.

In the Properties section, click Edit next to Settings.
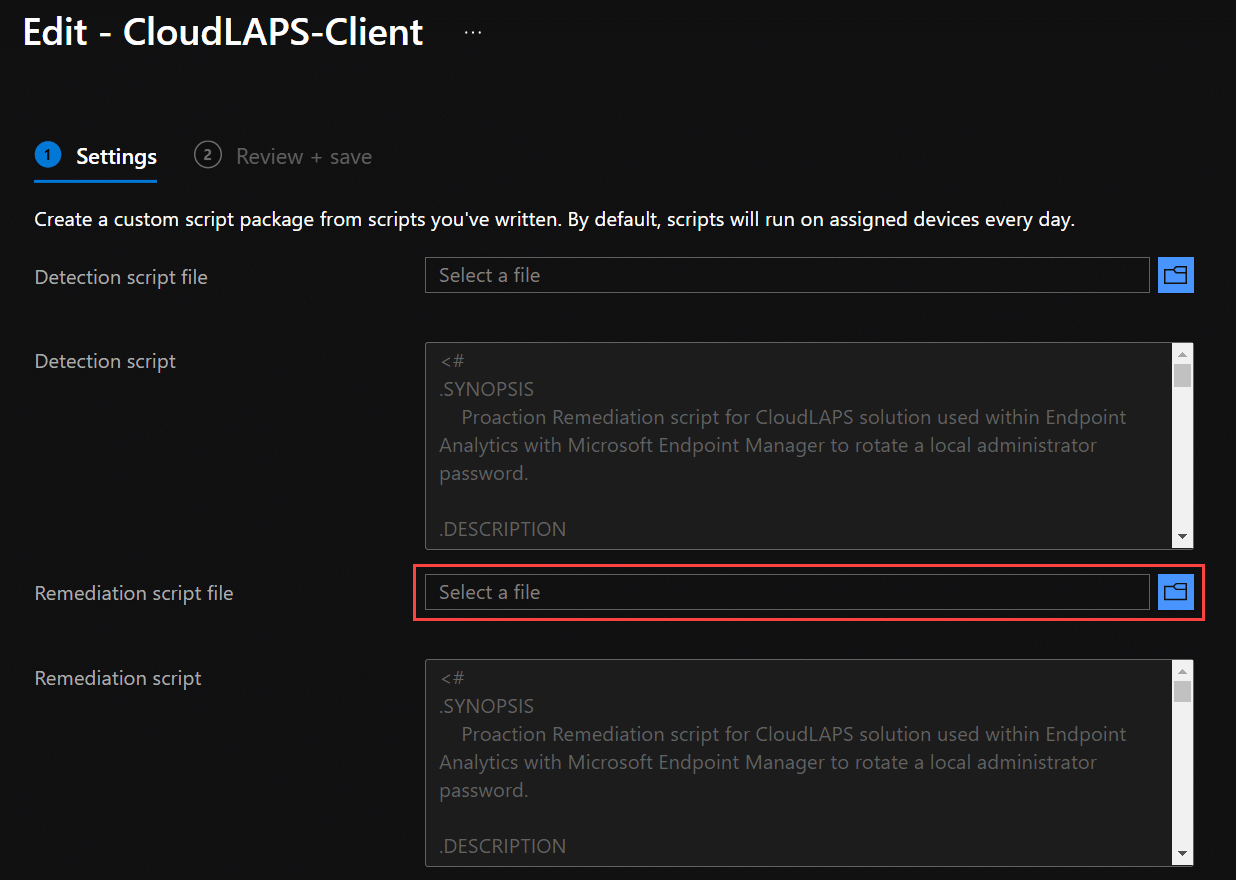
Click Select a file for the Remediation script file and provide the new and updated Remediate.ps1 script file.
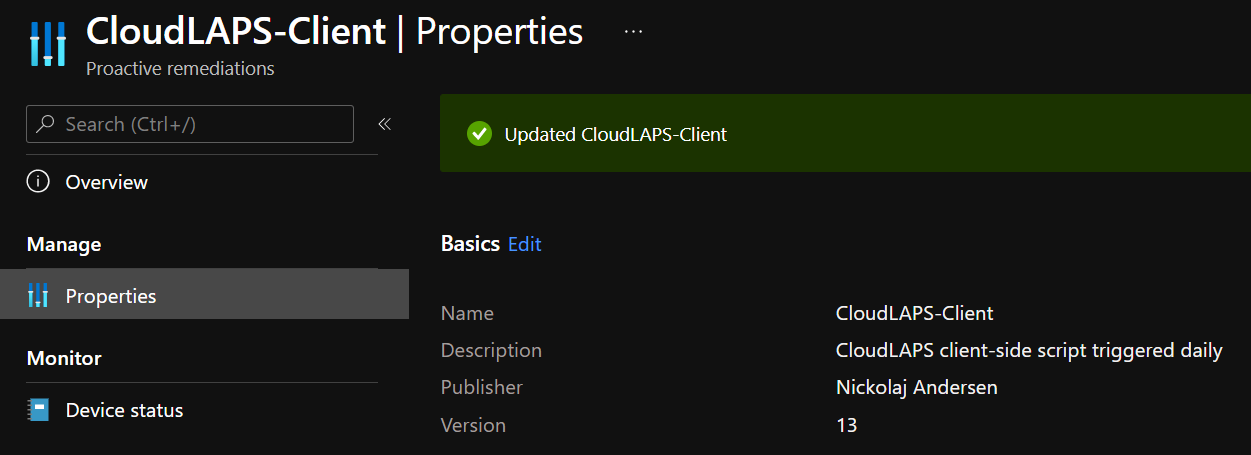
Click Review + Save and Save again. The Proactive Remediation has now been successfully updated.
This completes the update instructions for CloudLAPS 1.1.0. Please reach out on GitHub and report an issue if something goes wrong or to report a potential bug.
Known update issues and fixes
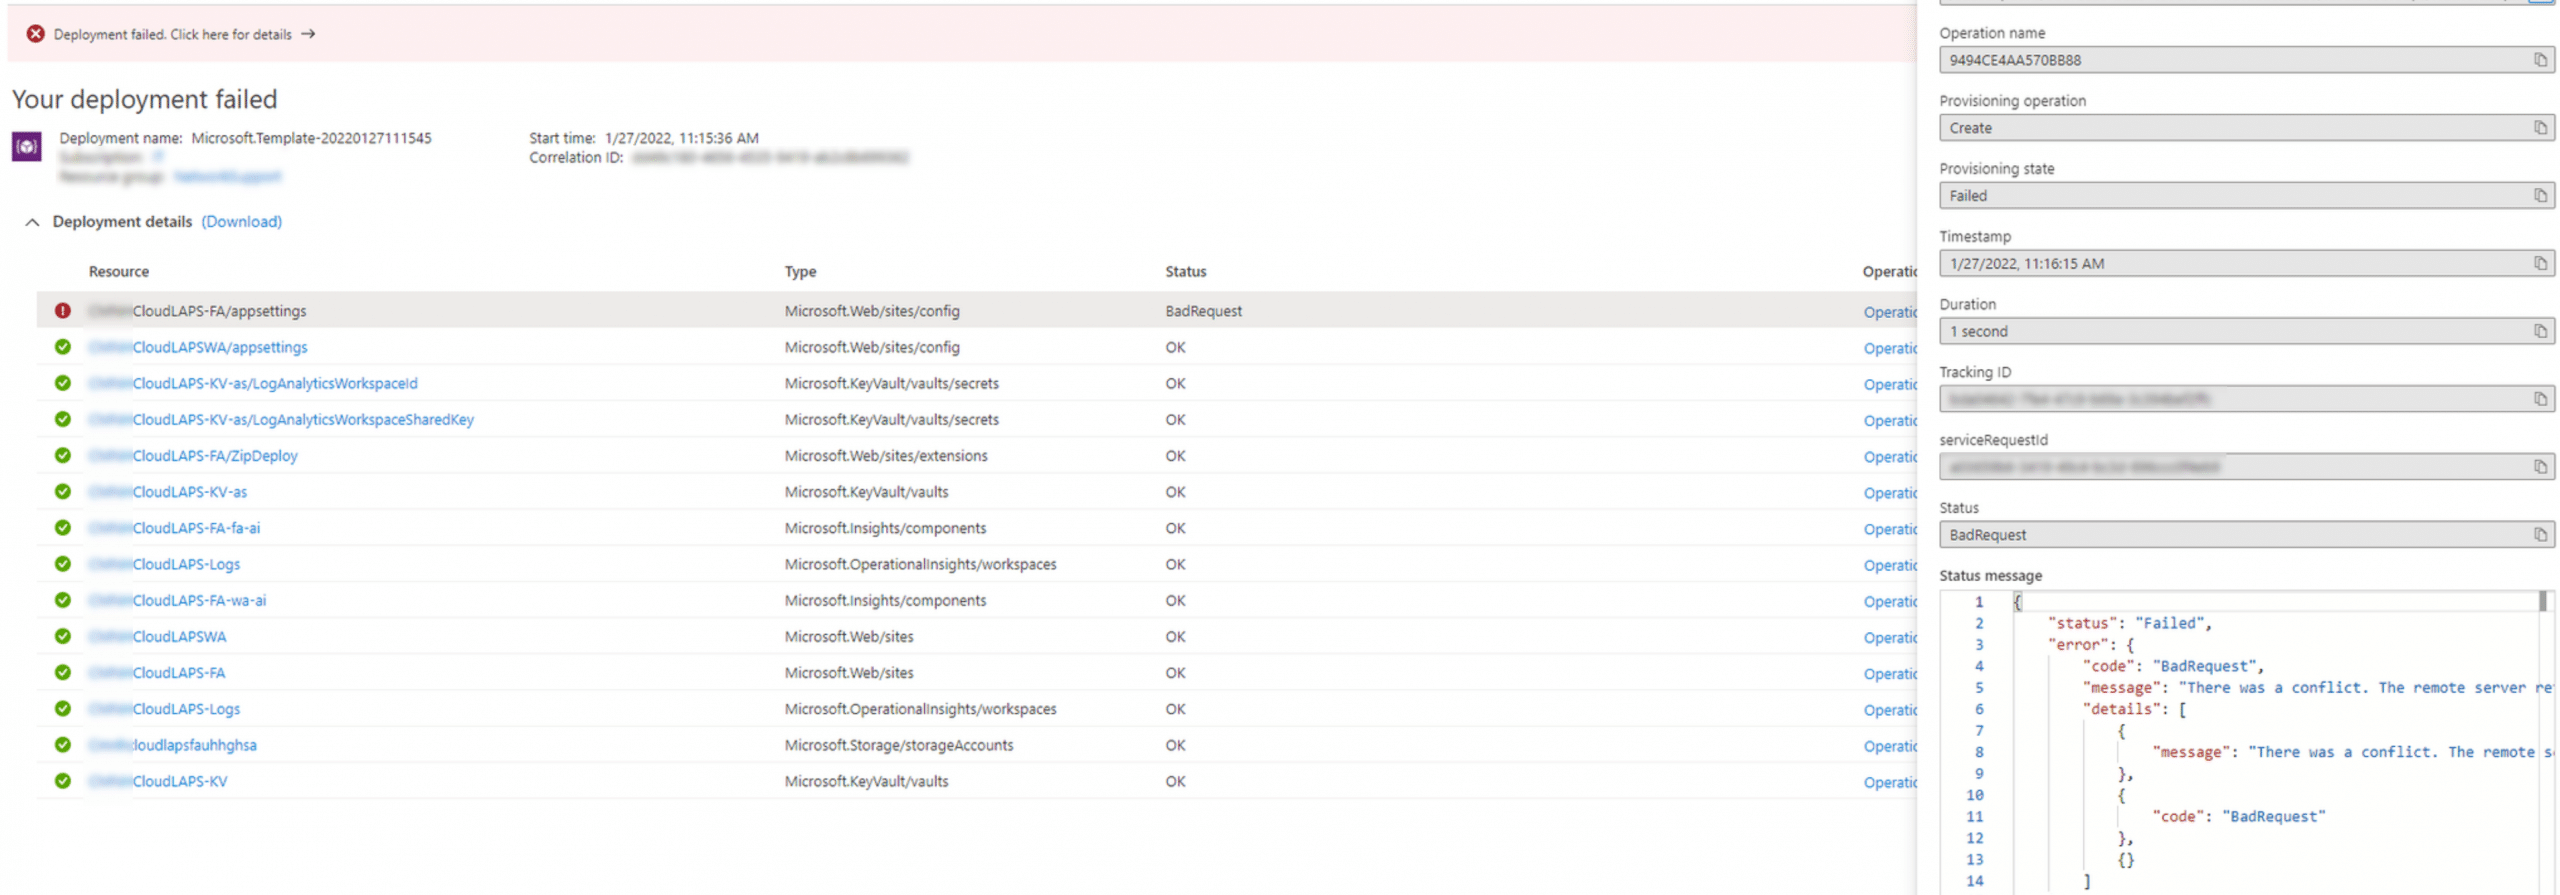
Deployment failed
On rare occasion the ZipDeploy or appSettings update deployment resources may fail. If that happens to be the case, re-deploying the update will solve the issue. Below image shows an update deployment process that failed:
To re-deploy again, click the Redeploy button.

For other update deployment process errors related to the Azure resources, please raise an issue on GitHub with the error details.
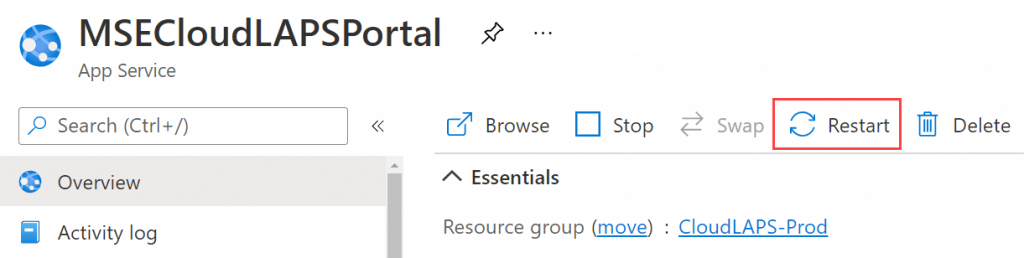
CloudLAPS Portal search for serial number returns empty result
This issue was reported during the testing phase before the release of this version, where a simple restart of the CloudLAPS Portal app service solved it.