


A few days back Microsoft released Cumulative Update 2 for System Center 2012 Configuration Manager SP1. You can find the KB article here. This blog post will cover the necessary steps on how to successfully install CU2 on your CAS, Primary and Secondary Site servers.
Overview
- Before you start with the update process
- Download the CU2 update
- Upgrade your CAS server
- Upgrade your Primary Site servers
- Upgrade your Secondary Site servers
- Summary
Before you start with the update process
Make sure that you have a backup of your databases before you go ahead and perform the update to CU2. The backup should preferably not be older than 1 day. You can check out this excellent blog post on how to perform backups of a ConfigMgr 2012 SP1 database. It’s also considered a best practice to make sure all the servers affected by this update are running with the latest updates from Microsoft.
Download the CU2 update
1. You can request the hotfix from Microsoft here. Extract the content to a preferred folder.
2. Copy the CM12-SP1CU2-KB2854009-X64-ENU.exe file to all of your server where you’re will be performing the update. In this post it will be the CAS, Primary and Secondary Site servers.
Upgrade your CAS server
1. Launch CM12-SP1CU2-KB2854009-X64-ENU.exe and let it extract to it’s randomized folder.
2. Click Yes in the UAC prompt to run the setup. If the setup doesn’t launch automatically, you’ll find updatesetup.exe in the extracted folder e.g. C:\aff863c0e12c9.
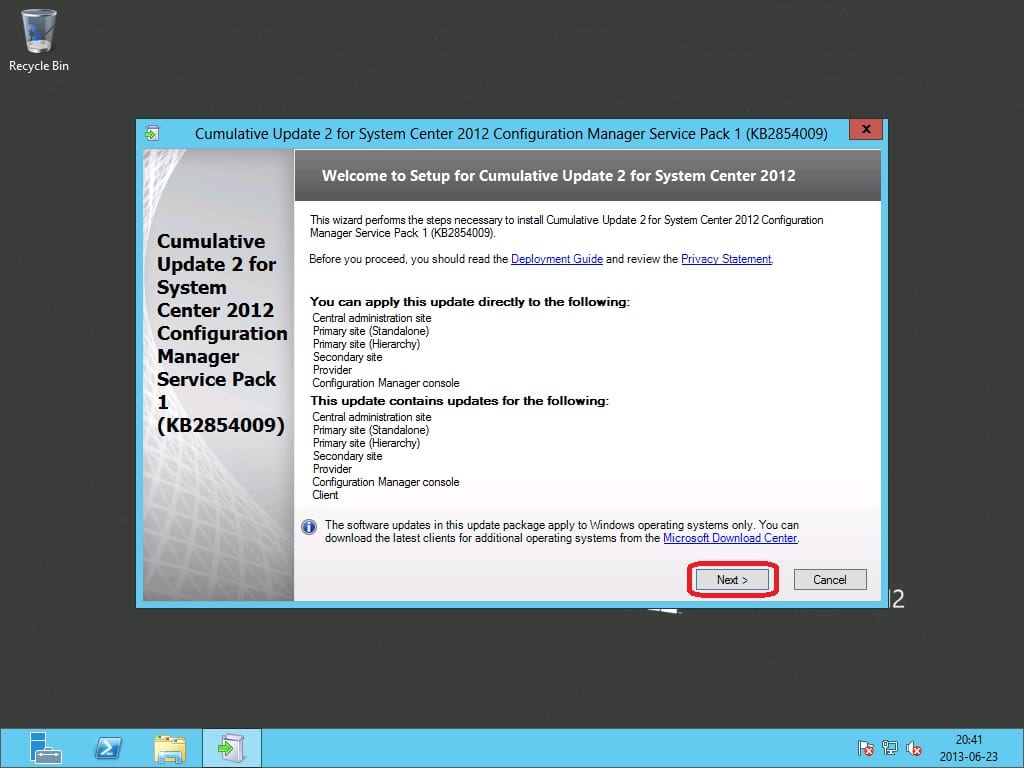
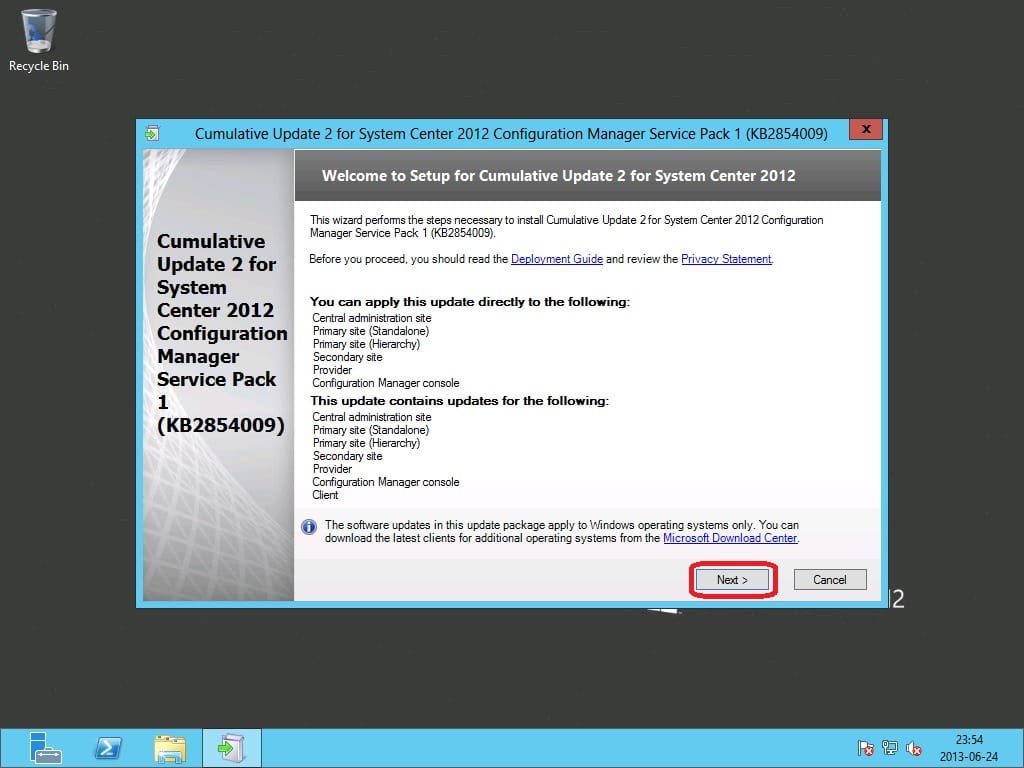
3. Click Next on the Welcome to Setup for Cumulative Update 2 for System Center 2012 page.

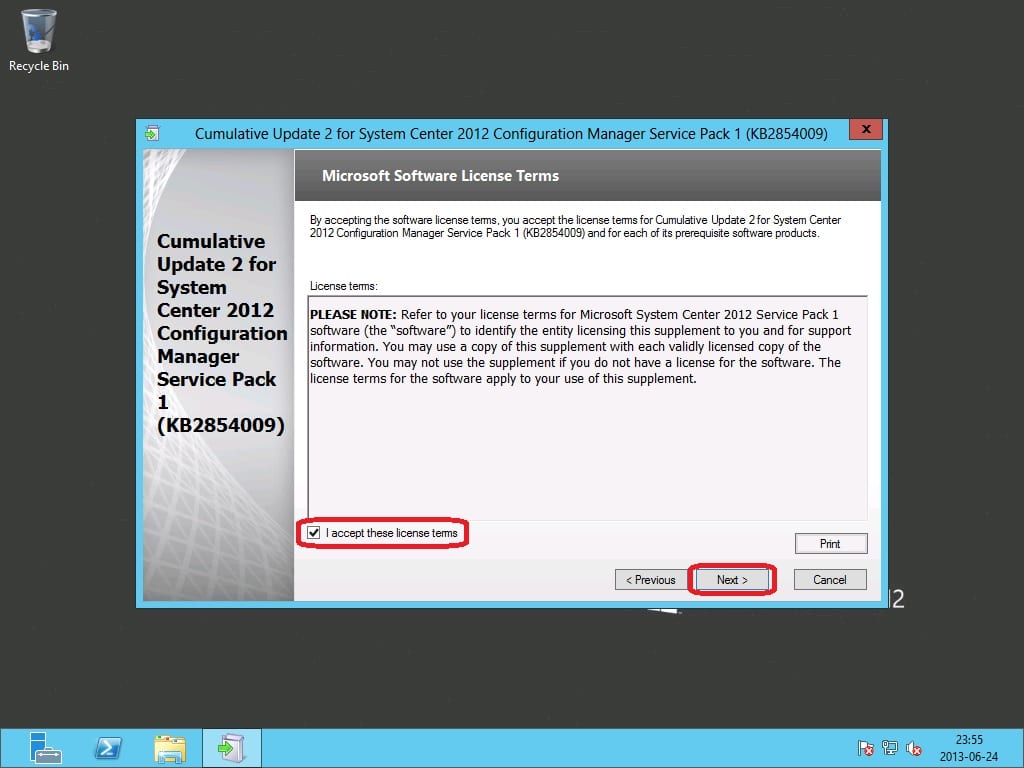
4. Check I accept these license terms on the Microsoft Software License Terms page. Click Next.

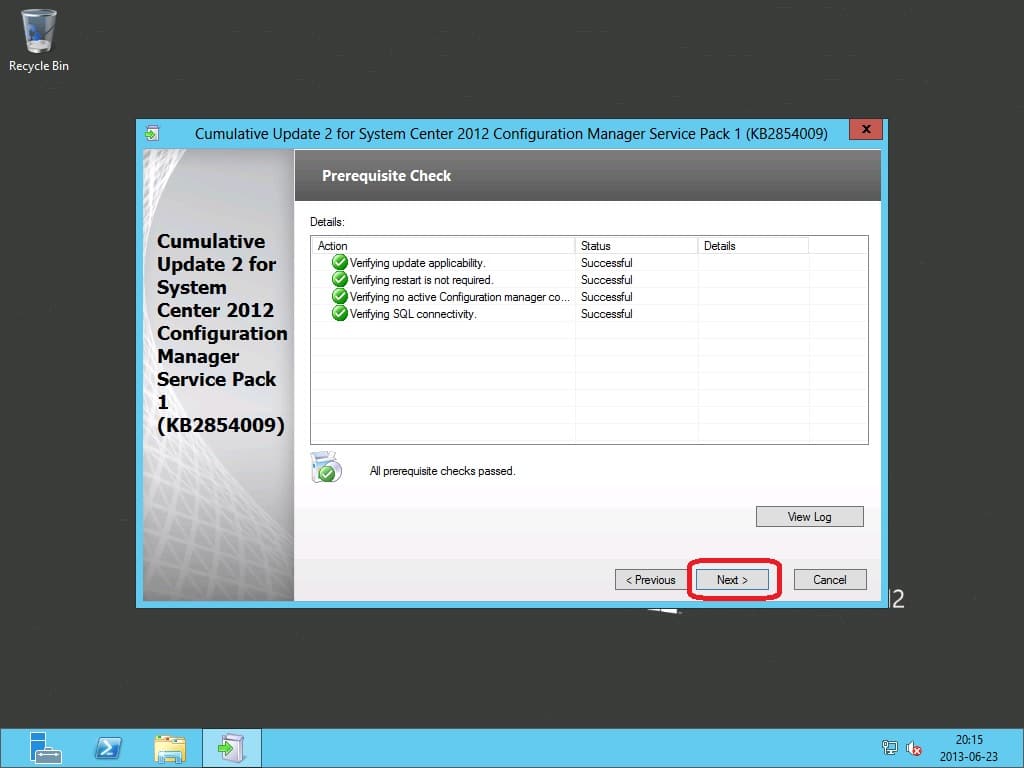
5. Let the prerequisite check complete and take any suggestion action in order to proceed. When everything is green, click Next.
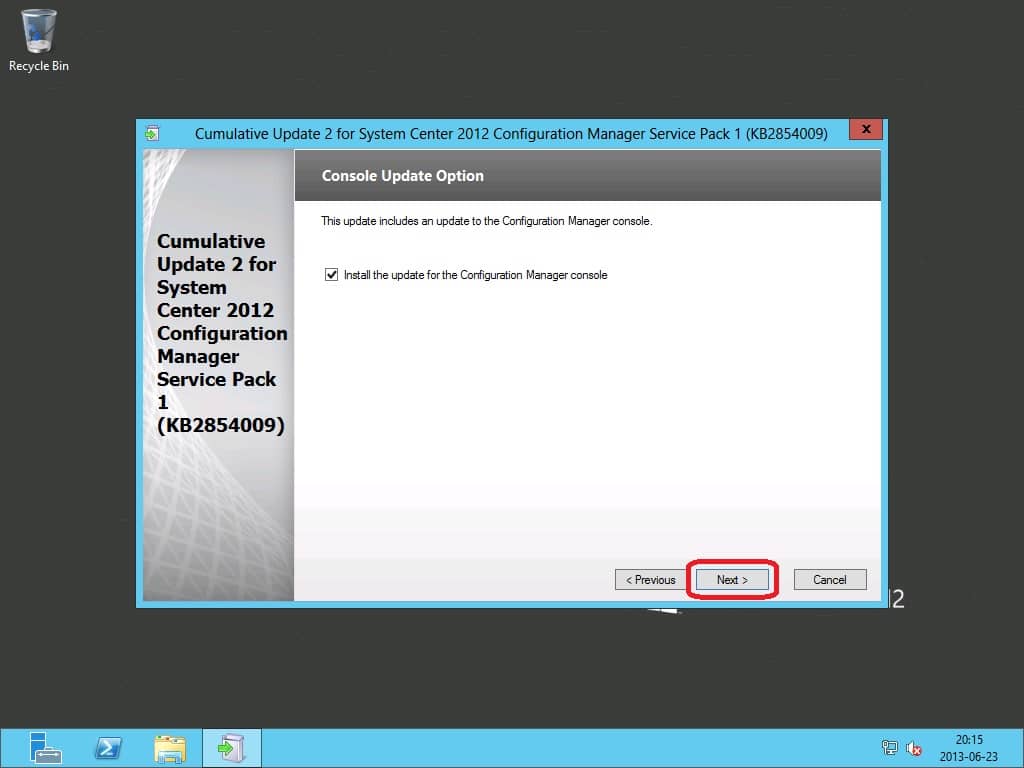
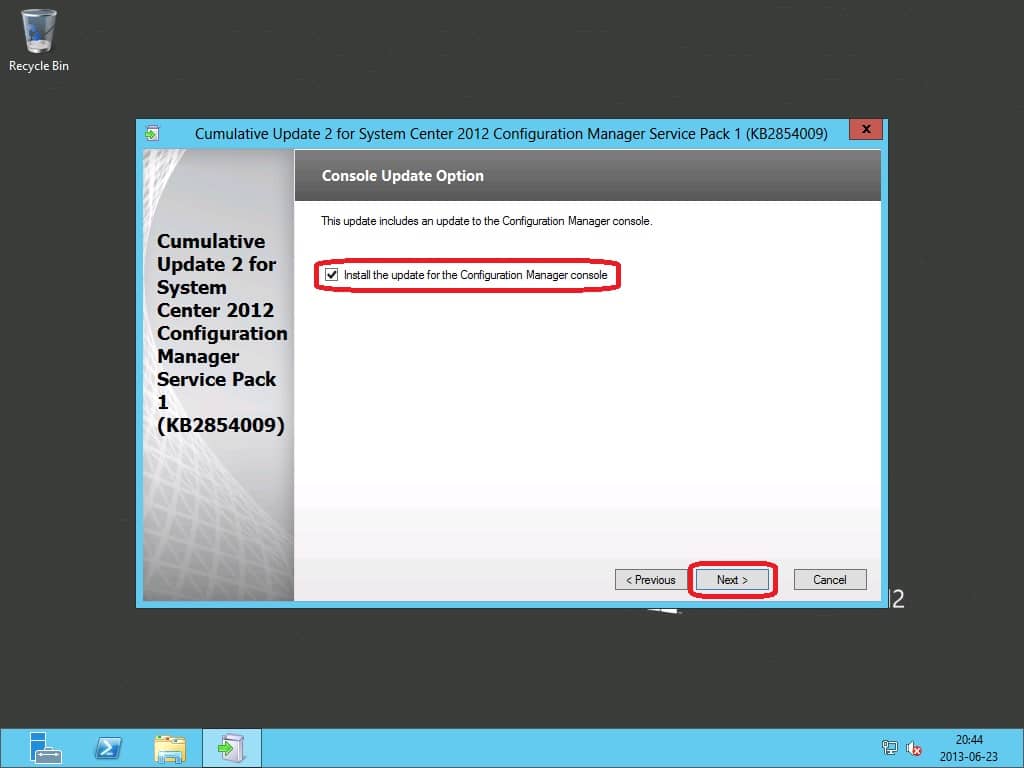
6. Make sure that Install update for the Configuration Manager console option is checked if you wish to install the update for your console on the CAS. Click Next.
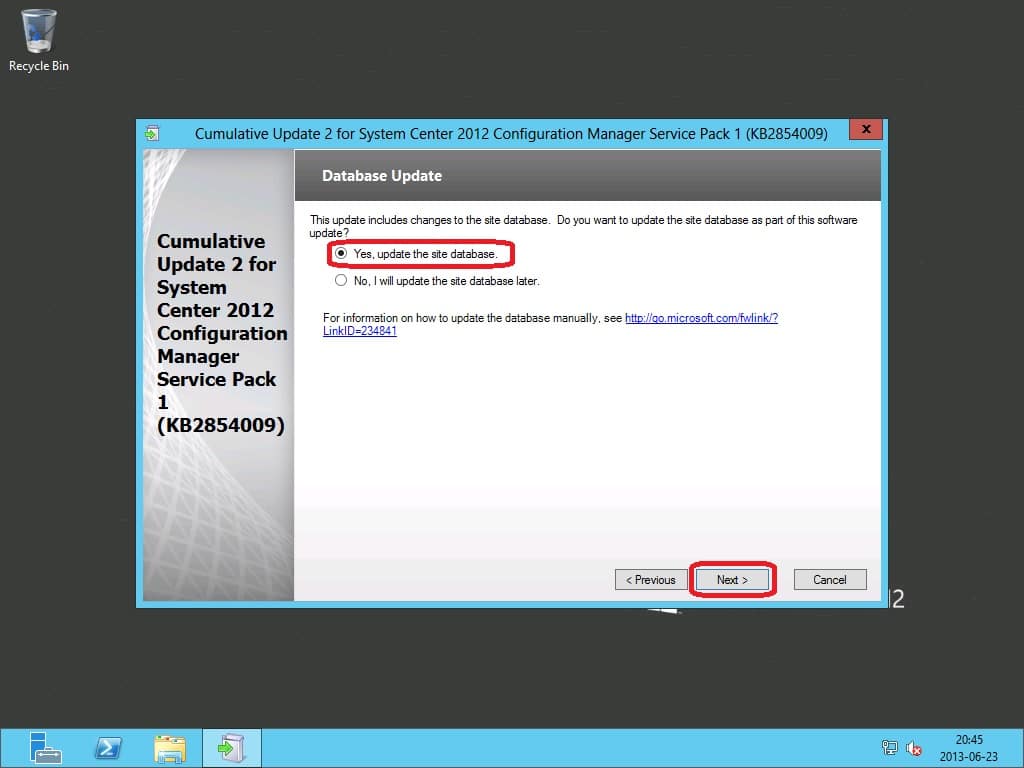
7. Determine if you want to update the database at this point. If you know that you have a known good backup of the database, go ahead and select Yes, update the site database. Click Next.

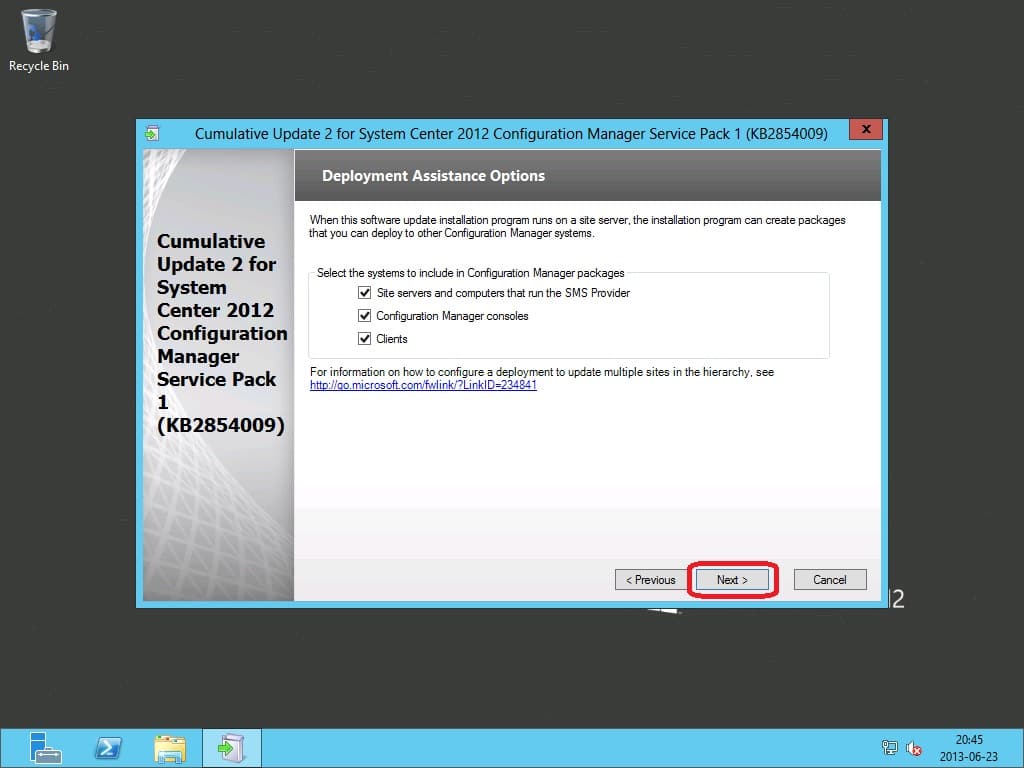
8. On the Deployment Assistance Options page, determine what packages you want to be automatically created for this update. I recommend to create all packages, you never know when you need them. Click Next.

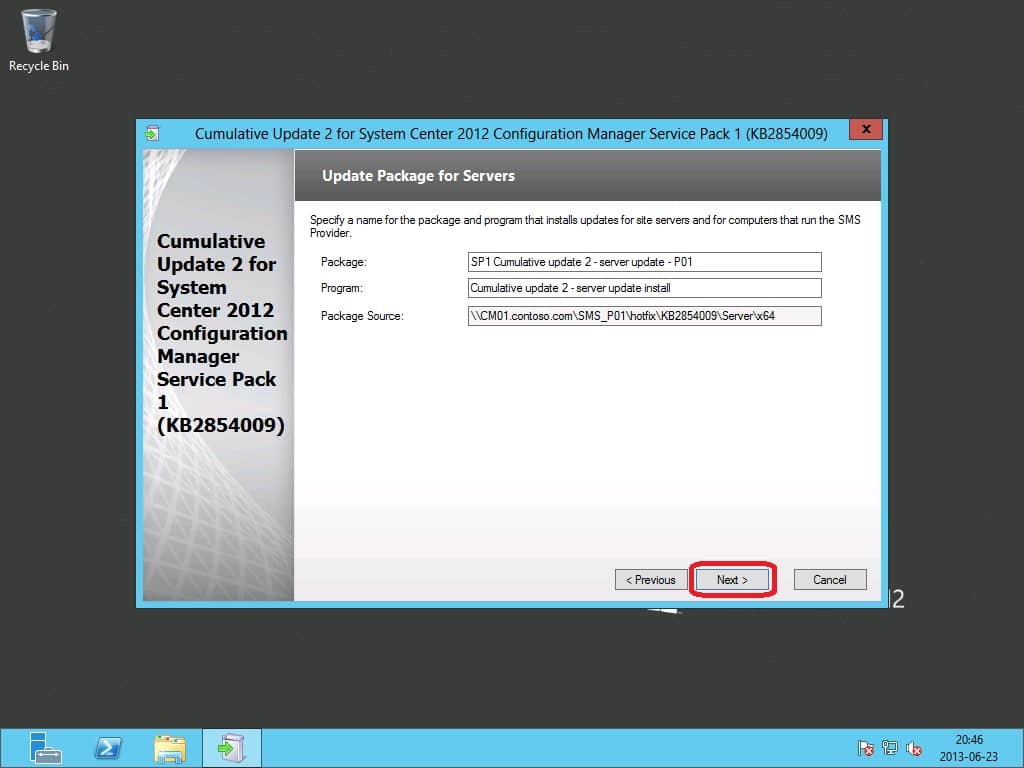
9. On the Update Package for Servers page, accept the default entries and click Next.

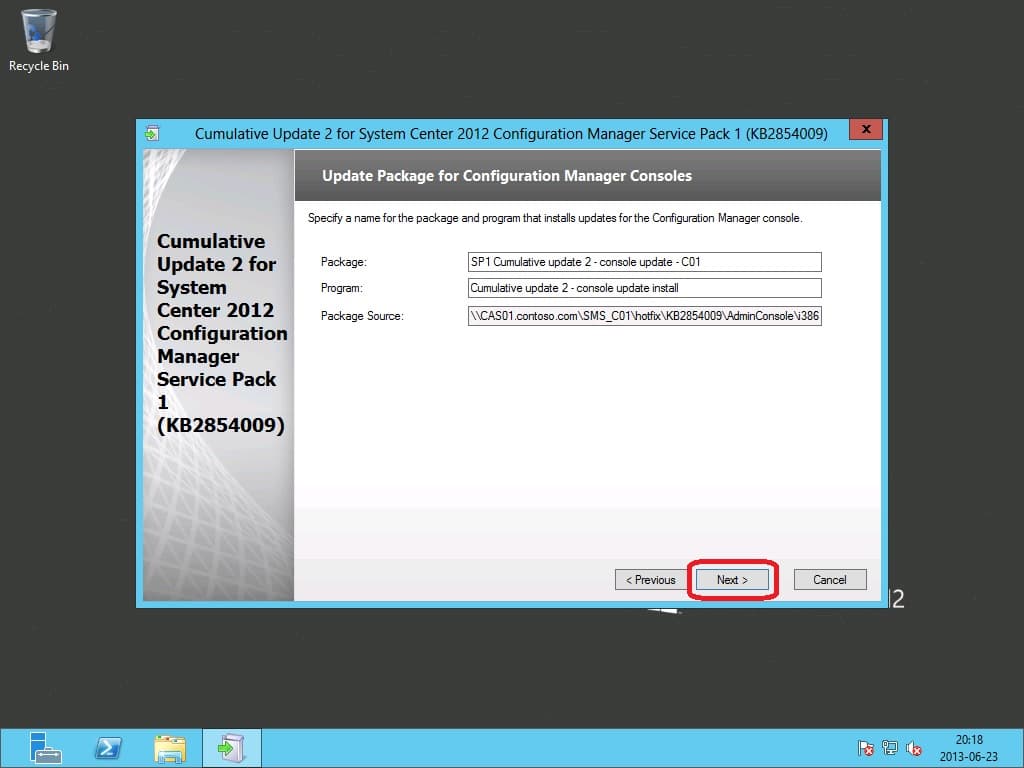
10. On the Update Package for Configuration Manager Consoles page, accept the default entries and click Next.
11. On the Update Package for Configuration Manager Clients page, accept the default entries and click Next.

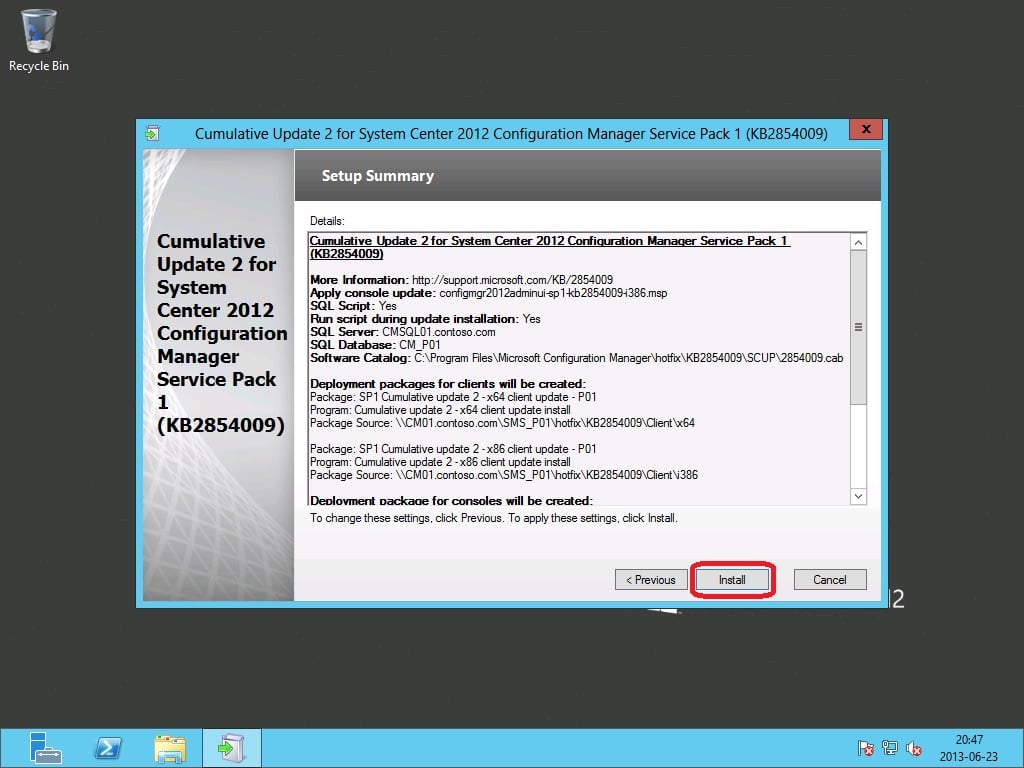
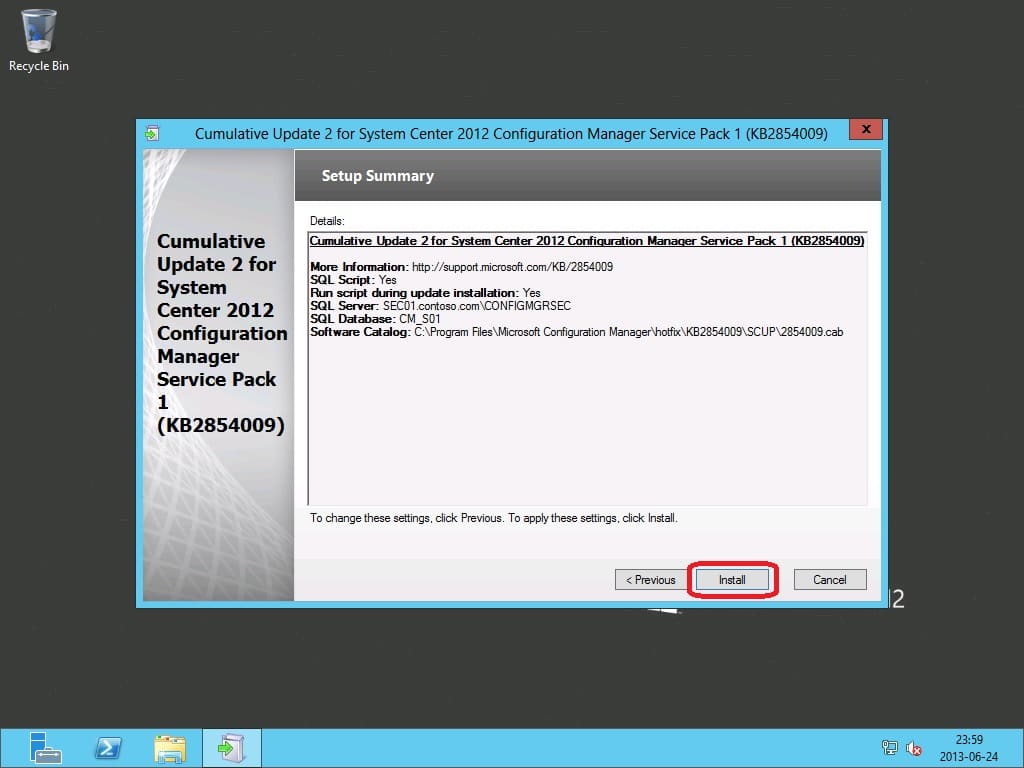
12. On the Setup Summary page, click Install.

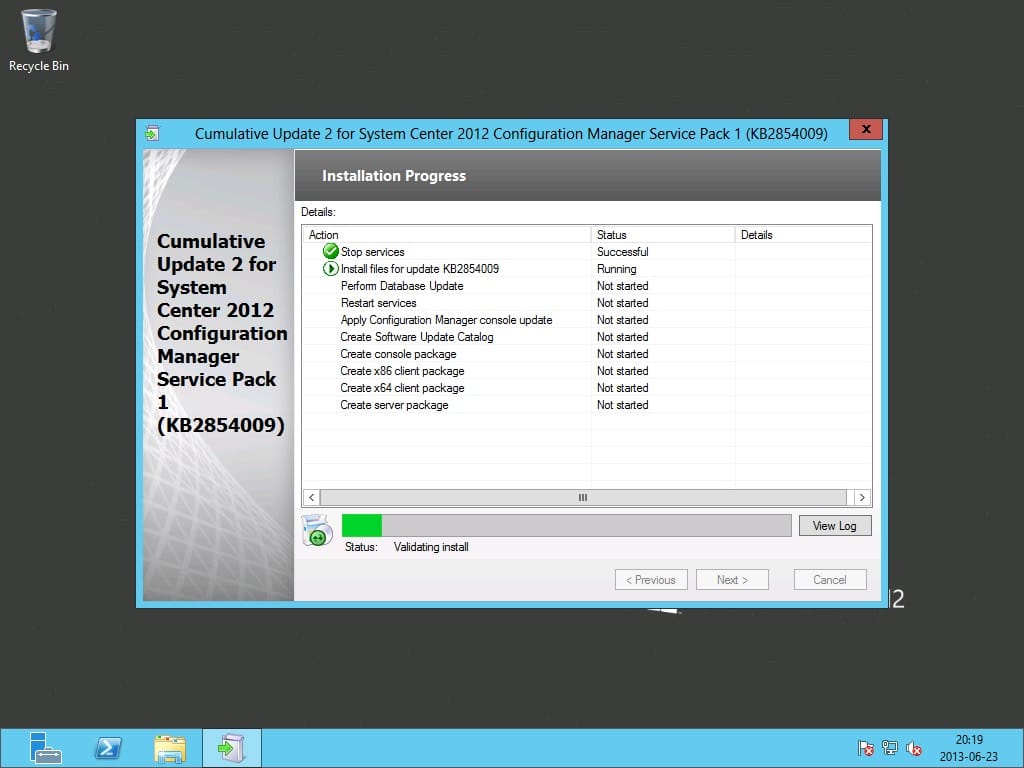
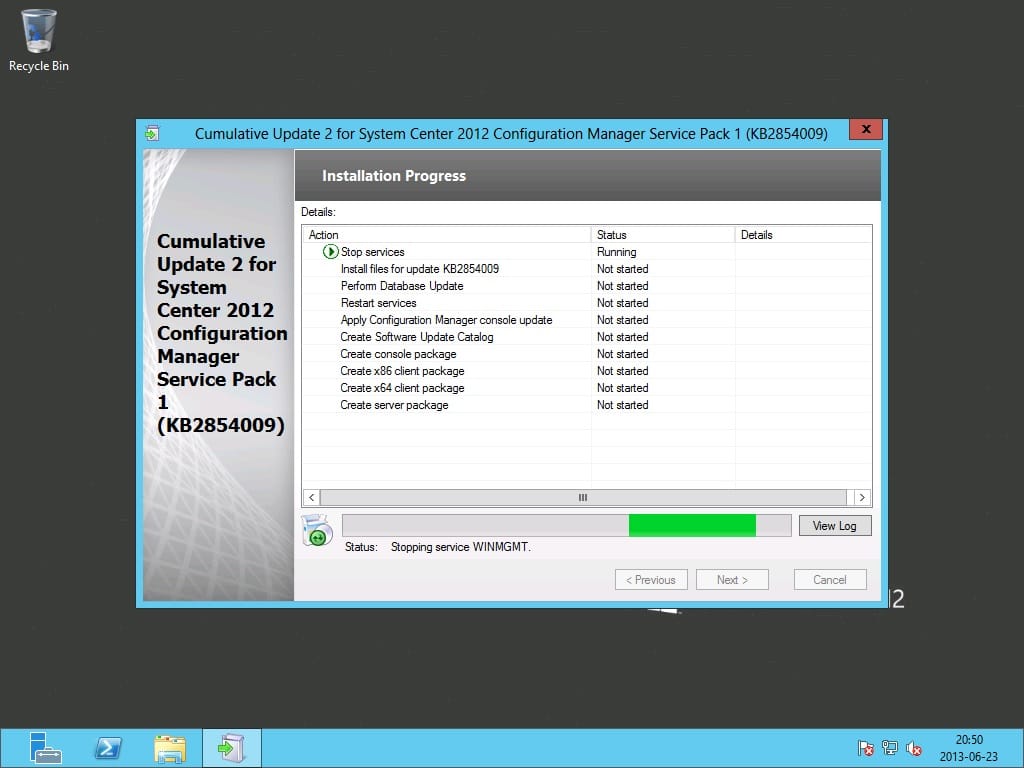
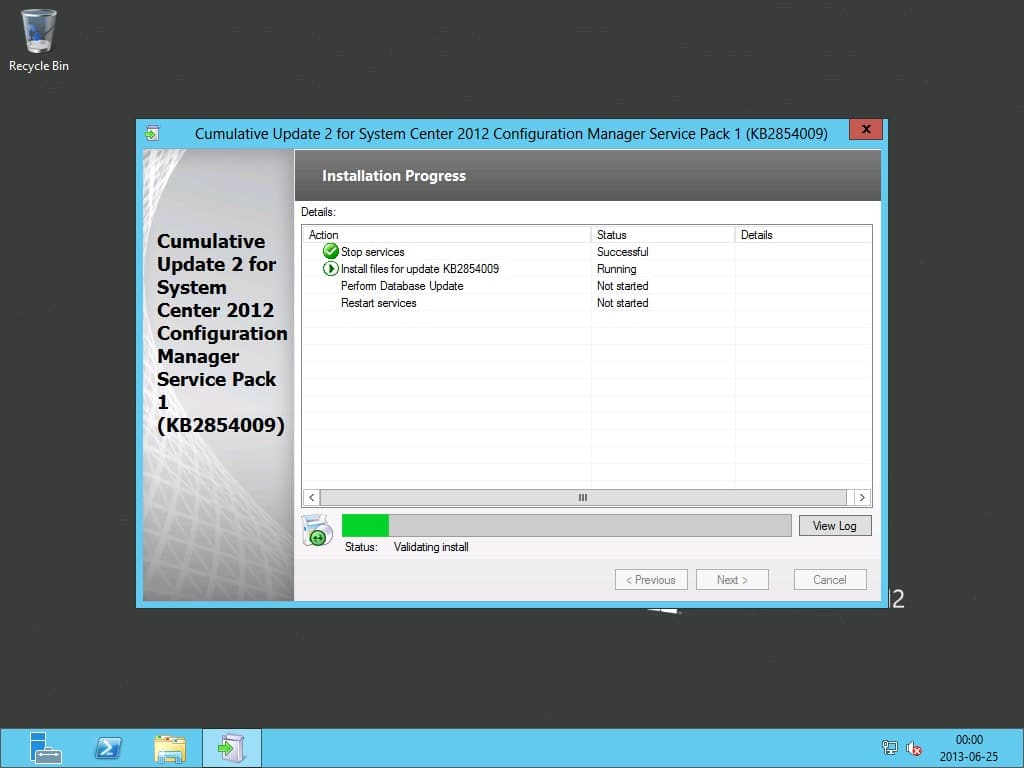
13. Let the upgrade run until it completes. I noted that the upgrade processes would stall on Stopping service WINMGMT for a long period. I restarted the server and ran the setup again. It then ran the upgrade without a problem.
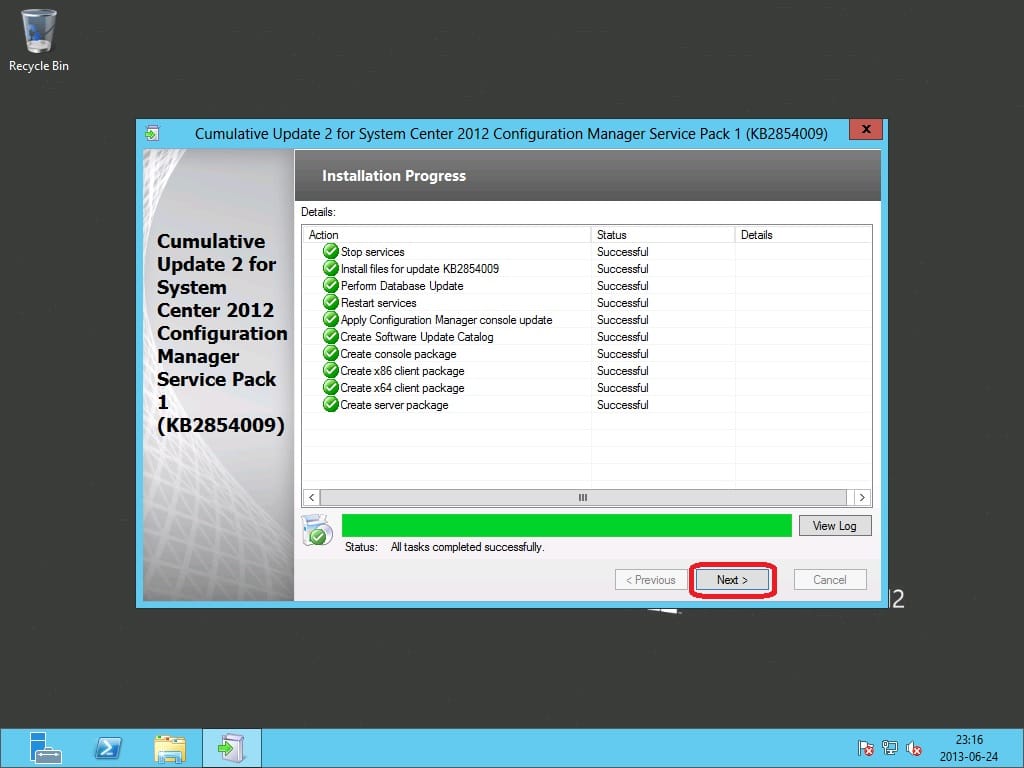
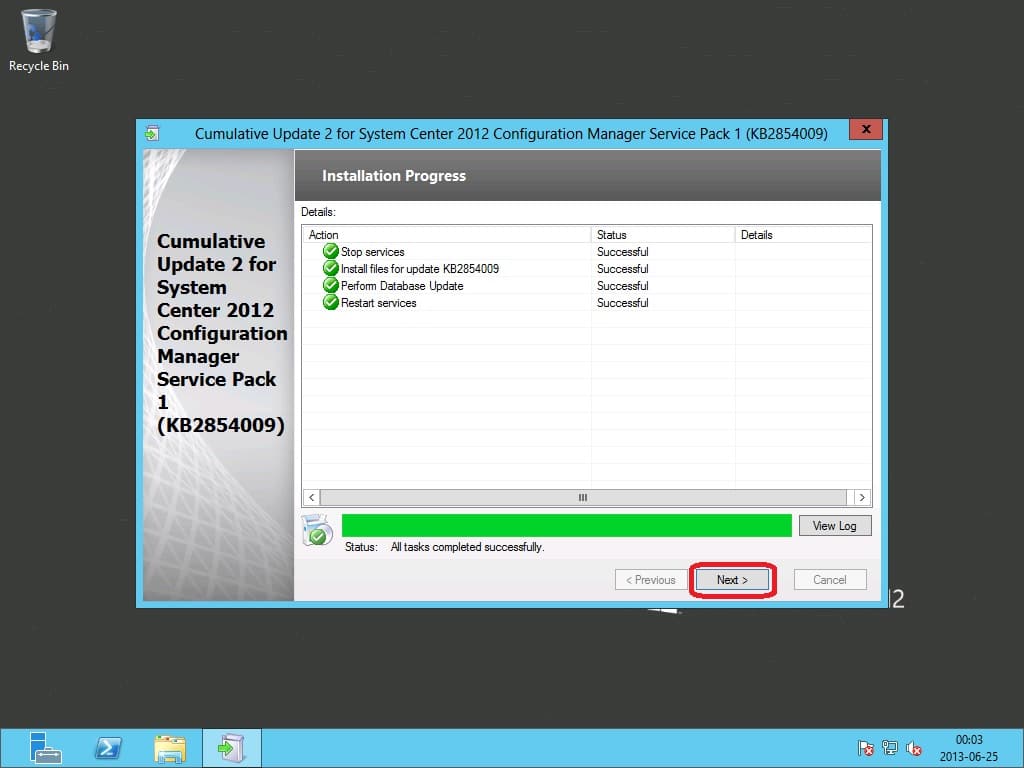
14. When the upgrade has completed, click Next.

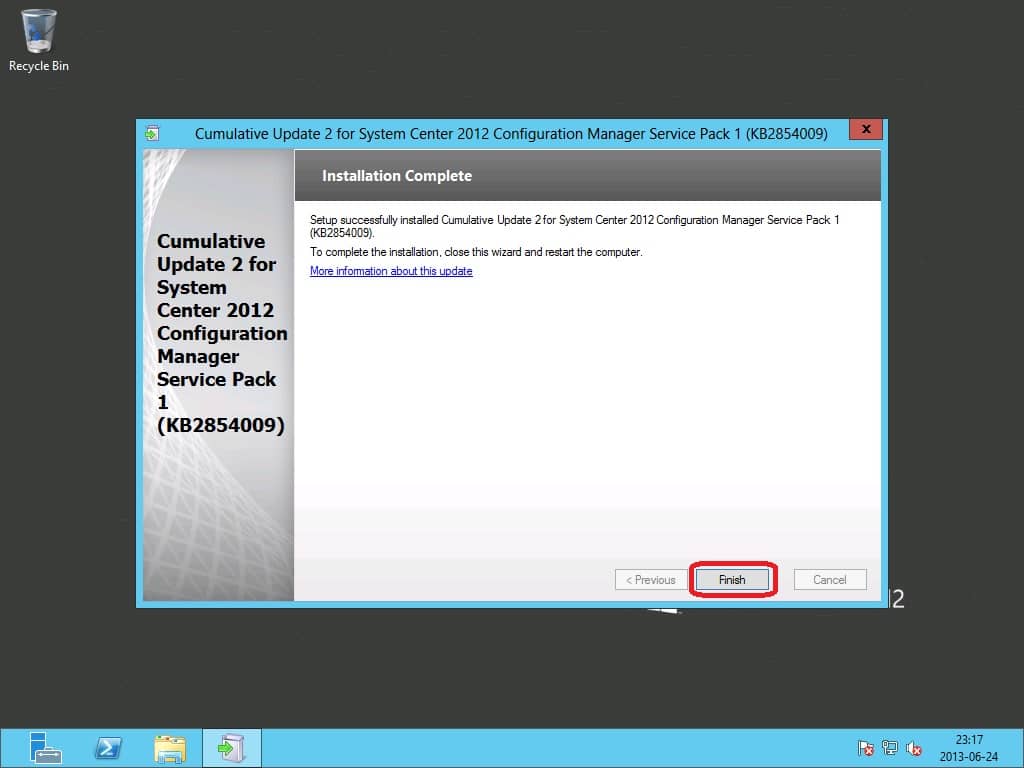
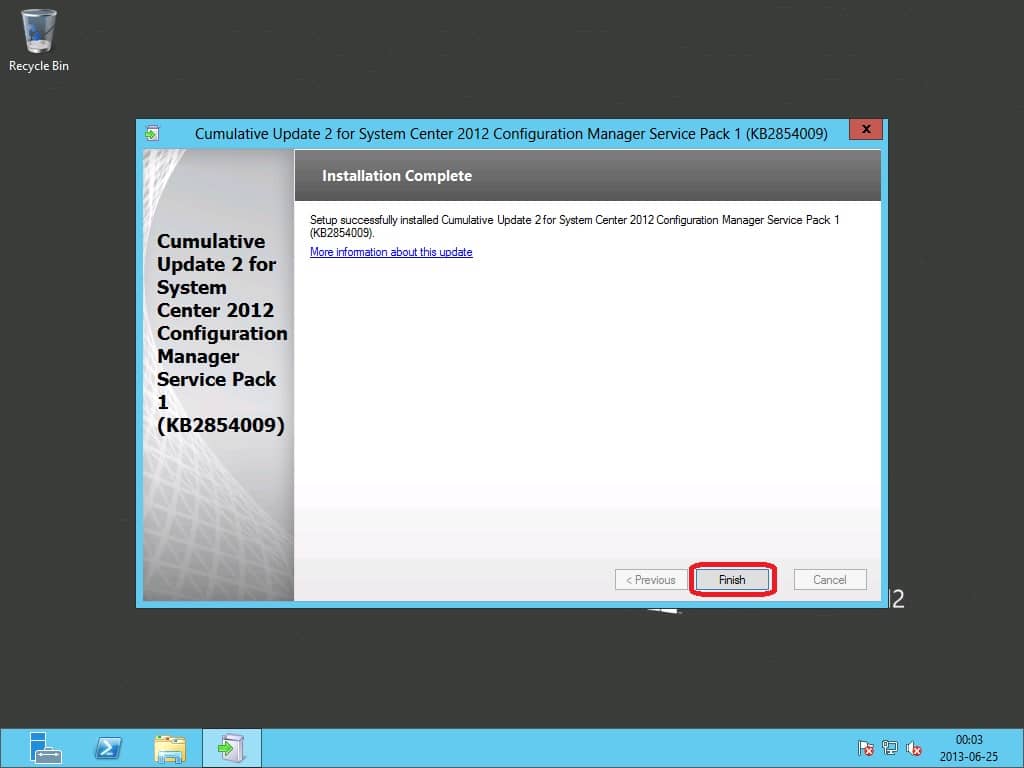
15. On the Installation Complete page, click Finish.
Upgrade your Primary Site servers
The process of upgrading your Primary Site servers are exactly the same as for the CAS server. But I’ll cover this anyway.
1. Launch CM12-SP1CU2-KB2854009-X64-ENU.exe and let it extract to it’s randomized folder.
2. Click Yes in the UAC prompt to run the setup. If the setup doesn’t launch automatically, you’ll find updatesetup.exe in the extracted folder e.g. C:\aff863c0e12c9.
3. Click Next on the Welcome to Setup for Cumulative Update 2 for System Center 2012 page.
4. Check I accept these license terms on the Microsoft Software License Terms page. Click Next.

5. Let the prerequisite check complete and take any suggestion action in order to proceed. When everything is green, click Next.

6. Make sure that Install update for the Configuration Manager console option is checked if you wish to install the update for your console on the Primary Site server. Click Next.
7. Determine if you want to update the database at this point. If you know that you have a known good backup of the database, go ahead and select Yes, update the site database. Click Next.
8. On the Deployment Assistance Options page, determine what packages you want to be automatically created for this update. I recommend to create all packages, you never know when you need them. Click Next.
9. On the Update Package for Servers page, accept the default entries and click Next.
10. On the Update Package for Configuration Manager Consoles page, accept the default entries and click Next.

11. On the Update Package for Configuration Manager Clients page, accept the default entries and click Next.

12. On the Setup Summary page, click Install.
13. Wait for the upgrade to complete.
14. When the upgrade has completed, click Next.
15. On the Installation Complete page, click Finish.
Upgrade your Secondary Site servers
Upgrading your Secondary Site server does not involve that many steps as for the Primary Site server and CAS server.
1. Launch CM12-SP1CU2-KB2854009-X64-ENU.exe and let it extract to it’s randomized folder.
2. Click Yes in the UAC prompt to run the setup. If the setup doesn’t launch automatically, you’ll find updatesetup.exe in the extracted folder e.g. C:\aff863c0e12c9.
3. Click Next on the Welcome to Setup for Cumulative Update 2 for System Center 2012 page.
4. Check I accept these license terms on the Microsoft Software License Terms page. Click Next.
5. Let the prerequisite check complete and take any suggestion action in order to proceed. When everything is green, click Next.

6. Make sure that Yes, update the site database is selected and click Next.

7. On the Setup Summary page, click Install.
8. Wait for the upgrade to complete.
9. When the upgrade has completed, click Next.
10. On the Installation Complete page, click Finish.
Summary
Your whole hierarchy is now updated to the latest Cumulative Update 2. Remember to distribute the newly created packages to your Distribution Points. You’ll find the packages under Software Library, Application Management, Packages and then Configuration Manager Updates.
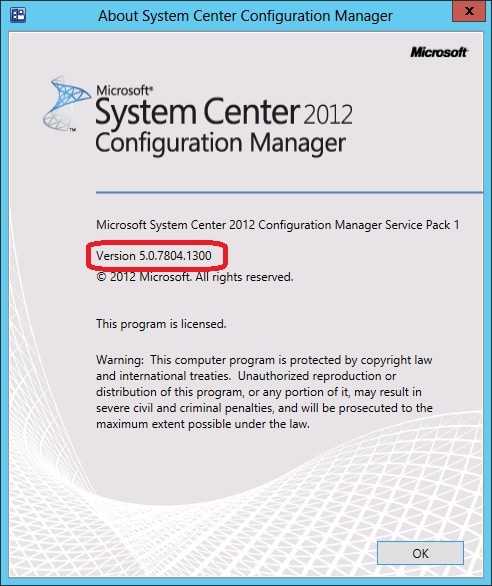
If you’d like to verify that the upgrade was successful, launch the Configuration Manager console and click on the menu and choose About Configuration Manager. If the version is 5.0.7804.1300, the upgrade has been installed.


Add comment