


In our company we are consuming a 100% cloud services and we have literally zero servers, network or infrastructure at all. As we still have the need of patching 3rd party software on our clients I started looking into how we could do this about a year ago and at the time, the options where not great. I mean we have Microsoft Defender ATP telling me what 3rd party software runs on all my clients, but for me to actually patch that I had to download the software, package it up with the Win32 App Packaging tool for Intune and the deploy it to the machines that had the vulnerable apps installed. I simply did not have the time to handle this for 10 clients even.
So in June 2019 I added a user voice request to Patch My PC for Intune support, 6 months later this was out in preview and now this is released and actually even allows you to run this on a Windows 10 machine. I decided I did not want to run this on my own machine and being depended of my laptop to be up and running, so I looked to Azure for setting this up.
In the rest of this post, I will show you my setup and walk you trough my experiences using this since the private preview. I will not be going through the actual setup of Patch My PC as this is well documented by Justin and his team already. Take a look here for all their youtube videos on how to get started: https://www.youtube.com/channel/UCT9BKiLpbO1pGxXsU1-_zBg/featured
Setting up the VM in Azure with Just In Time Access
You need a Azure Subscription to run this on. I recommend you create a separate resource group in Azure for this and just deploy a Windows 10 machine in that resource group. Go into your resource group and click on Add – Search for Windows 10. You should have many choices, but you dont need much to get started here, so I will simply choose the first choice in the list which right now is Windows 10 1909 Pr0 – then you click on “Start with a pre-set configuration:

Then go for the General Purpose recommendation:
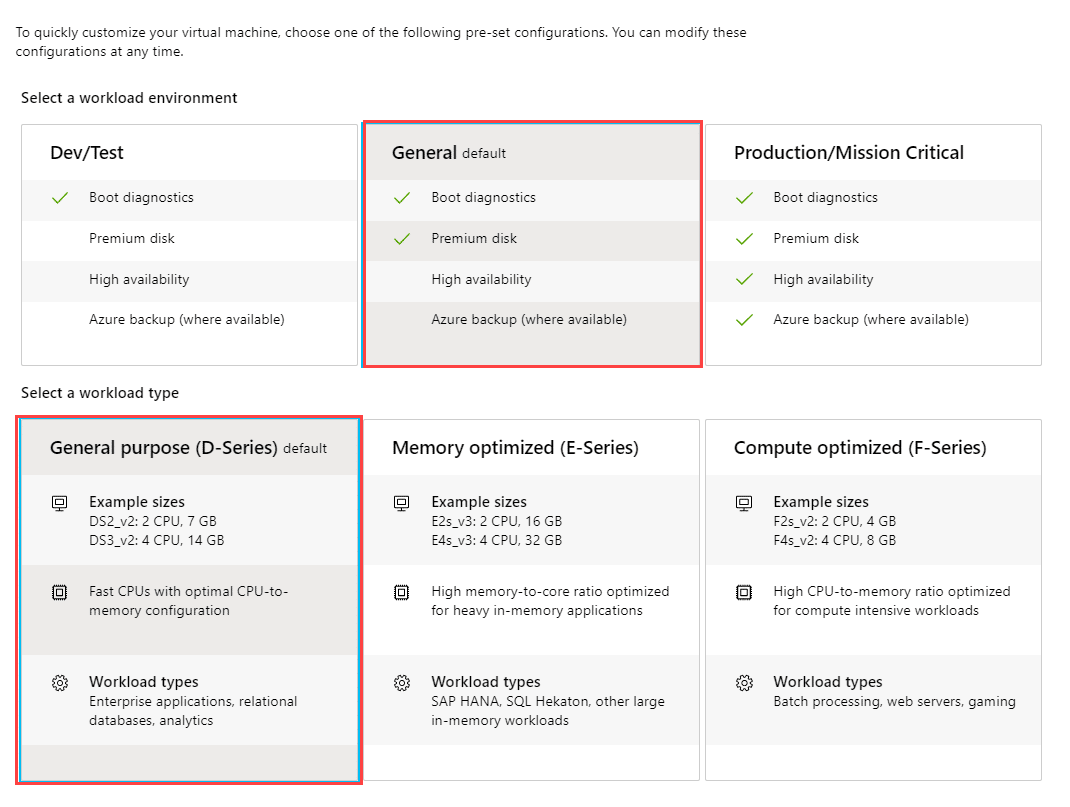
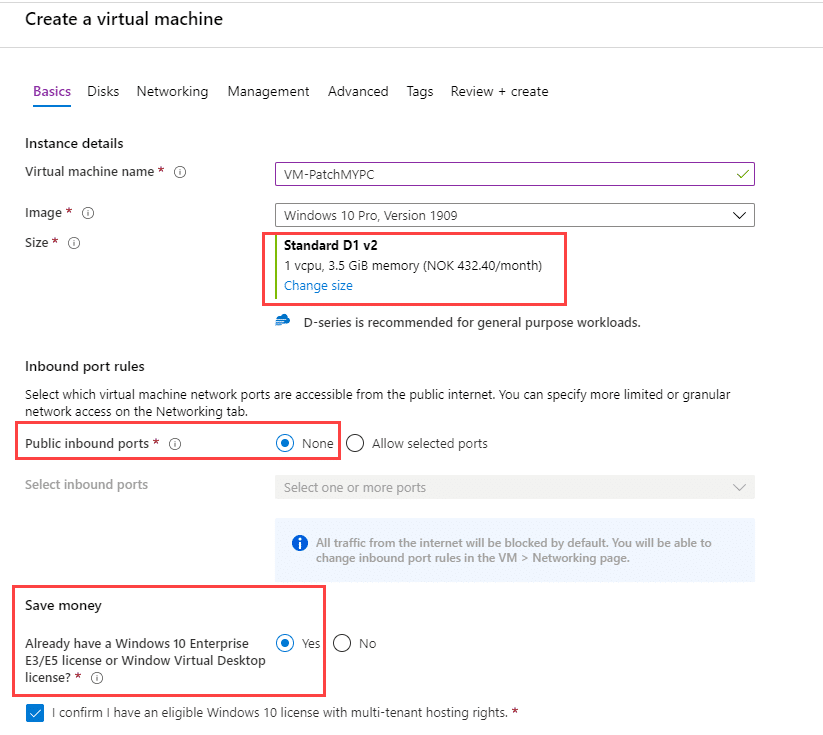
And click Continue to create VM on the next page there are quite a few choices, but the important ones for cost is size of your VM and whether or not you are covered by a Windows 10 pr User license already. I changed my VM to a D1_v2 size (1 vcpu, 3,5gb memory) and ticket off that I already have Windows 10 license, as I am covered through my Microsoft 365 E5 license already. The next thing is to NOT allow public inbound ports on your VM. We will configure that a bit later.
Now we move to the next page which is Disks. The VM size we picked does not allow us to choose a premium SSD, but that is not needed either. So I just click on next here to go forward to the networking setup. In the networking page we have some choices to do. I recommend you keep it simple, and allow the wizard to create a new Virtual network, a new subnet and a new public IP. Set the NIC Network Security to basic and keep no Public inbound ports for now.

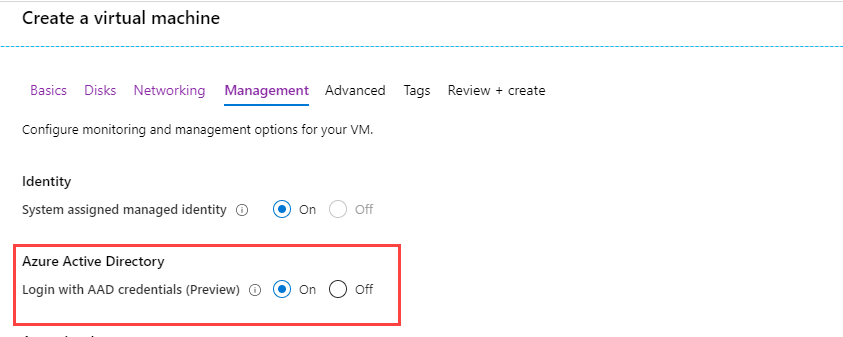
Now go to to the Managment page, in this page you can choose whether or not you want to have diagnostics services or not. Depending on your need you can set this up. But if you, like me are a cloud only environment I would recommmend you to choose Login with AAD Credentials (preview) so that you can assign permissions to your users later on to access this machine for managing your 3rd party patching without giving them a local username + password or anything like that. This will also enable the System assigned managed identity on your machine.
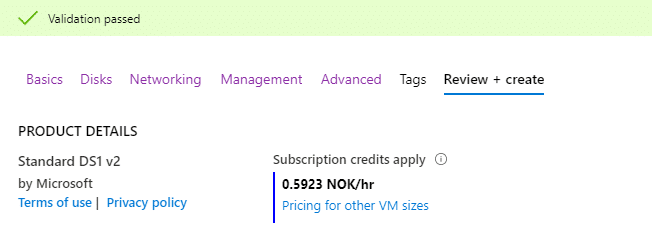
On the advanced page, be aware that if you choose to go for a Generation 2 VM you can not use Azure Disk Encryption. In my opinion, that is not critical for this workload, so I have choose to go for Gen 2 so that my machine has UEFI Based boot and so on. Now continue to Review and create, verify that all looks good before you click on Create.
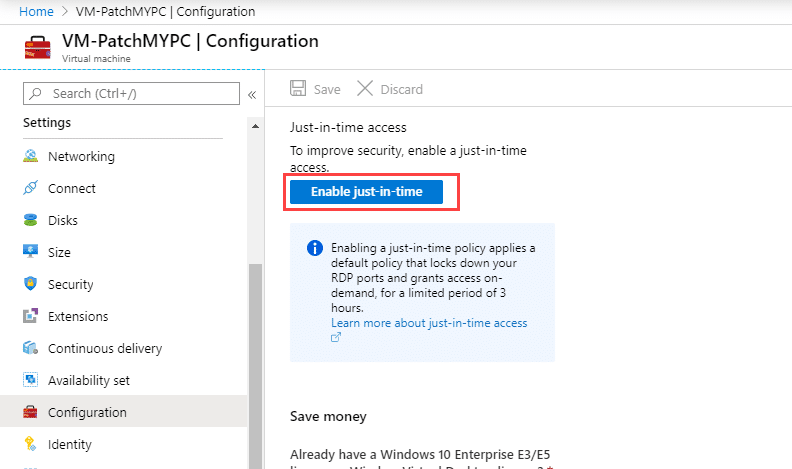
Now we wait until it is deployed. When that is done, should not take long, we go to the VM – Networking – Configuration to setup our Just in time access. (It does require Azure Security Center on your subscription). Just-in-time access means that you can have all inbound ports on your Azure NSG set to block until you actually need to connect. And when you need access you request it to open for your IP only. This reduces your attack vector dramatically.
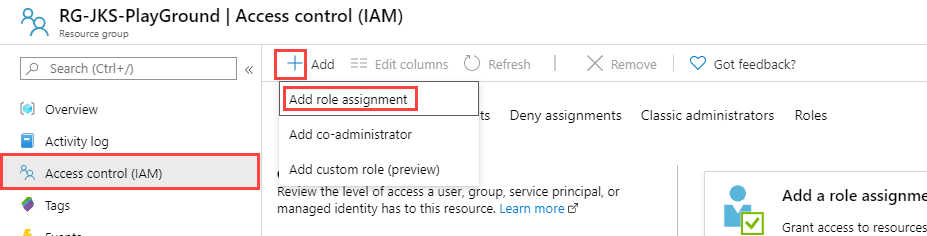
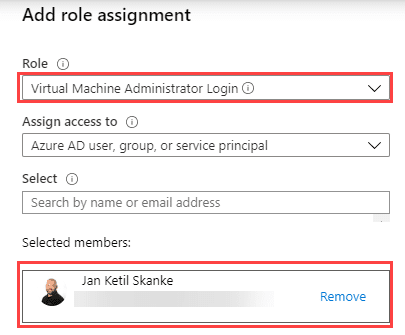
Also make sure that you AAD Login extension has been deployed to your VM so that you can logon with your AAD Credentials to your machine by looking at extensions. Here you should find an extension called AADLoginForWindows. If that is not been provisioned (I have seen that some times) you need to provision it manually for instance via Azure Cloud Shell. Documentation can be found here: (docs.microsoft.com) After the extension is provisioned you must assign user that are allowed to logon to the VM with administrative rights so that Patch My PC can be installed and configured. This is done under IAM on the resource it self or on the resource group. I will do this on the resource group for now.
Accessing the VM
Now I have given my self the permissions to logon to my VM with my AAD Credentials, meaning I dont have to or should use the local admin account I set up during VM creation. So to get access I first need to go find the VM in Azure and request my just-in-time access. Go to Settings-Connect and request access for My IP only. (Be careful of doing is on public hotspots, as you might open up that whole network to be able to try RDP to your VM)
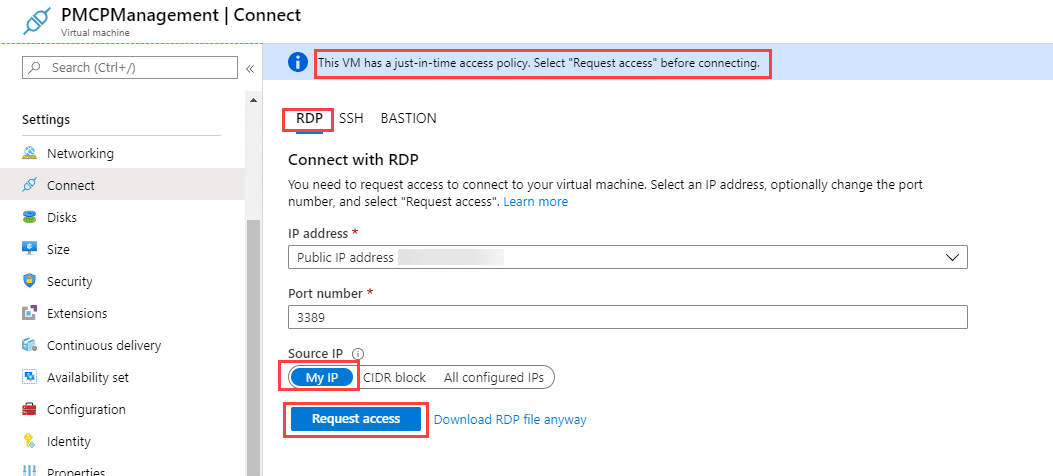
After you request is approved you should see a green status bar on top of your screen. Now you can download your RDP file and connect with your AAD Credential.

Under Settings – Networking you can see the dynamic and status firewall rules being applied to the machine as your requests are enabled or not. Green is the dynamic allow rule, and the red is the default on block rule for all these ports.

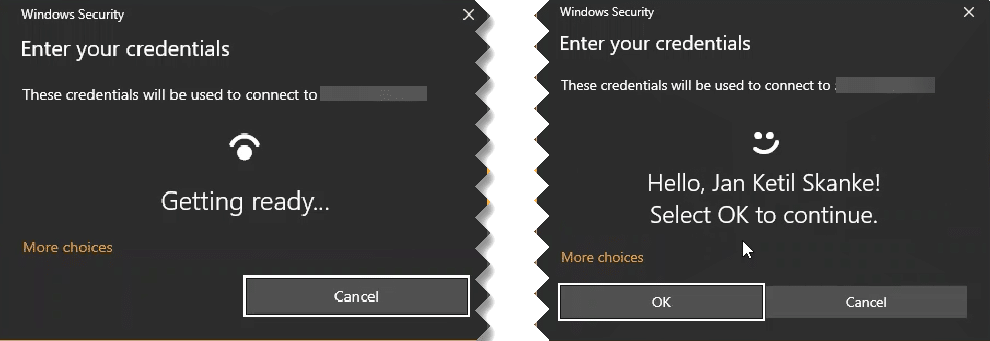
As I can logon using my AAD Credentials, it will out of the box support passwordless like Windows Hello for Business while login on.
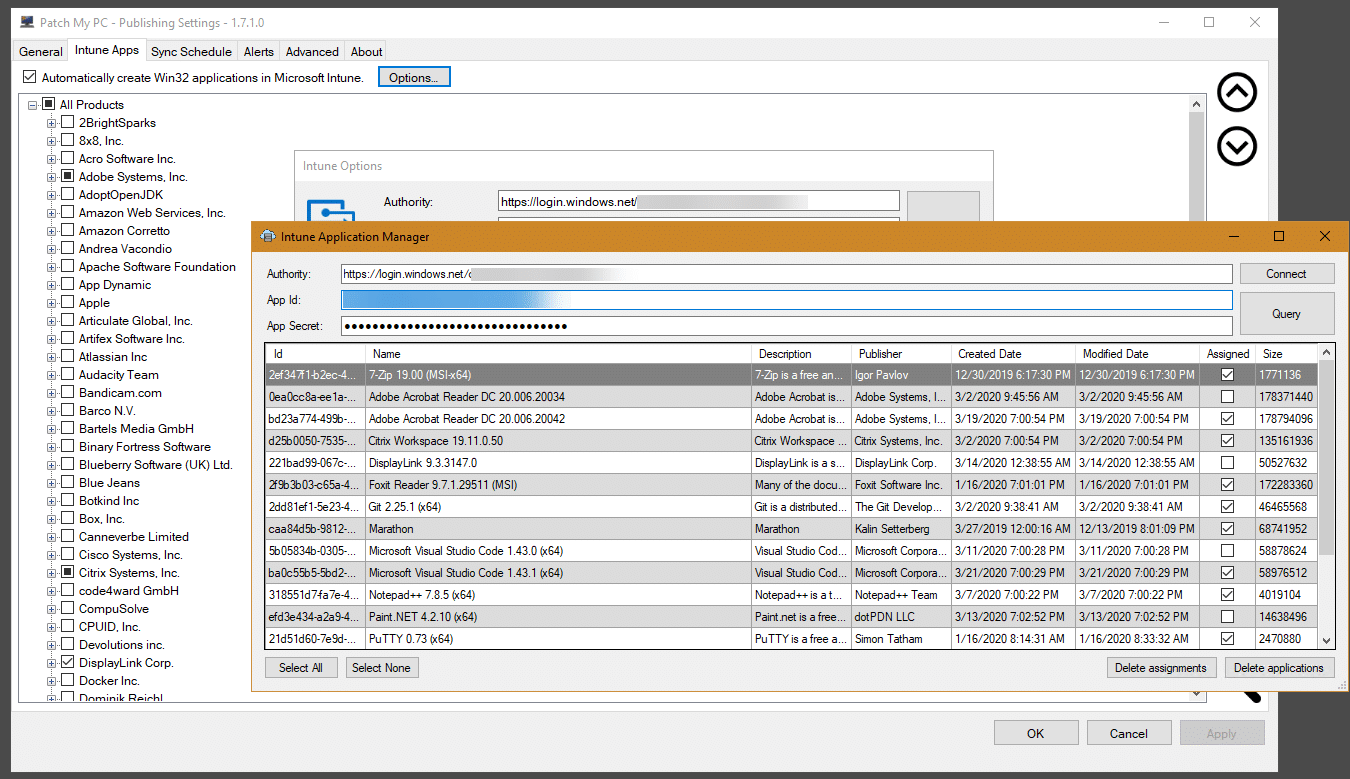
When logged on – all you have to do is to setup and configure Patch My PC, and the only times you need to actually logon, is if you want to change configuration or add new apps. All this is as I said very well documented by the team in Patch MY PC. While you are at it, remember to have a look under Intune Options where you will find the hiddem gem called Intune Application Manager. Here you can directly delete apps or assignment and get a quick overview of all your Win32 Apps in Intune.
Monitor your app updates with Microsoft Teams
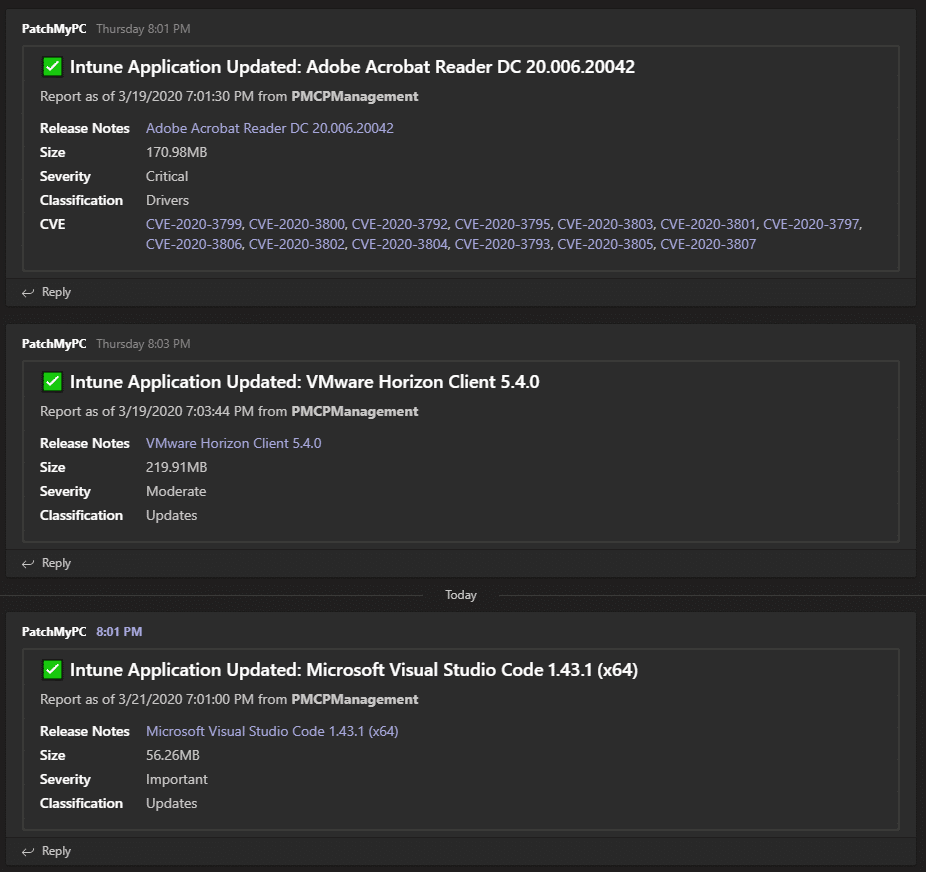
The final tips in this blogpost is that you under alerts enable your Microsoft Teams integrated reporting so that you easily can get information whenever a application has a new version available. All you need is a channel and create a webhook to receive the alerts. I have mentioned how to do that in my post about monitoring your Apple Connectors in Intune. The result is like this.
It does not really matter how you implement this, but for me it made a lot of sense to deploy this in Azure in a secure matter as I don’t have any other infrastructure to deploy this on. All in all this new feature from Patch MY PC has saved me so much time already in 1 month.
Scenario: Deploy Git and Visual Studio Code as required apps to all your machines.
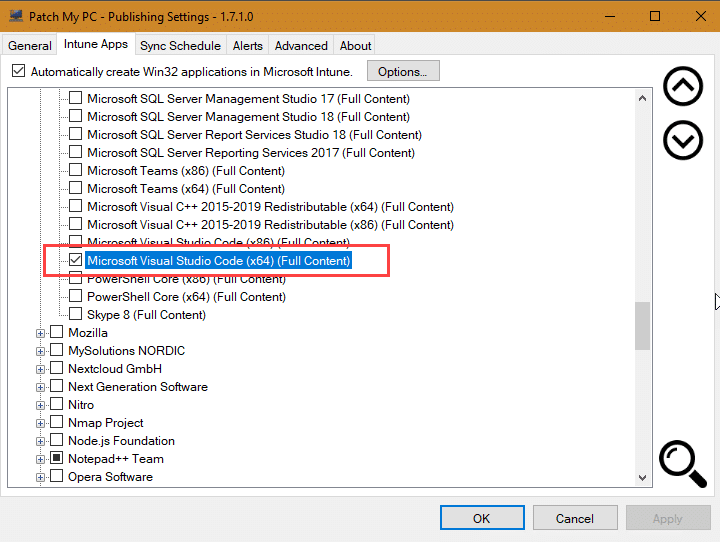
In Patch MY PC you add your 2 apps to your list of apps and force run the sync schedule, then when the sync Schedule is finished your will be alerted in Microsoft Teams that your apps are ready. All you need to make this apps published into Intune with Patch My PC is to open up PMPC Publishing Service UI on your VM, go to Intune Apps and find the apps we want:
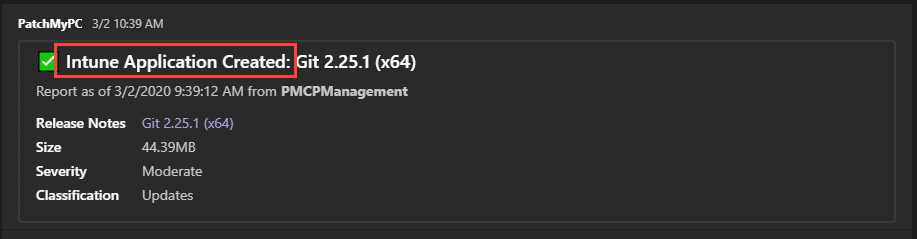
We click on Apply and then switch over to Sync Schedule and click on Run Publishing Service Sync. Sit back and relax, and watch your Teams channel where your monitoring is setup up. After the process is done you should see this in Teams showing your application is created successfully:
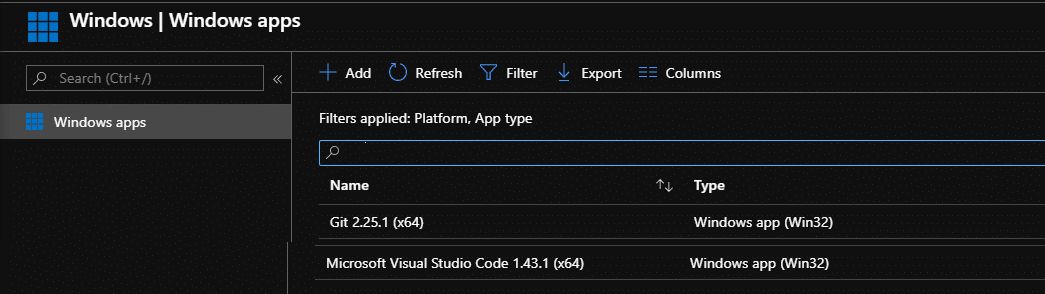
Logon to the Endpoint Manager portal in Azure https://devicemanagement.microsoft.com/ and go to Apps , By Platform -> Windows and find your new apps.
Go into the app it self and choose how you want to assign it to your users, we want this to be required for all machines. This is for now also the only way we can make sure the apps are patched automatically. Patch MY PC will copy the assignment from your previous version whenever a new version arrives. That means that when VSCode or Git releases a new version, that version will now be required, and the old one would no longer be assigned. You can also tell Patch MY PC to delete the old version at the same time.
Assignment:
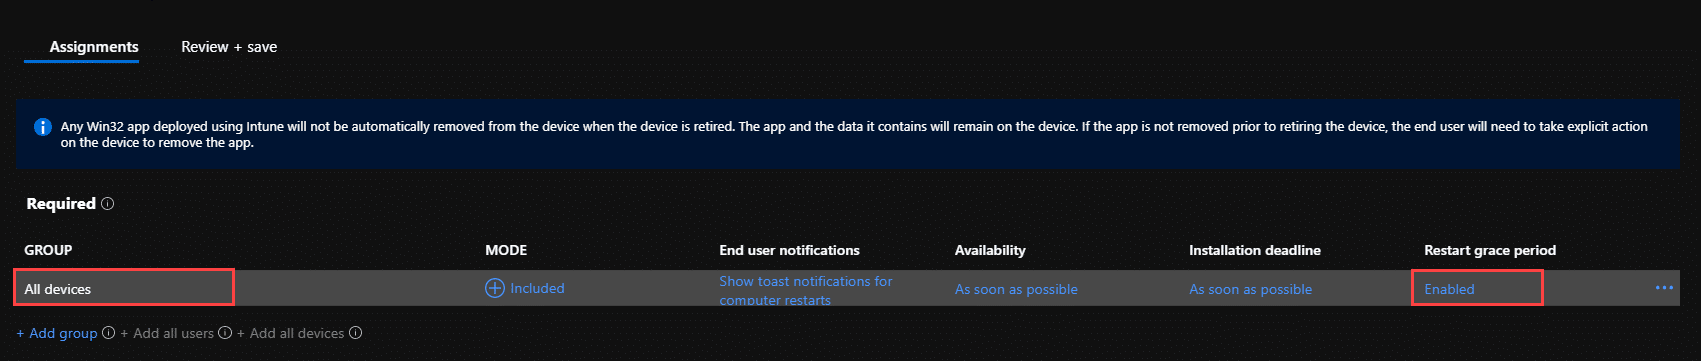
I also recommend you to configure the Restart grace period. This is how I have set this up:

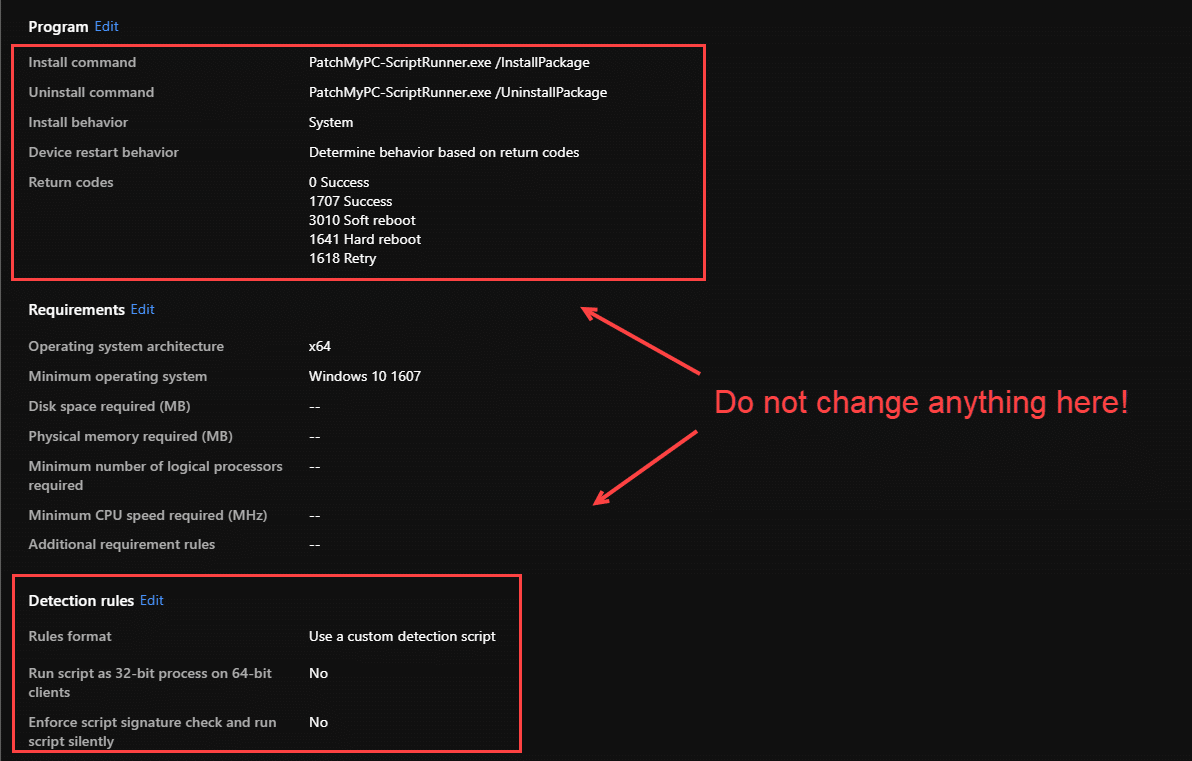
You will see that the app has all the rest of the configuration set by Patch My PC. I recommend you to NEVER touch these settings, as that will most probably break your app deployment:
With this, you have made sure that Git and VSCode will always stay up to date on all your machines. Neat, right?
What does it cost?
The cost of running the VM 24/7 for a month? This will of course depend on the size of your VM, the amount of apps you push and update to Intune, but for me it lays around 40$-50$ pr month in cost to have a running solution that I really dont have to think much about. It is not completely a SAAS solution, but it is pretty close 🙂 Good luck on your 3rd Party patching and look for updated postings around new features or possibilities in this space from us.


Add comment