


If you have ever having issues with Autopilot or Enrollment Status page failing or timing out due to issues with Office installation, this blog post is for you. Over the years working in this area, the Office CSP has caused countless issues and deployments to fail. The Office CSP, commonly knows as the the built-in “Microsoft 365 Apps for Windows 10 and later” is actually not an app distribution in Intune. It is just a configuration policy. That means we are missing out on some of the normal app distribution features like requirements, dependencies and detection rules. The configuration policy tells Windows to download the Office Deployment Toolkit (ODT) and starts setup.exe with the configuration you provided either as XML or in the user interface.
With that in mind, I started looking into using Win32Apps in Intune for deploying the M365 Apps in a more controlled matter. Downloaded the ODT manually, created and XML file before finally packaged everything up as a Win32App and tested deployment. The Win32App package or IntuneWim file contained the content of ODT together with an XML file. This worked out really nice. The Office applications installed really fast and it was RELIABLE.
The issue with the “full” package”
Even though the metode above is a valid option, it is not dynamic enough. As there is a dependency between the ODT and the version of Office being deployed, the Win32App needs to be maintained over time by downloading a fresh ODT from time to time and update the package manually. There was also a request from customers using this to have some additional logging related to the installation for troubleshooting. So how can this be made super-dynamic and self-updating? In comes PowerShell.
The scripted way
All the issues with the “full” package could be solved using PowerShell as a wrapper to the installation. The install PowerShell script is doing the following:
- A logging function takes care of the additional logging to a local file.
- The script downloads the latest ODT direct from Microsoft every time
- ODT is extracted to a temporary setup folder
- The config.xml file is written to the same setup folder
- This can come from an external source.
- Starting setup.exe with the config file to download and install according to your XML file.
In addition to this there is the detection scripts. This allows us to detect that whatever Office version or App we are installing is detected on the machine when installation is completed. Currently the provided script is checking if “any” x64 bit version is installed. This is to avoid issues with preinstalled M365 Apps on the machine or existing environments where office has been deployed the traditional way before. Updates of these apps should be handled by policies by Intune and not by deploying a newer version.
What is provided
In the Github repository containing this solution you willl find scripts and configurations files to handle the following:
- Installing M365 Apps
- Installing Visio
- Installing Project
- Installing or Uninstalling Proofing tools
The recommendation is to install only M365 Apps with a single language as required and then have these other options as available apps. If users need Visio or a different proofing language, they should find then in Company Portal and install them,
Example (Main office package)
Main Office Package (getting configuration from External URL)
- Define your config XML (Example below, can be generated at config.office.com)
<Configuration>
  <Add OfficeClientEdition="64" Channel="MonthlyEnterprise" MigrateArch="TRUE">
    <Product ID="O365ProPlusRetail">
      <Language ID="en-us" />
      <ExcludeApp ID="Groove" />
      <ExcludeApp ID="Lync" />
      <ExcludeApp ID="Bing" />
    </Product>
  </Add>
  <Property Name="SharedComputerLicensing" Value="0" />
  <Property Name="FORCEAPPSHUTDOWN" Value="TRUE" />
  <Property Name="DeviceBasedLicensing" Value="0" />
  <Property Name="SCLCacheOverride" Value="0" />
  <Updates Enabled="TRUE" />
  <AppSettings>
    <Setup Name="Company" Value="Company Name" />
  </AppSettings>
  <Display Level="None" AcceptEULA="FALSE" />
</Configuration>- Create a .Intunewim using the Win32 Content Prep tool Prepare Win32 app content for upload containing the InstallM365Apps.ps1
- Upload .Intunewim and define the following parameters during install
- Install Command:
powershell.exe -executionpolicy bypass -file InstallM365Apps.ps1 -XMLURL "https://mydomain.com/xmlfile.xml"
- Uninstall Command:
powershell.exe -executionpolicy bypass -file InstallM365Apps.ps1(Not working yet)
- Install Command:
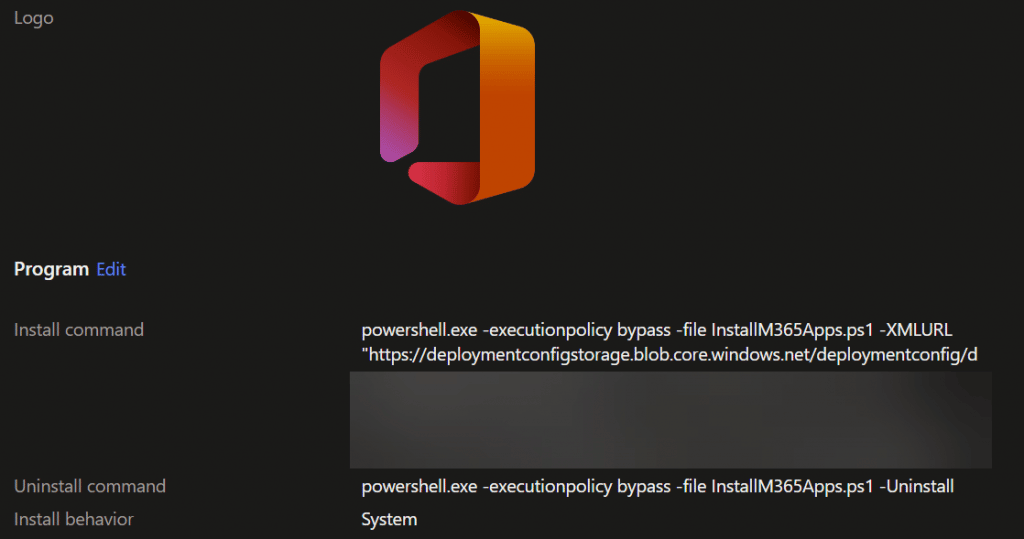
- Install behaviour: System
- Requirements (probable 64 bit Windows something)
- Detection: Use PowerShell detection Script M365AppsWin32DetectionScript.ps1
You can find all the scripts and a detail information on how to use this on GitHub: https://github.com/MSEndpointMgr/M365Apps


Hi Jan
Thank you great post however, I would like to ask why in detection method you are referring to whole uninstall registry (M365AppsWin32DetectionScript.ps1 Line 45 HKLM:\SOFTWARE\Microsoft\Windows\CurrentVersion\Uninstall) folder, rather than to HKLM:\SOFTWARE\Microsoft\Windows\CurrentVersion\Uninstall\O365ProPlusRetail – en-us ? There could be something else possibly in uninstall called already “Microsoft 365 Apps”
Because I do not know what language you might install. So currently detection work regardless of language installed. But feel free to use other detection methods if you like.
Thanks for this Jan. Love this solution!
I’ve found an issue with the Visio and Project config files you have shared. You need ‘MatchOS’ rather than ‘MatchInstalled’ and it’ll then work fine.
Nice work.
Would be nice to crack the Uninstall.