Up until now in this blog series we’ve covered the certificate templates creation, issuing of certificates for the NDES server including automating the installation of NDES server role including all of the post configurations required. In this part we’ll cover how to install the Intune Certificate Connector and connect the NDES server with your tenant and Microsoft Intune.
Blog series overview
- Certificate deployment for mobile devices using Microsoft Intune – Part 1 – Overview
- Certificate deployment for mobile devices using Microsoft Intune – Part 2 – Certificate templates
- Certificate deployment for mobile devices using Microsoft Intune – Part 3 – Install NDES
- Certificate deployment for mobile devices using Microsoft Intune – Part 4 – Install Intune Certificate Connector
- Certificate deployment for mobile devices using Microsoft Intune – Part 5 – Deploy SCEP Certificate profile
Download the Intune Certificate Connector
The Intune Certificate Connector is an on-premise application containing a NDES policy module referred to as NDES Connector. It also includes the Certificate Registration Service (likewise as the CRP in a ConfigMgr hybrid setup with Intune) that is installed and running in IIS on the NDES server. The Intune Certificate Connector setup file can be downloaded from within the Azure portal in the Intune blades.
- Sign in to the Azure portal (portal.azure.com).
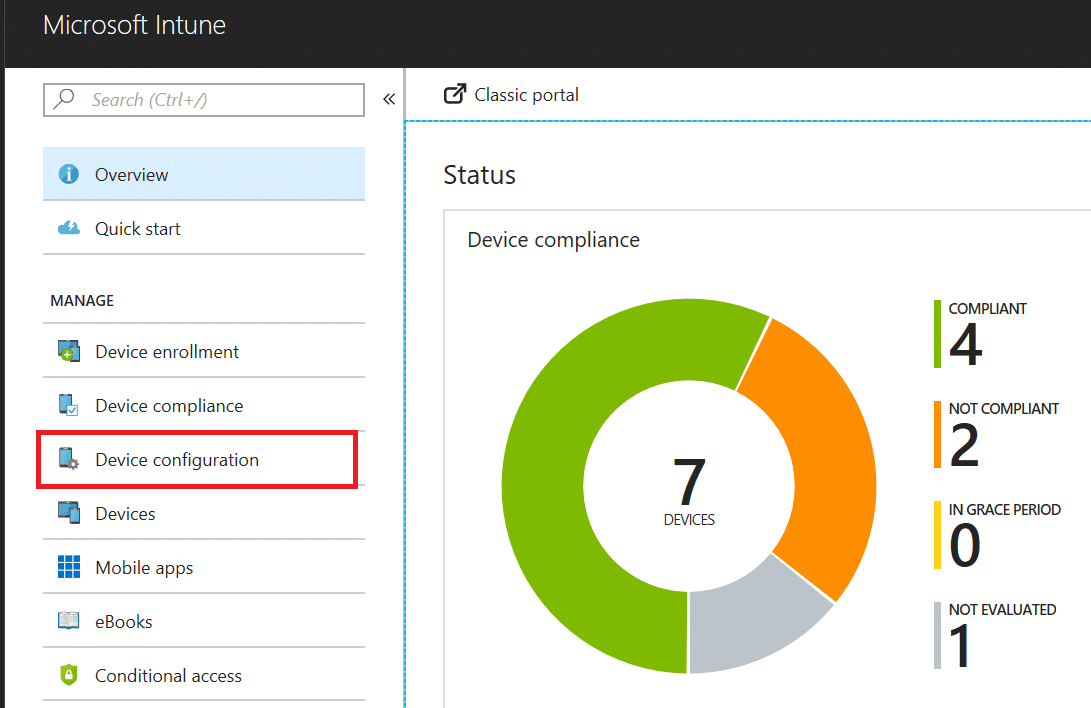
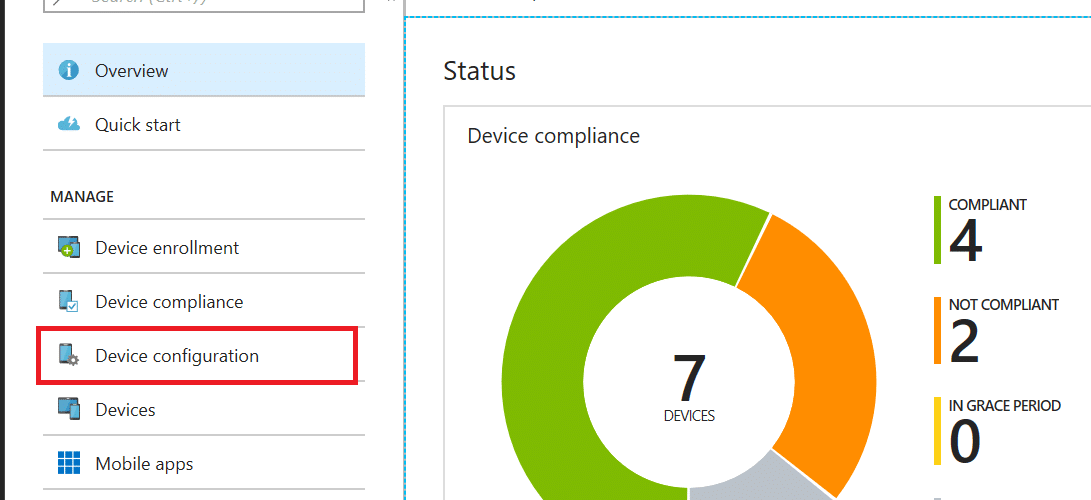
- Locate the Intune blade and select Device Configuration.
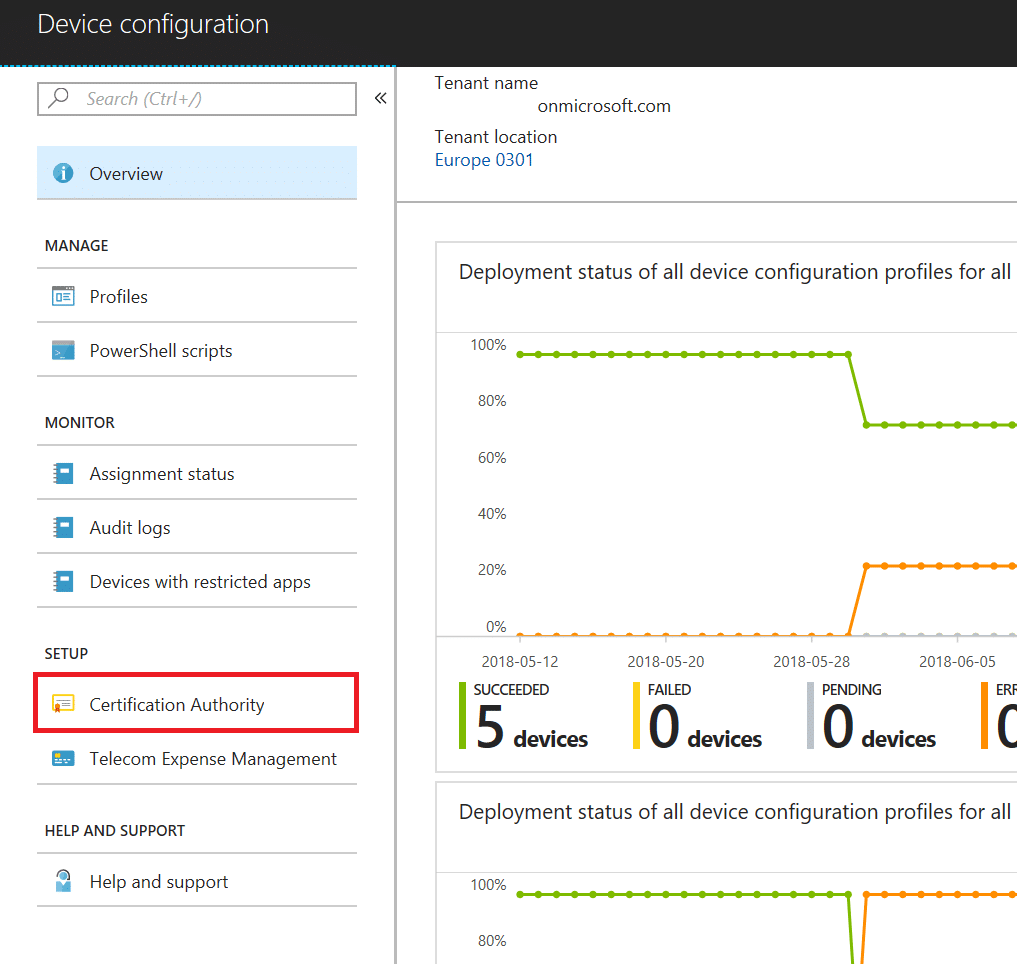
- From within the Device Configuration blade, select Certificate Authority.
- Click on the Add button in the top menu.
- In the new blade that opens, click on the link that says Download the certificate connector software under the SCEP section.
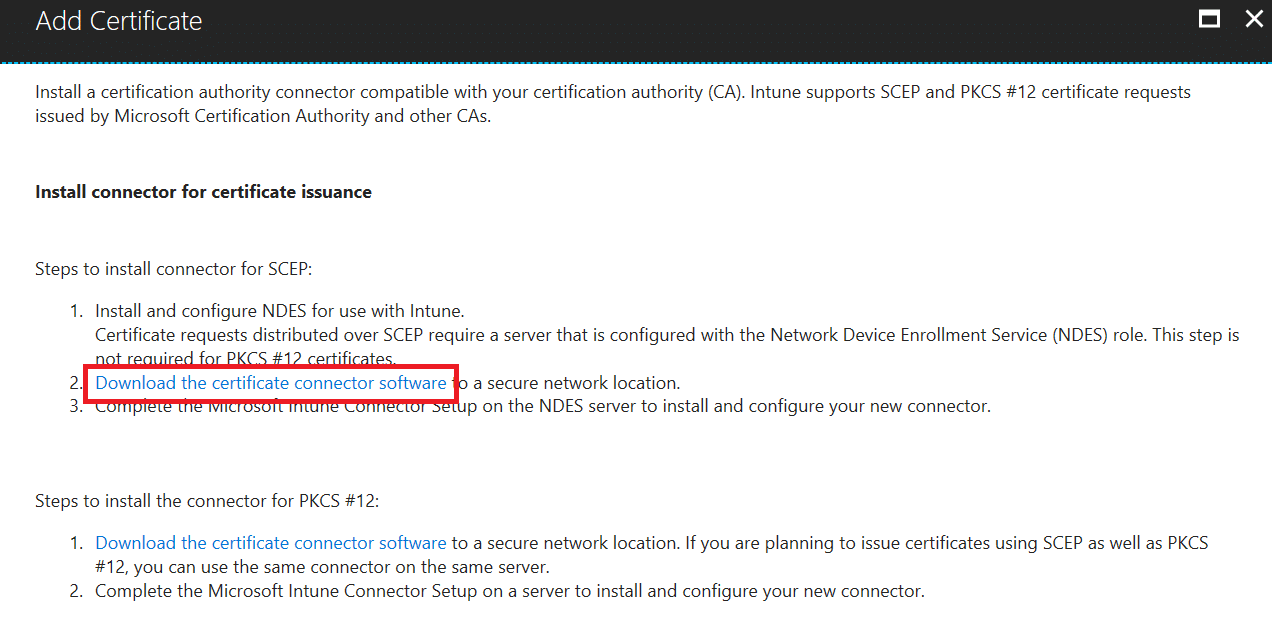
- This will start the download of NDESConnectorSetup.exe.
- Copy this file to the NDES server.
Install the Intune Certificate Connector
Installing the Intune Certificate Connector software is like installing any other software. There’s however one specific thing you need to know about, that will cause the installation to fail, and it is that you need to elevate the NDESConnectorSetup.exe right from the start.
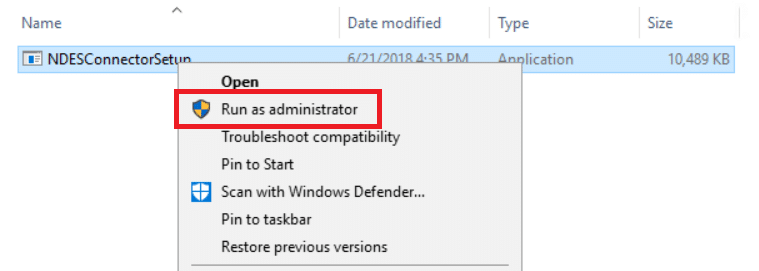
- Right-click on the NDESConnectorSetup.exe file and select Run as administrator.
- Click Next when the setup wizard appears.
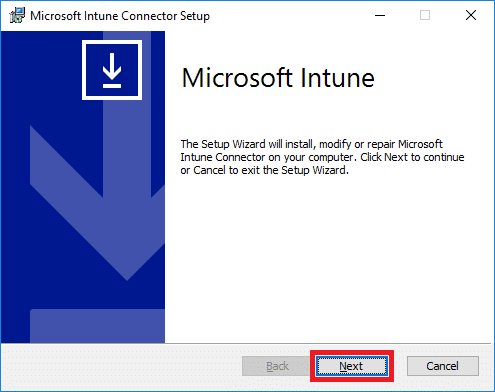
- Accept the license terms and click Next.
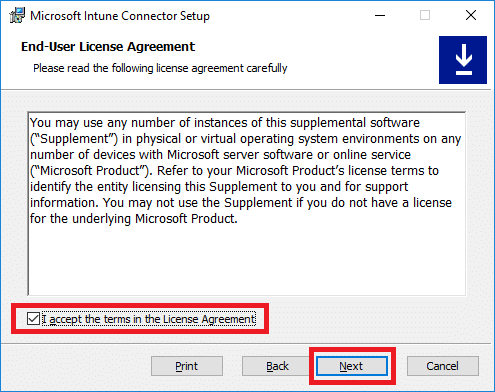
- Accept the default installation path or choose a different one and click Next.
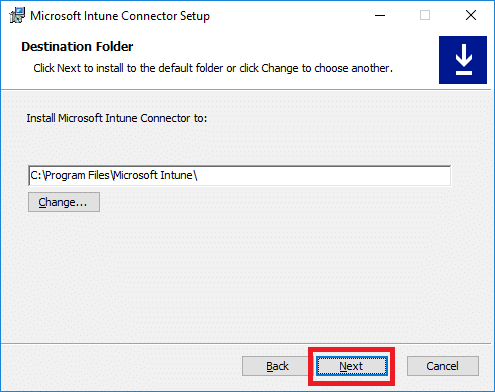
- Select SCEP and PFX Profile Distribution and click Next.
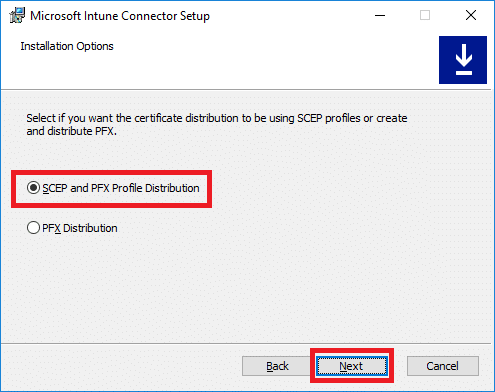
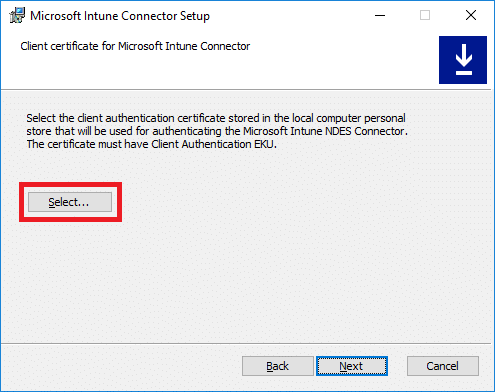
- Click on the Select button.
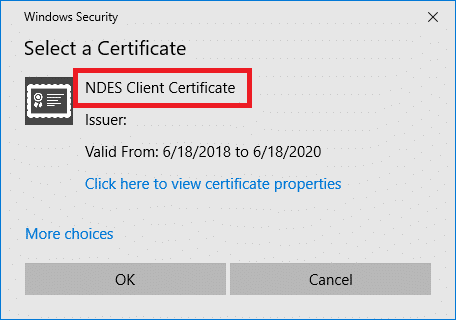
- Locate the NDES Client Certificate and click OK.
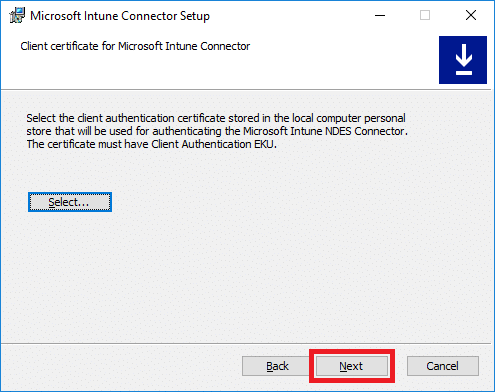
- Click Next.
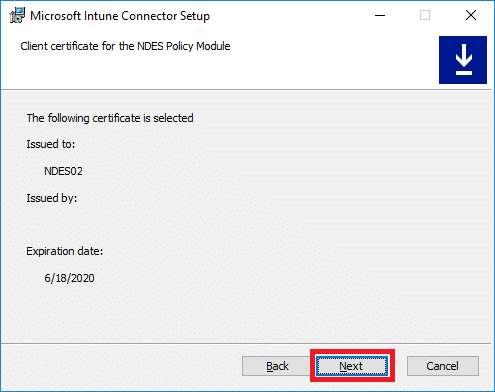
- Click Next again.
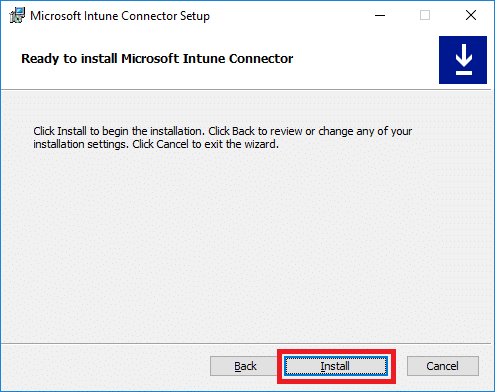
- Click Install.
- Select to launch the Intune Connector and click Finish. If you forgot to tick the check box, you can manually launch the NDESConnectorUI.exe from the following location:
C:\Program Files\Microsoft Intune\NDESConnectorUI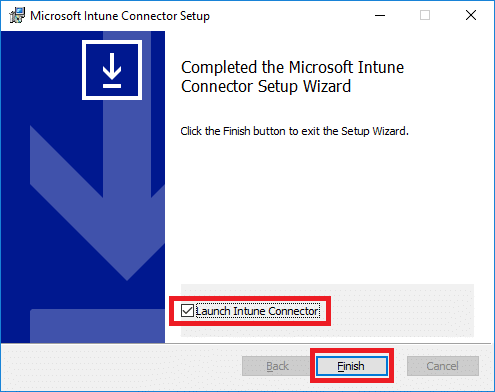
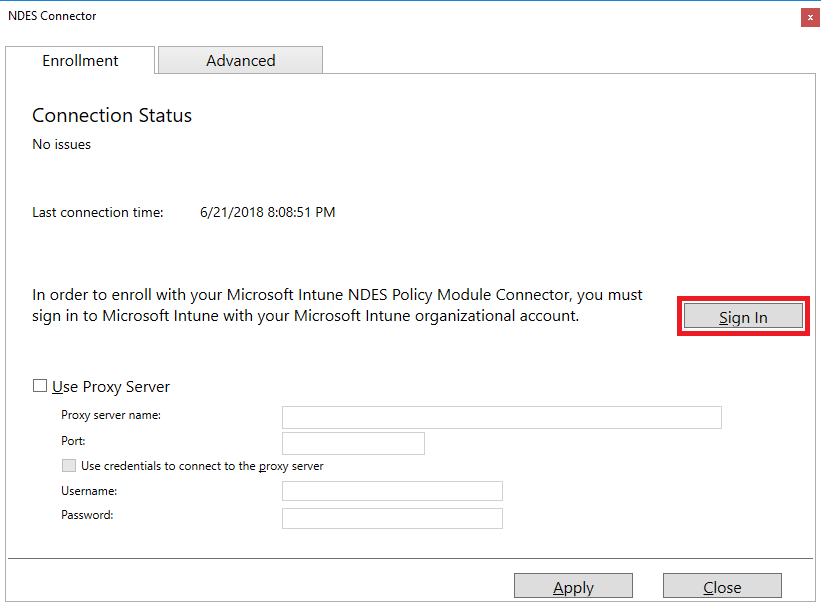
- Click Sign In. If you an IE prompt, turn off Internet Explorer Enhanced Security Configuration for the time being on the NDES server, before you click on Sign In. The NDES installation script should have taken care of this, but I’ve had various experiences with that unfortunately. Re-launch the Intune Connector manually, if you need to turn it off.
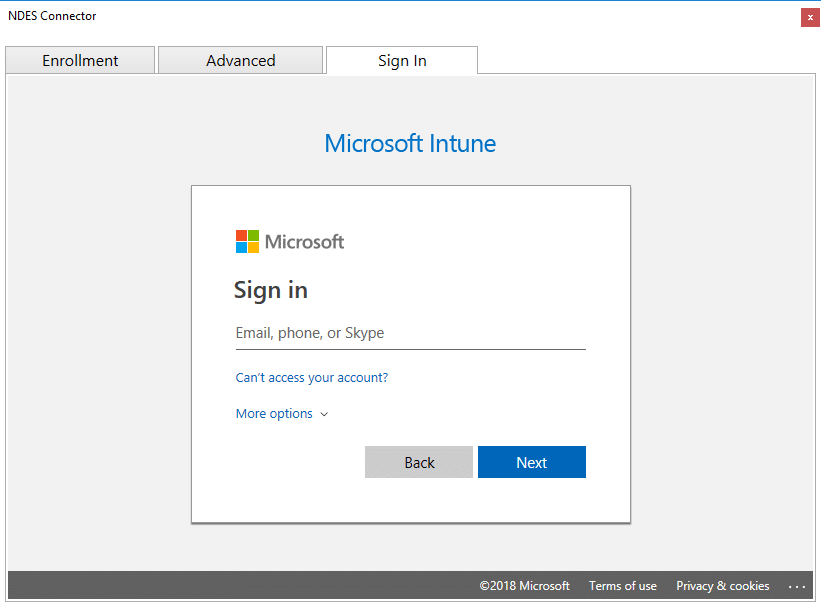
- Enter valid Intune Service Administrator or Global Admin credentials and complete the sign in. Ensure that the credentials specified has a Intune licensed assigned, otherwise you’ll see an error with a message like user not found.
- Click OK in the prompt that appears if the enrollment completed successfully.

- On the Advanced tab you can configure the identity that will be used for handling certificate revocation. By default, it’s the computer account of where you’ve installed the Intune Certificate Connector, in this case it’s the NDES server. For this to work properly you’d also require to give the same identity you specify here Issue and Manage Certificates permission on your issuing Certificate Authority. You delegate that permission by opening the Certificate Authority management console and right-click on the Certificate Authority name. Under the Security tab you add the identity and give it the proper permissions.

- Finally click the Apply button in the NDES Connector window and then Close.
For troubleshooting or general knowledge purposes, the Intune Certificate Connector gets installed in the following default location:
- C:\Program Files\Microsoft Intune
Here’s a few good log locations to be aware of as well:
- C:\Program Files\Microsoft Intune\NDESConnectorSvc\Logs\Logs (that’s right, two Logs folders)
- C:\Program Files\Microsoft Intune\NDESPolicyModule\Logs
- C:\inetpub\logs\LogFiles\W3SVC1
Rename connector
One last thing we’ll cover in this part of the series is how to rename the connector that gets created in the Intune portal once the enrollment of the Intune Certificate Connector has completed. By default this has a randomized name of something like certificate_connector_<date/time>. It’s recommended that you change the name to show the server name that connector is running on, especially for future reference if you’re going to look into High Availability and NDES certificate distribution.
- Sign in to the Azure portal (portal.azure.com)
- Locate the Intune blade and go to the Device Configuration blade.
- Select Certification Authority and locate the newly added connector.
- Click on it and in the new blade that opens up, edit the name field.
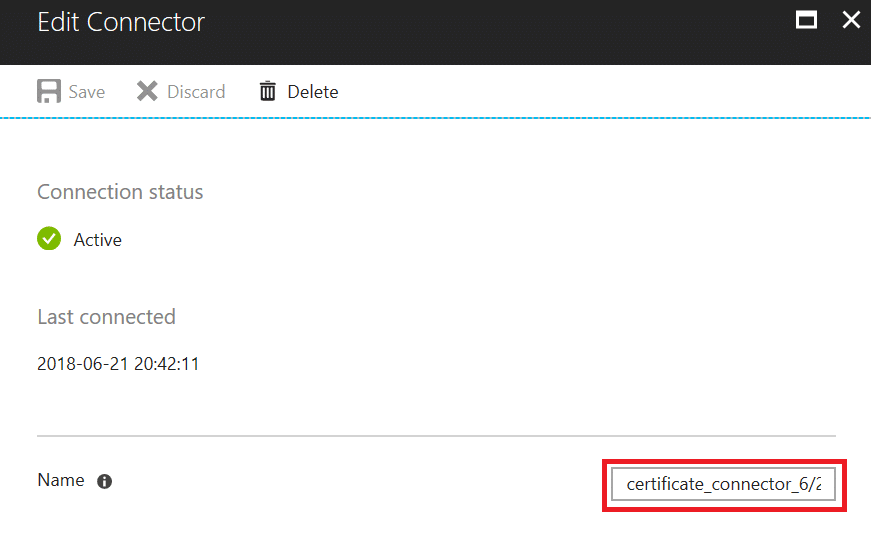
- Click Save.
In the next part of this series we’ll cover how to configure and assign a SCEP Certificate Profile to users and distribute a certificate to a mobile device.





Hey Nickolaj,
can I use an existing NDES server to install the Intune NDES Connector on?
I’m having an existing NDES for another MDM (which I have to use in future as well), using a dynamic challenge for requesting certificates. Can I install the connector on that same server or will this break the other MDM’s service as the NDES server will always try to connect Intune for the validation of a request?
Thank you!
I’d guess it’s unsupported, so setup a new NDES server.
Regards,
Nickolaj
Hey Nickolaj,
When will there be a part 5 and 6?
Regard,
Ben
Hi Ben,
Part 5 was released yesterday. No date yet for part 6 though.
Regards,
Nickolaj
Love this blog series. And I would love to see part 5 and 6 soon as well 🙂
Looking forward to the last parts of this series. We are struggling to get Androids enrolled and hoping that may help us get past the roadblock.
Hi,
Thanks a lot for the tutorial !
I manage to make it work, after a lot of hours spent on it..
Do you know when the next part will be available ?
From where I am : I can generate certificate for my devices, only issue I still have is that the certificate is not added in the user Wifi certificate store : I can’t use it to log on to my wifi infrastructure.
Thanks again for this great Job !
Looking forward to the next parts in the configuration….
hey Nickolaj, this is a great blog series. But what About Part 5 and 6. They are still missing to finish the configuration.
Kind regards
Henrik
Hi Henrik,
They’ll be published shortly.
Regards,
Nickolaj
Hey Nickolaj,
we’ve followed your superb guide till here. We had some issues with the script (since we use the german language in our OS, we had to make some tweaks on the install script).
When is Part 5 and 6 being published?
Greetings,
Marcel
Hi Marcel,
It’s available now.
Regards,
Nickolaj
Hi were nice blogg series will there be part 5 and part 6? Best regards Daniel
Hi Daniel,
They’ll be available within the next coming weeks.
Regards,
Nickolaj
Hi Nickolaj,
thank you very much for tutorial. Can you upload link for part 5 and 6 as well?
Best Regards
Hi Nickolaj,
thank you very much for tutorial. Can you upload link for part 5 and 6 as well?
Best Regards
Hi, I always get the following error in the eventlog of the ndes server:
{
“Metric”:{
“Dimensions”:{
“UploadState”:”0″,
“UploadStateString”:”CertificateData”,
“AgentId”:”1142a893-3577-6902-b1ca-39d1d6404bd5″,
“DiagnosticCode”:”0x0FFFFFFF”,
“DiagnosticText”:”We are unable to complete your request because a server-side error occurred. Please try again. [Exception Message: \”DiagnosticException\”] [Exception Message: \”One or more errors occurred.\”] [Exception Message: \”String was not recognized as a valid DateTime.\”]”
},
“Name”:”Upload_Failure”,
“Value”:0
}
}
The date and time are correct on the server as well as on the clients.
Any idea how I can fix this?
Hi Pascal,
I’d recommend that you contact Microsoft support regarding this issue you’re having.
Regards,
Nickolaj
I’m currently getting the exact same error. Did you have any luck on resolving this issue?
Very useful article. When will be next 5th part?
Great tutorial!!!
Nice, clear and east to follow.
Can’t wait to see the last two section.